
 07808 168 543
Collaborative Design and Build – day 2
Day two of Collaborative design and build – our 2 day architecture course.
To see a description of day one click here
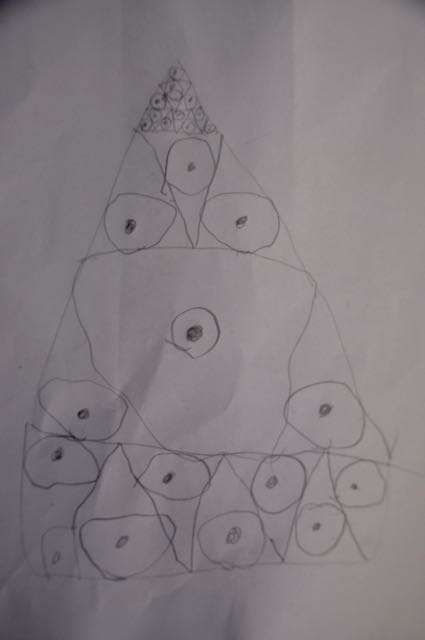
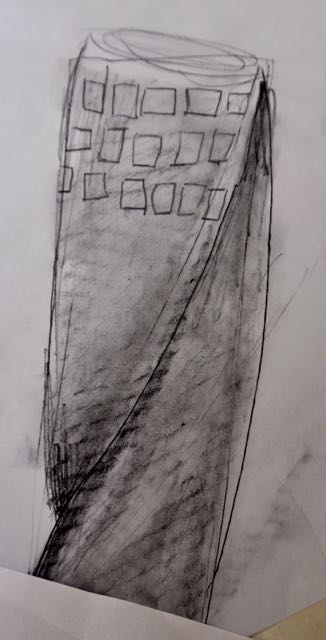
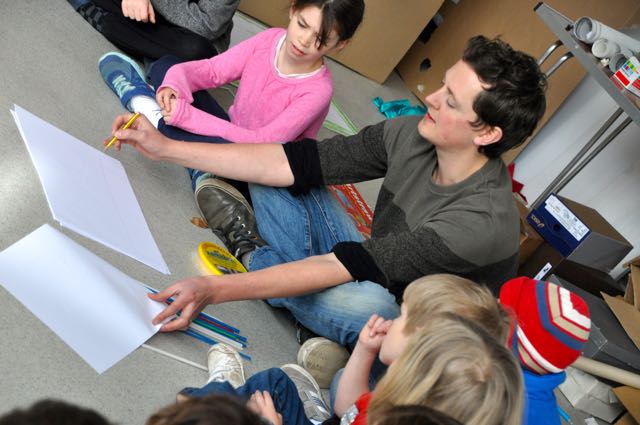
Children revisited their ideas of architecture in drawings and compared them to their initial thoughts – they began to incorporate elements from their own structures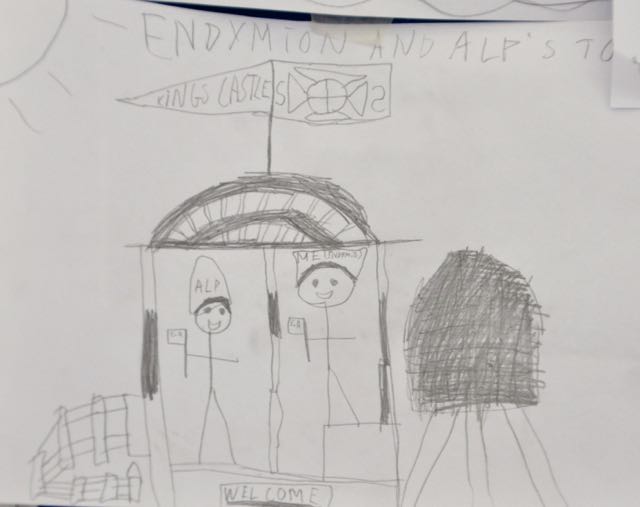
As they arrived in the morning they were keen to get straight back in to developing their houses and buildings.

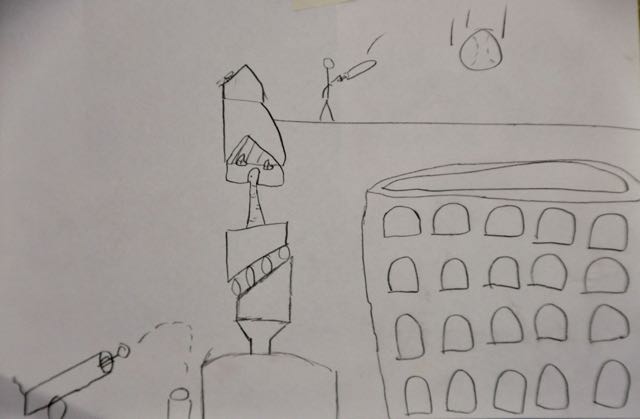
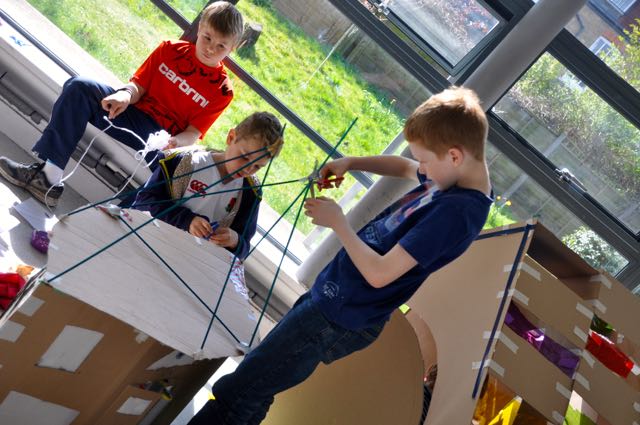
We then met as a group to talk about some technical ideas to help make our buildings stronger.
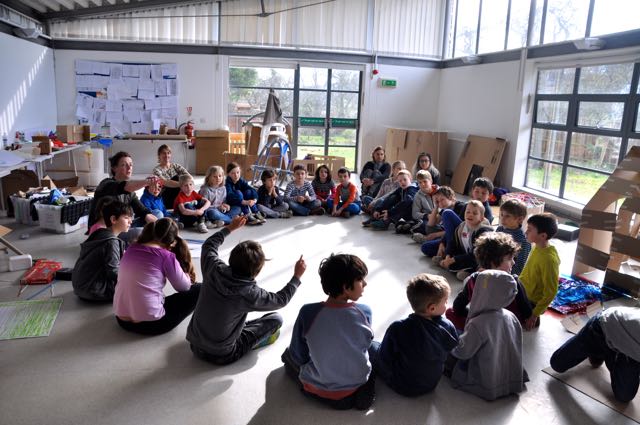
We talked about supports, thresholds, struts and spans.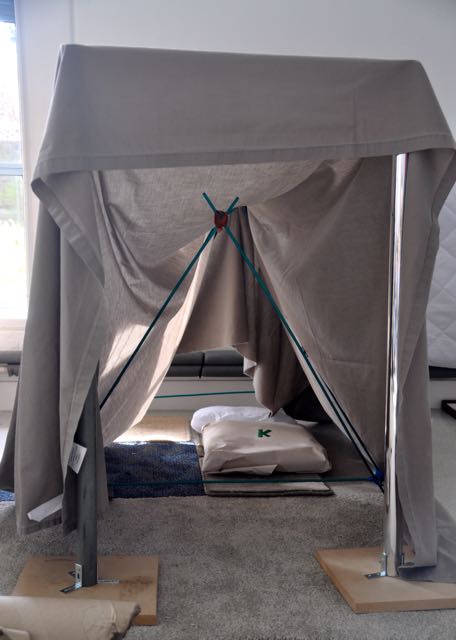
We thought about bridges and what makes them so strong.
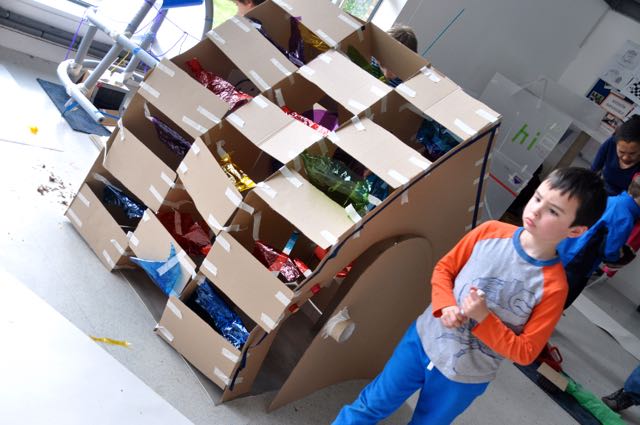
Triangles, circles and arches are strong shapes – we should try to incorporate them into our buildings.
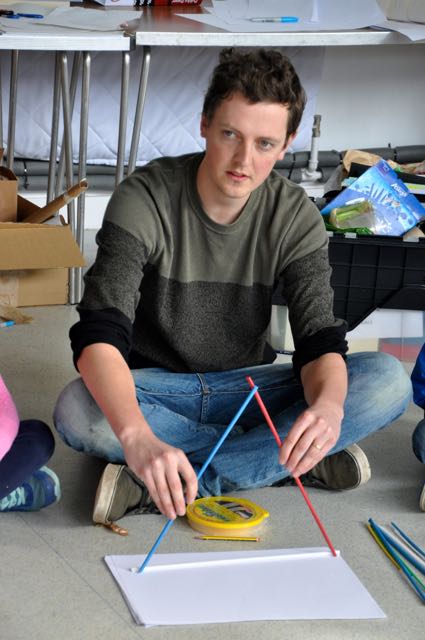
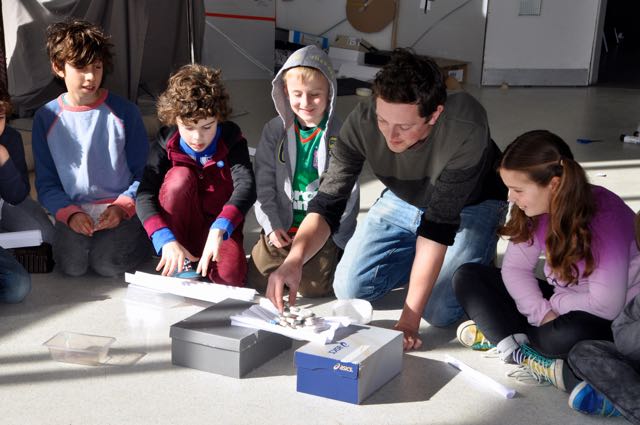
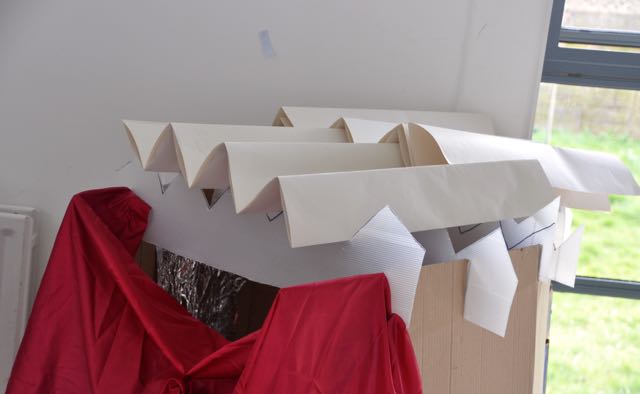
James set us another challenge to build a bridge – using just one sheet of paper, strong enough to hold a pile of rubbers.
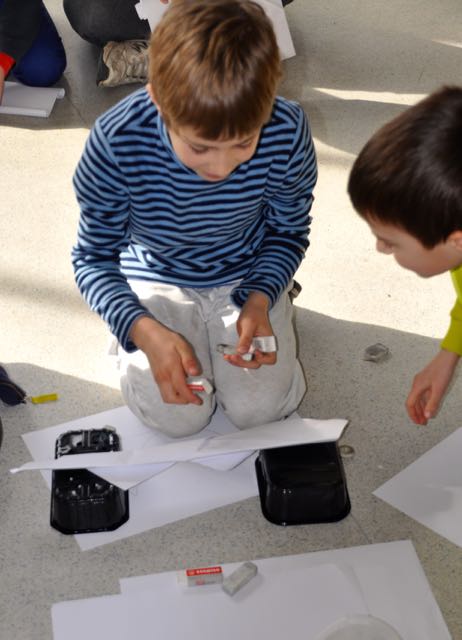
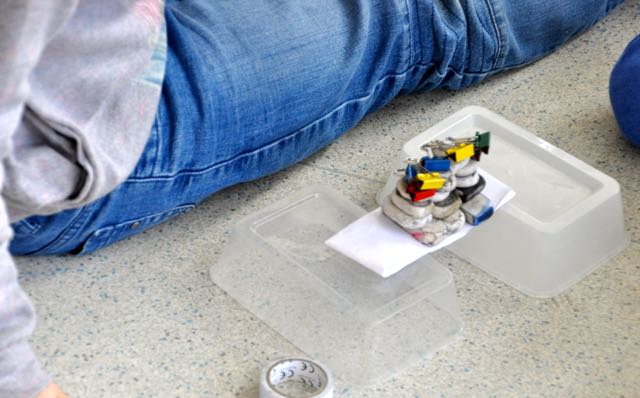
We tested them to see which was the most effective.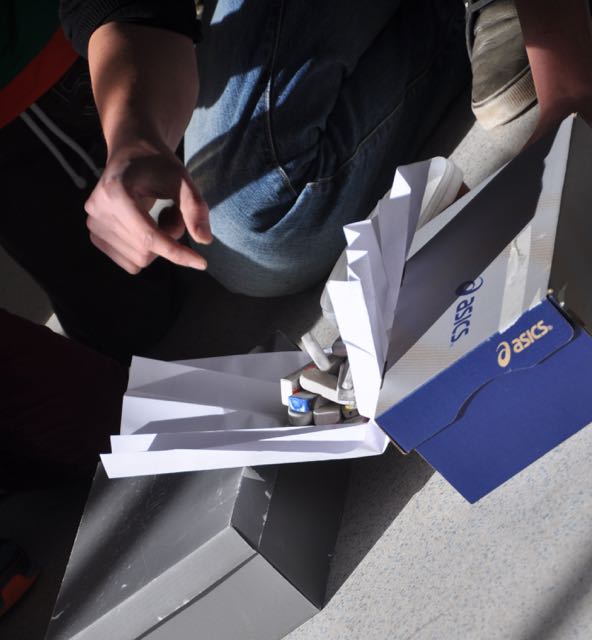
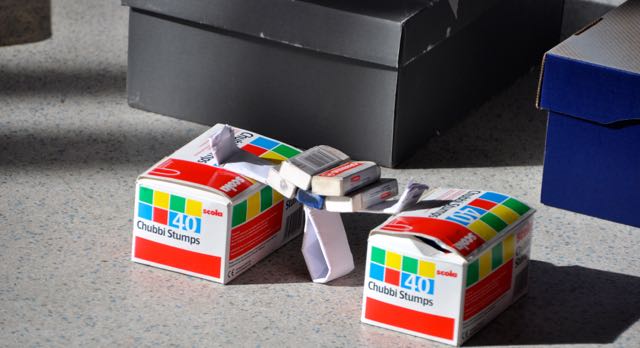
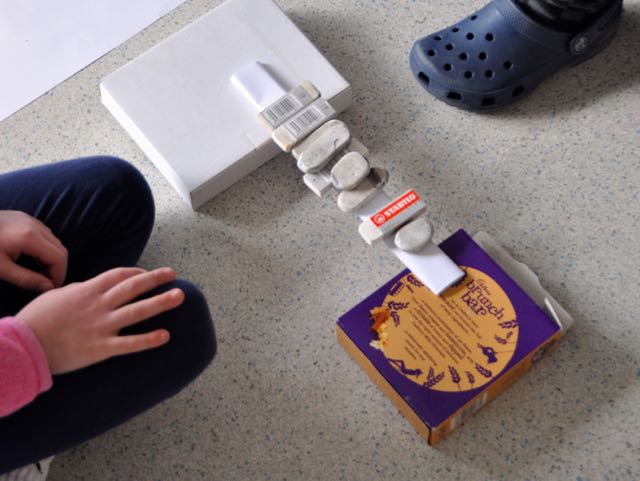
The strongest held about 42 rubbers….and a gluestick!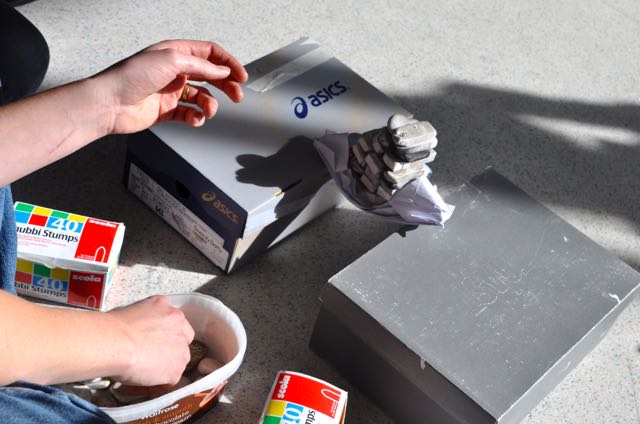
Here is the winning design. Lots of folds using triangular shapes….we were listening!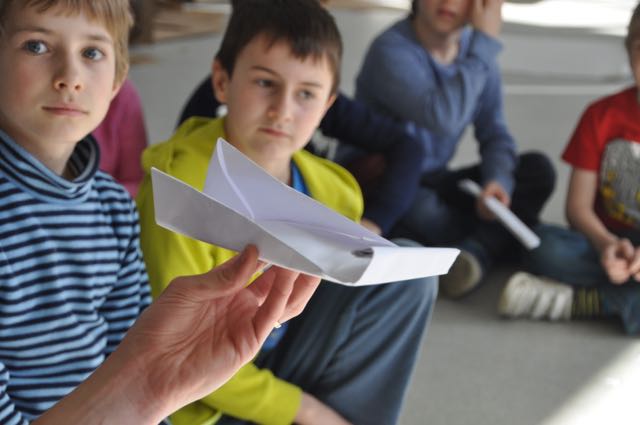
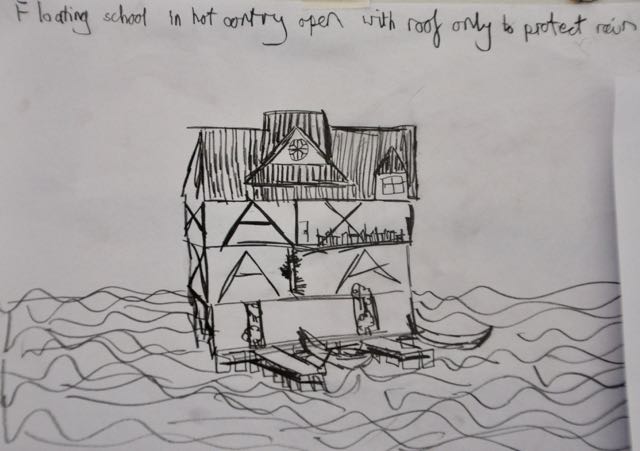
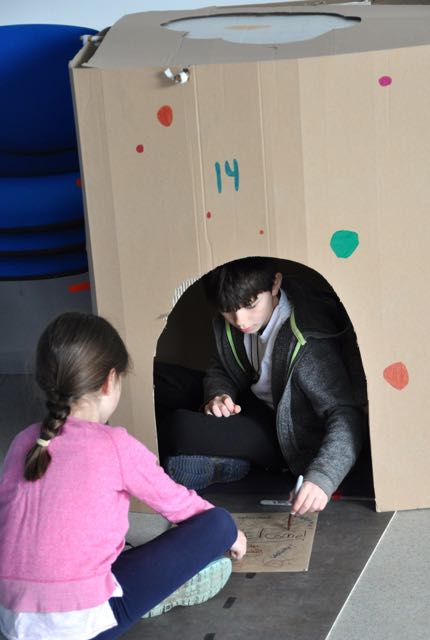
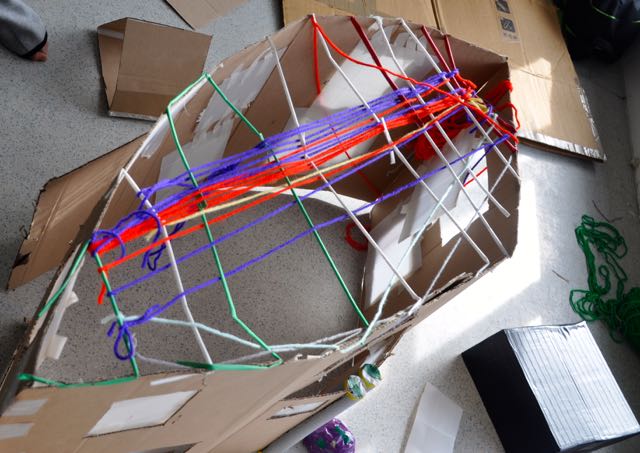
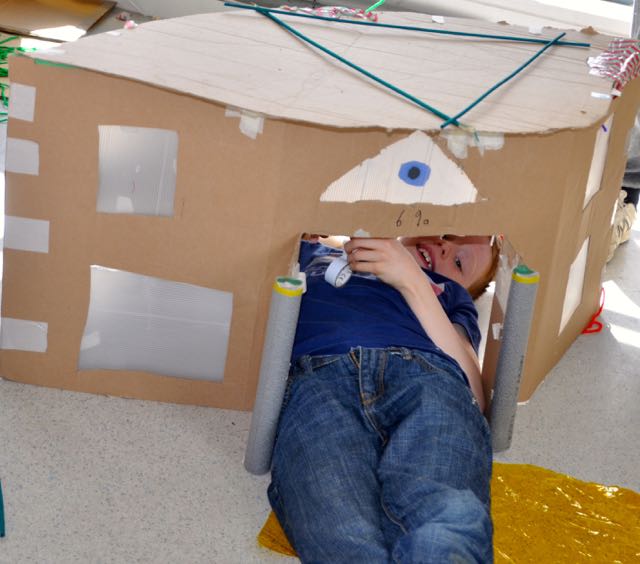
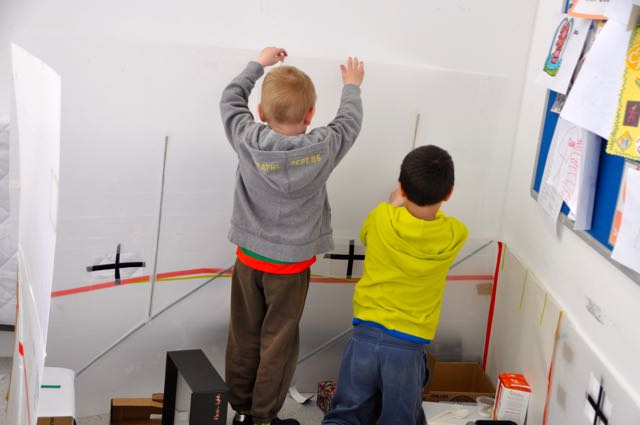
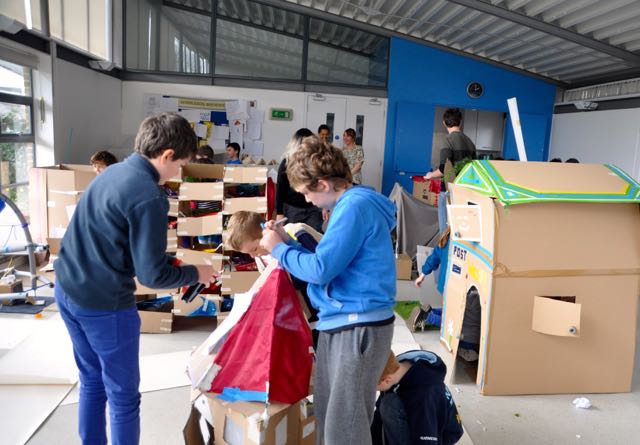
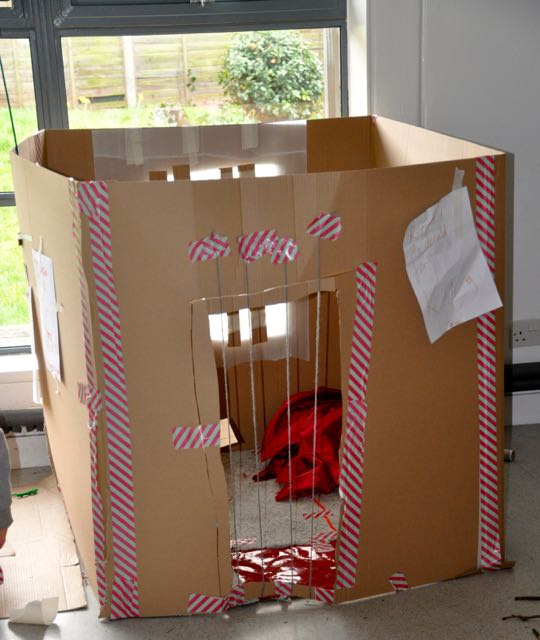
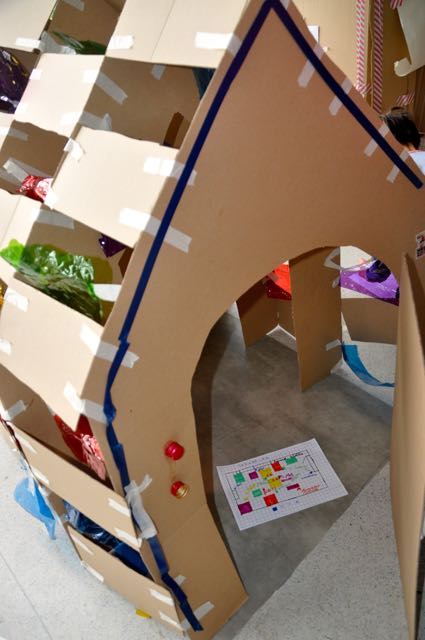
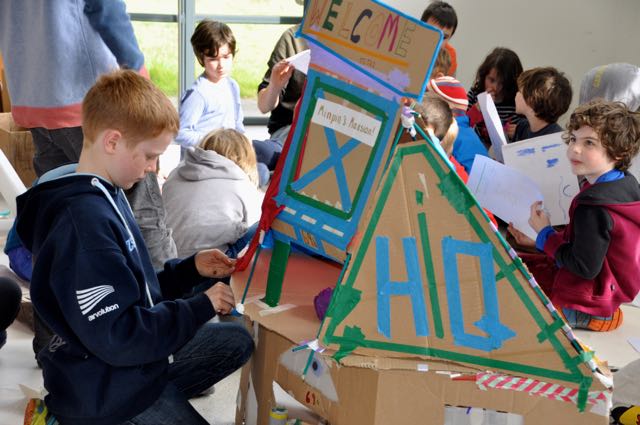
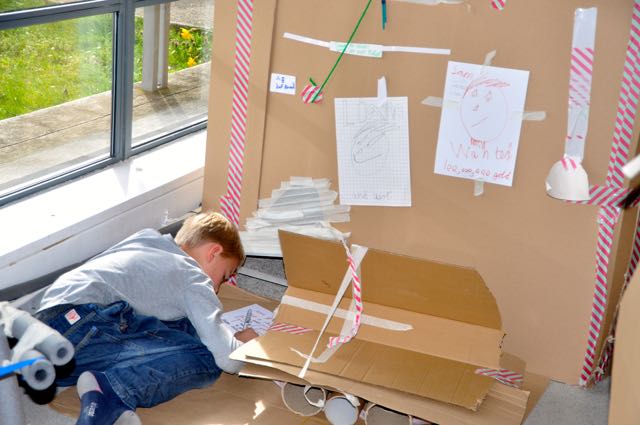
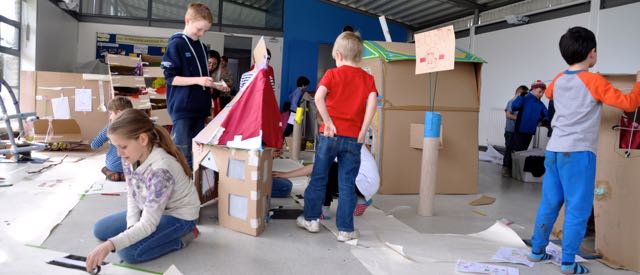
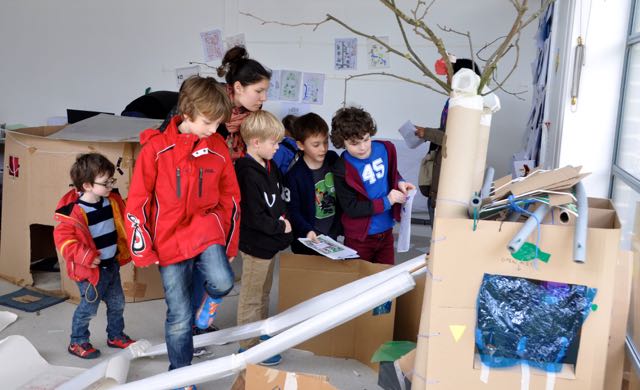
We then got back to work on our buildings, incorporating some of the techniques we had learnt.
We were busy, busy, busy!
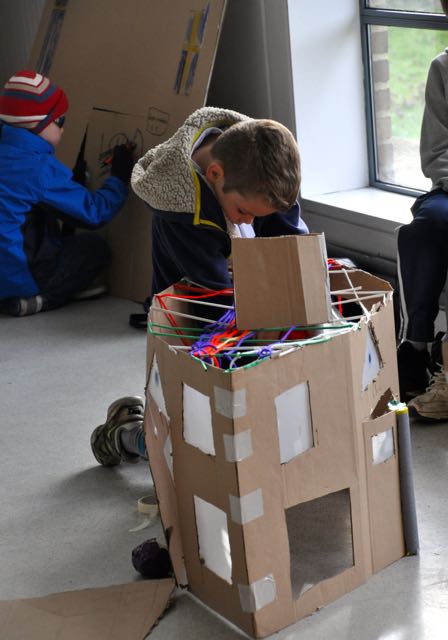
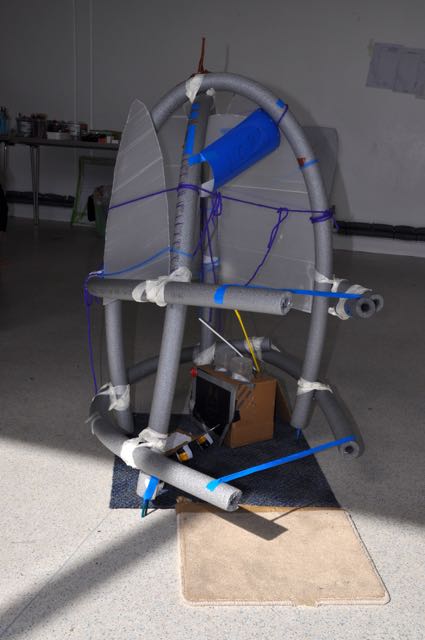
We got to use some grown up tools – well supervised of course!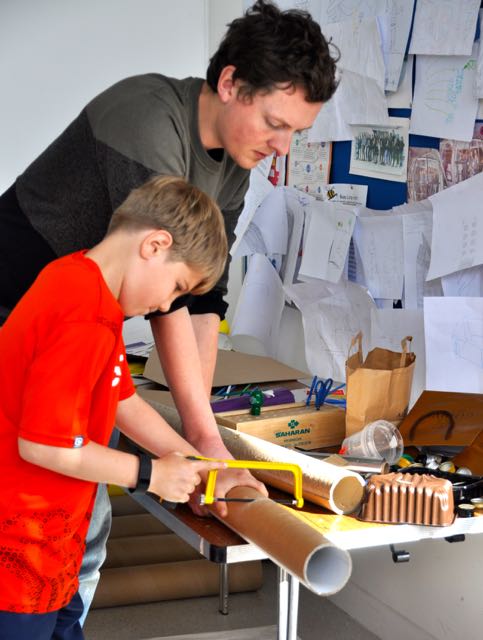
We were improving our structures based on our newly acquired skills and knowledge.
More triangles appeared!
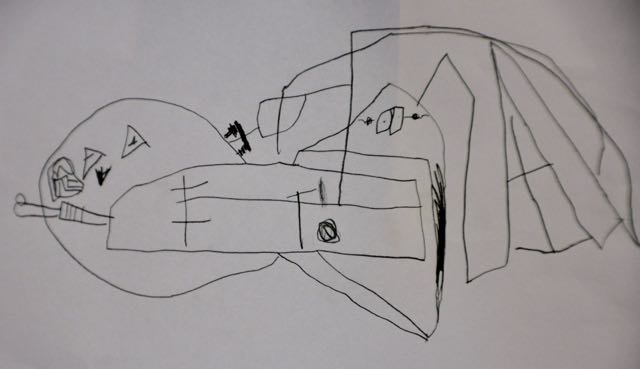
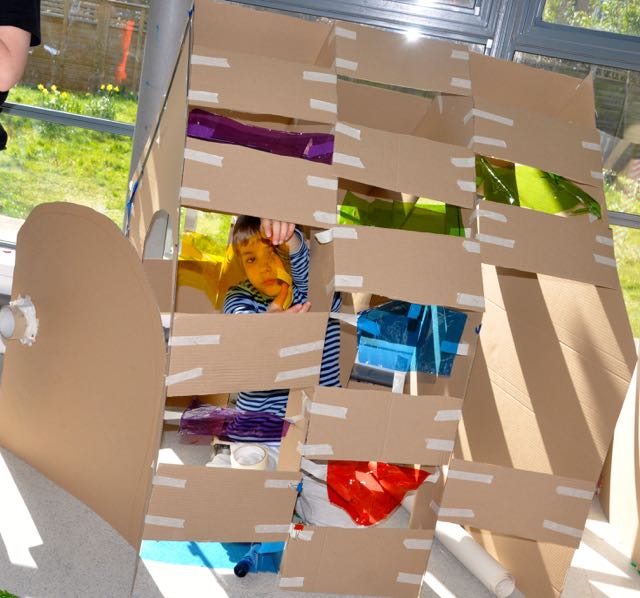
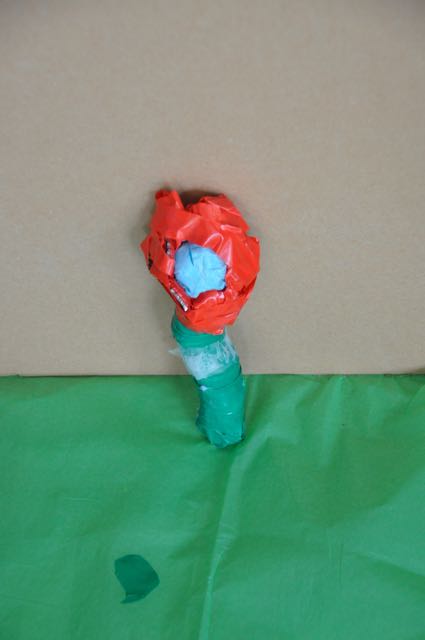
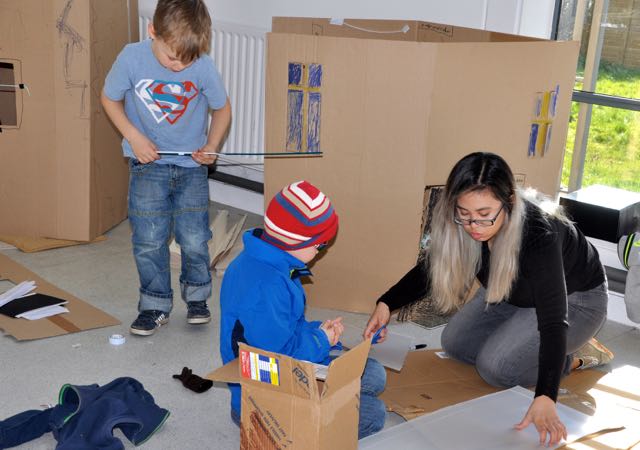
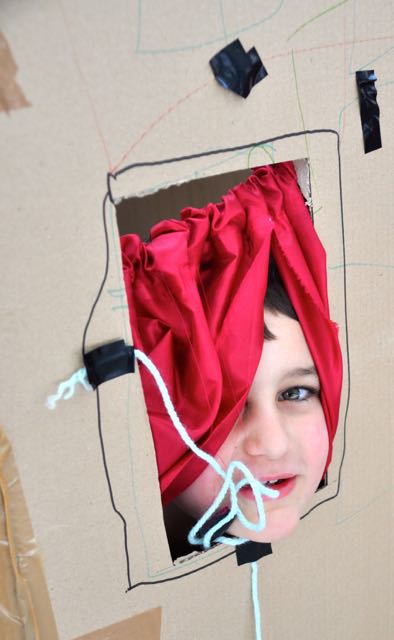
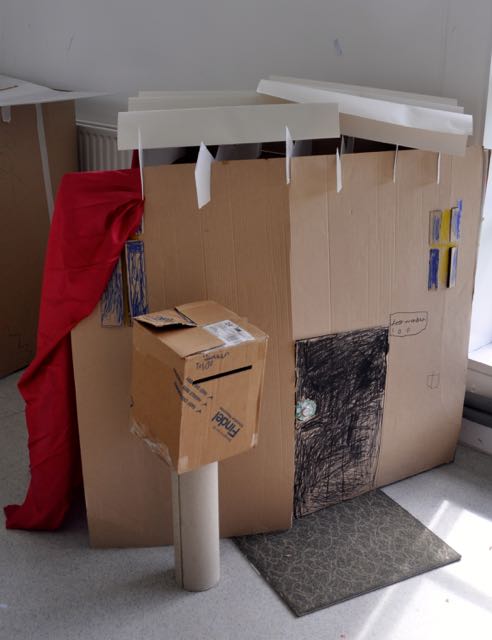
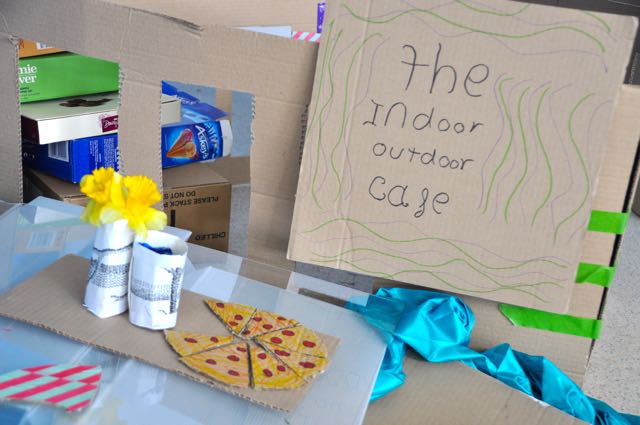
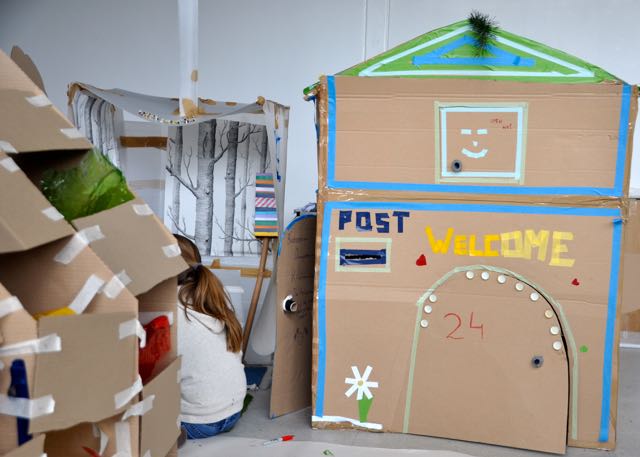
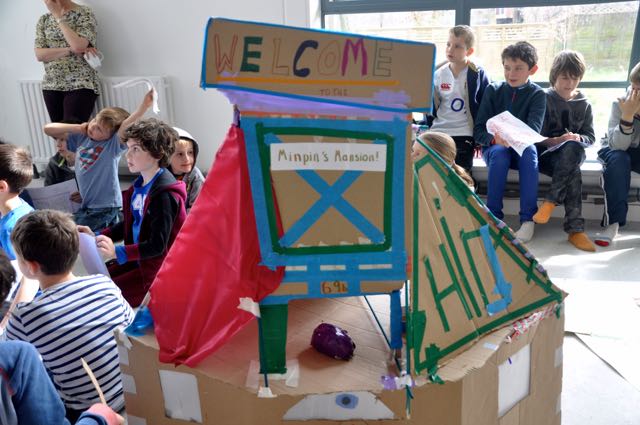
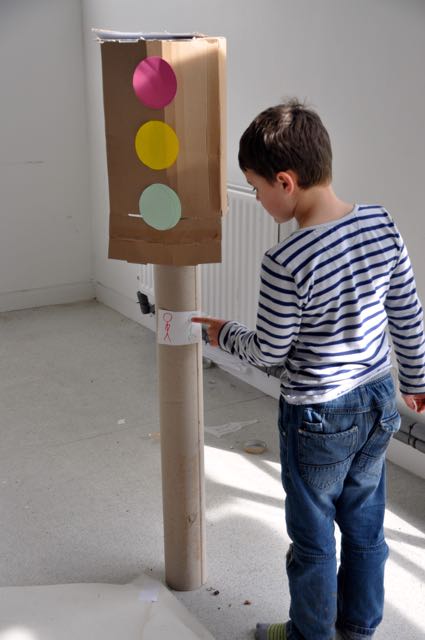
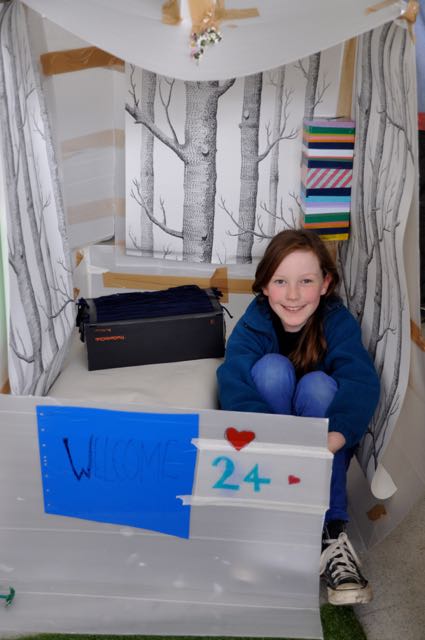
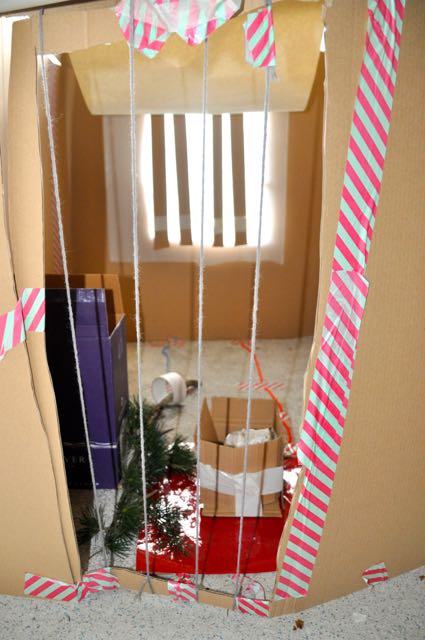
We also moved further into the world of fixtures and fittings. Some made curtains for windows.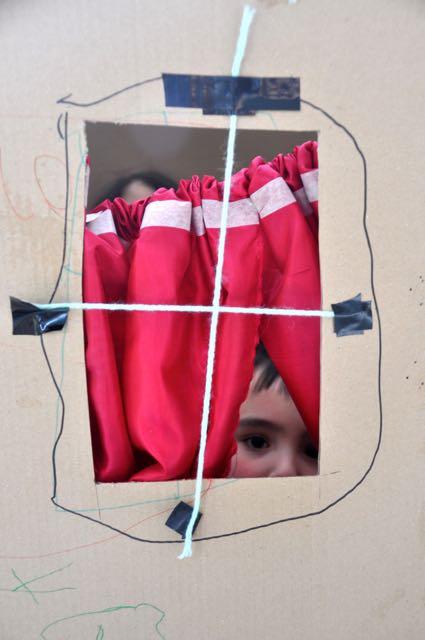
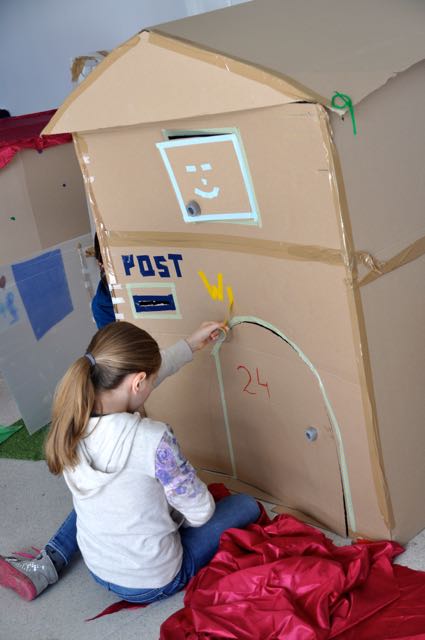
Post boxes
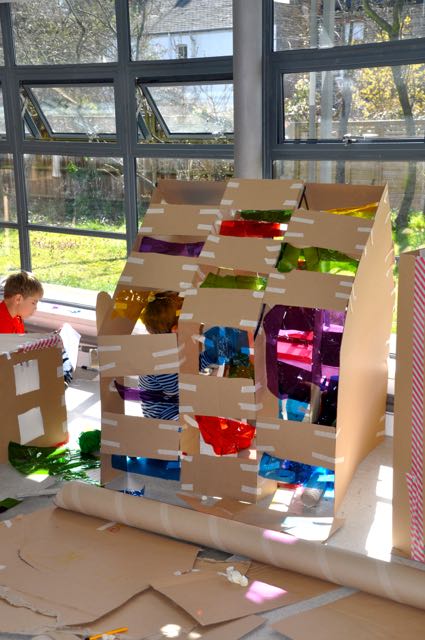
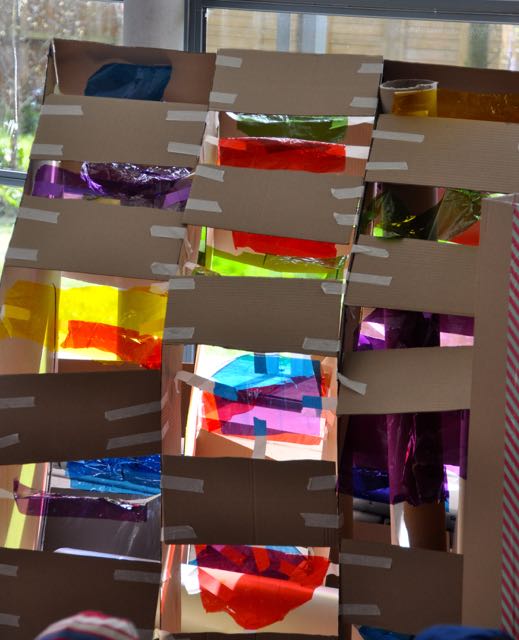
 Stained glass windows letting light and colour flood in.
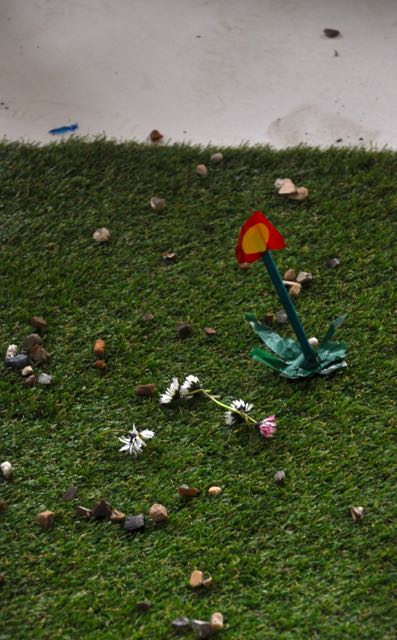
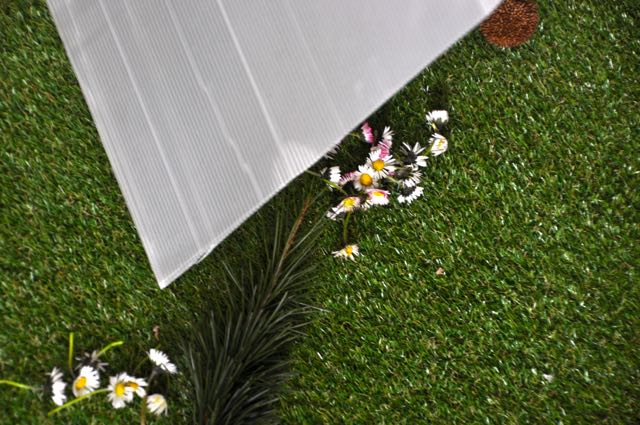
Then it was lunch in the park, with the added task to collect natural found elements to incorporate into our designs.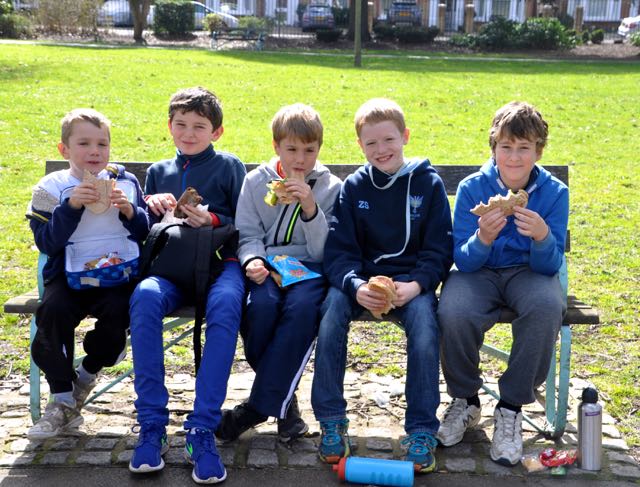
Can you spot the daffodils we found,
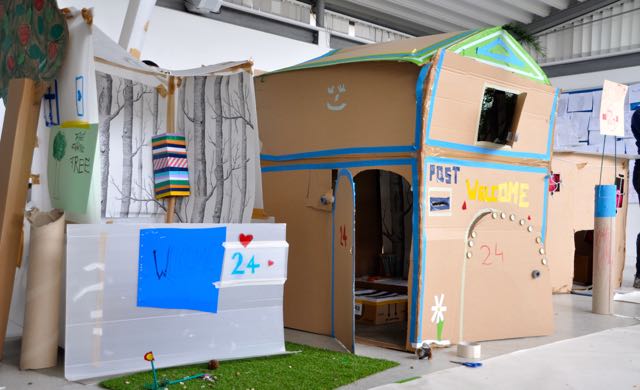
the twigs to make a real apple tree
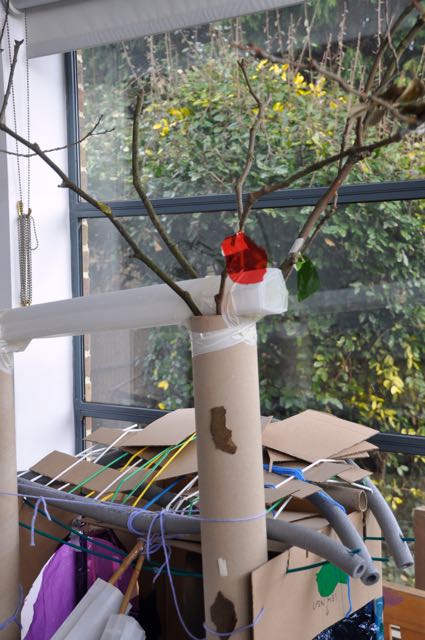
and the real daisies for the artificial garden


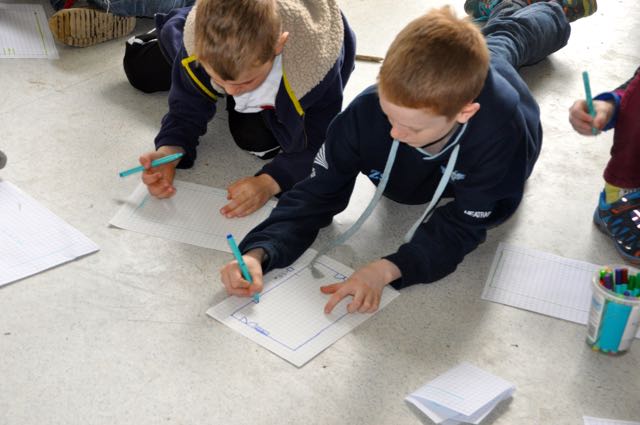
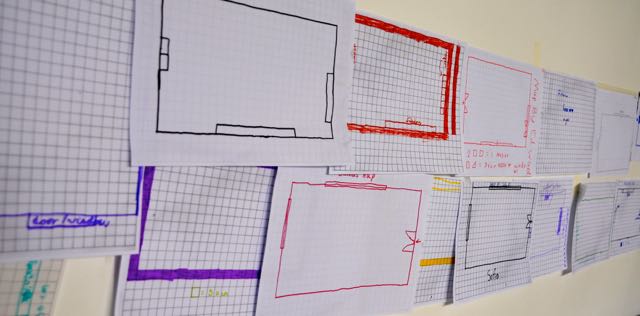
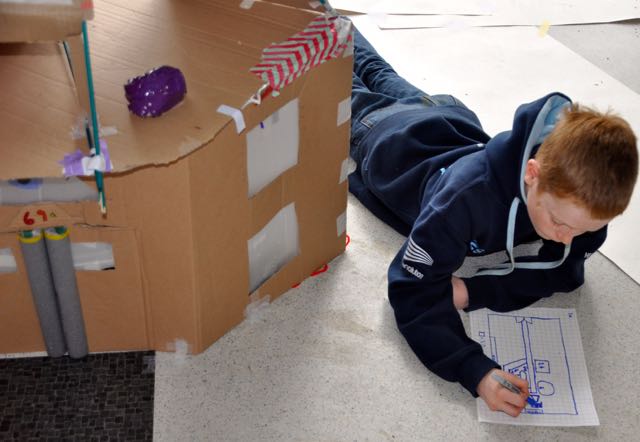
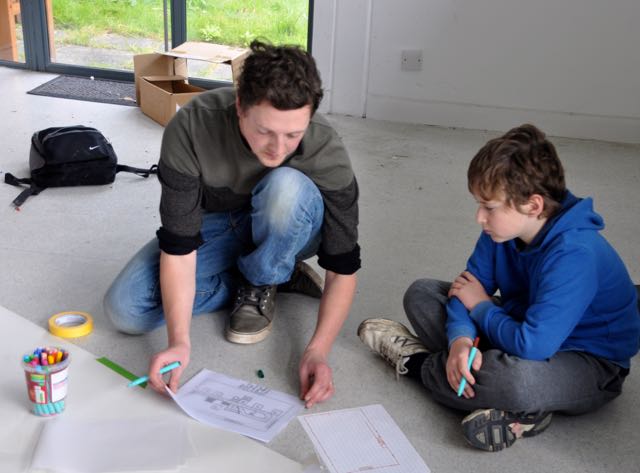
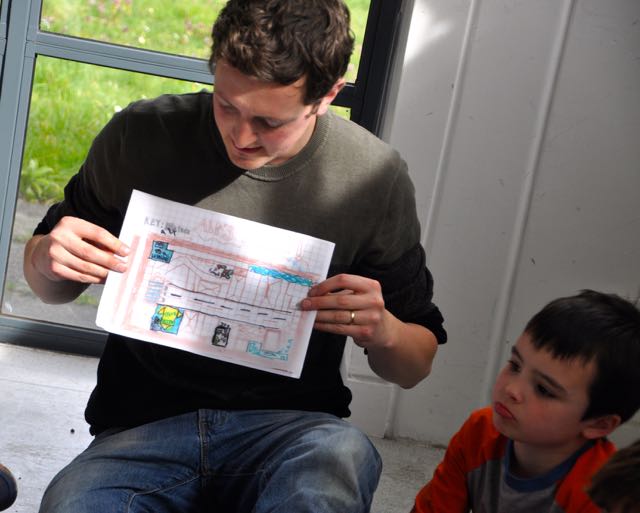
James then began to show us how to draw a plan of the room – a real architectural skill. We measured the room and drew onto gridded paper at a scale of 1m:2cm. It was tricky for some of the younger children but the older ones helped them out – which was lovely to see.
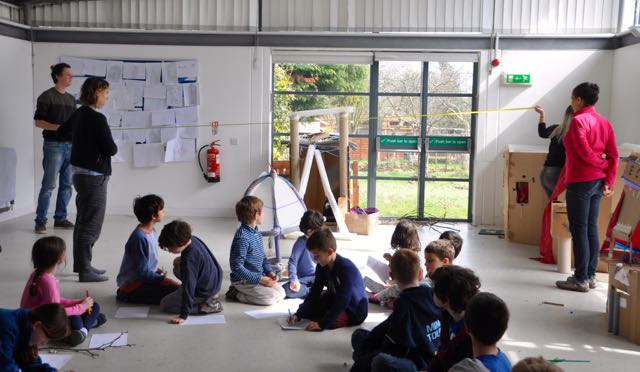
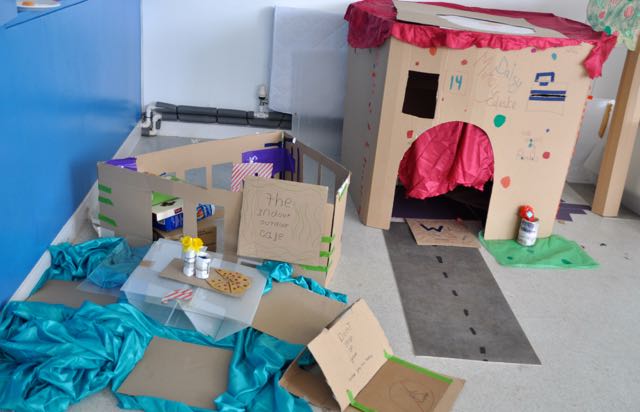
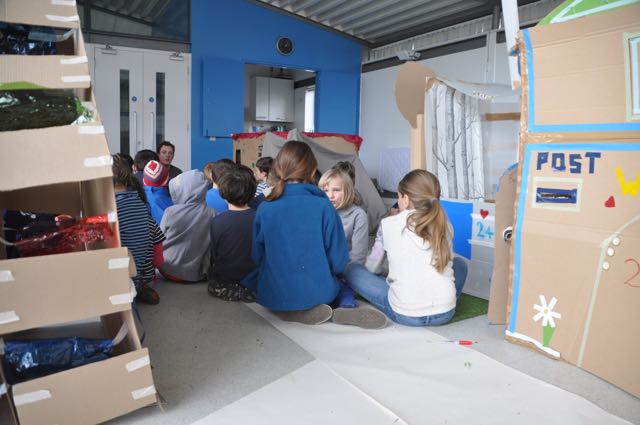
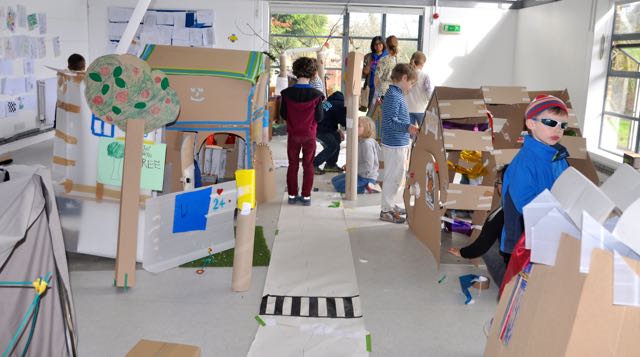
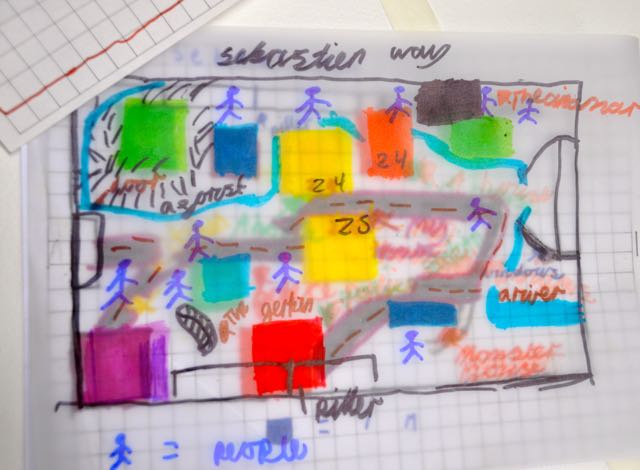
We began to think about where our buildings would be positioned on the map and in the room as we thought about presenting the work to our parents.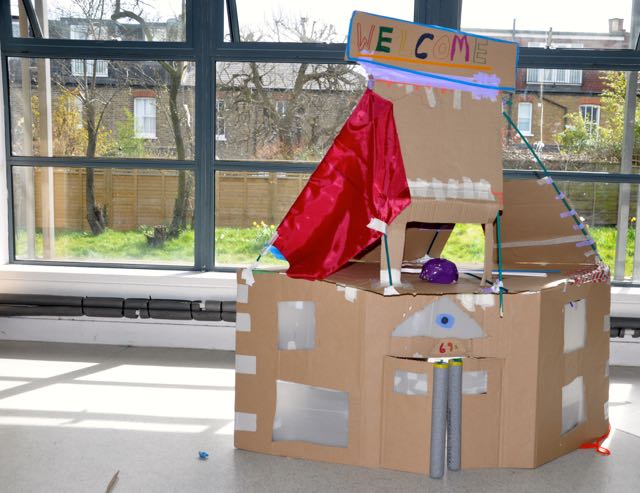
We moved the buildings into place and added roads. We decided as a group how the space should look.
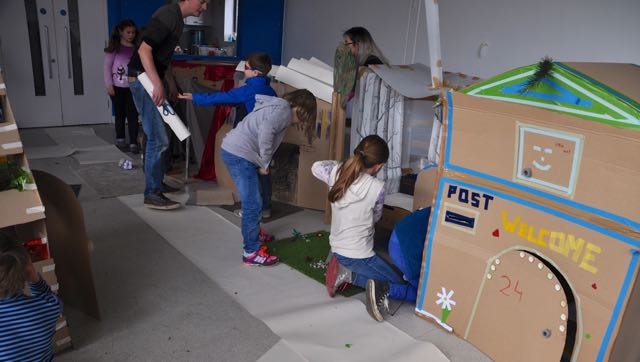
The city began to take shape for real.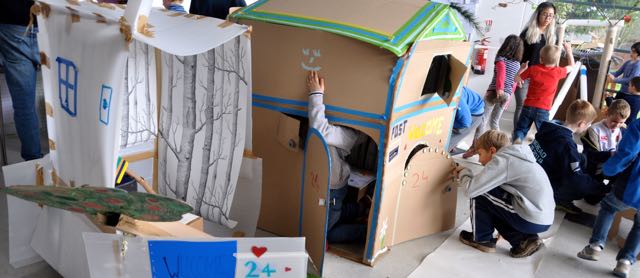
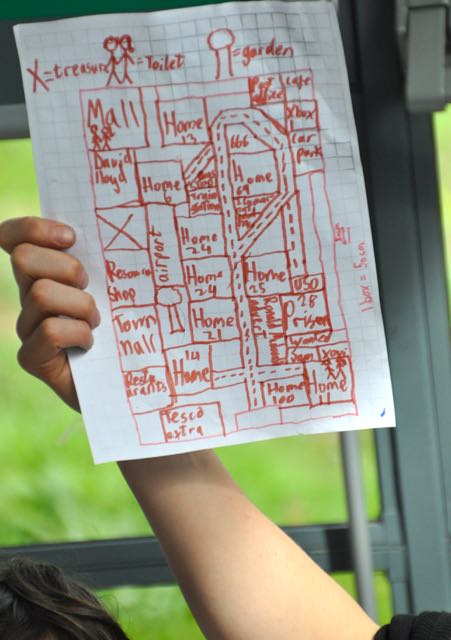
We added the roads and buildings to our map.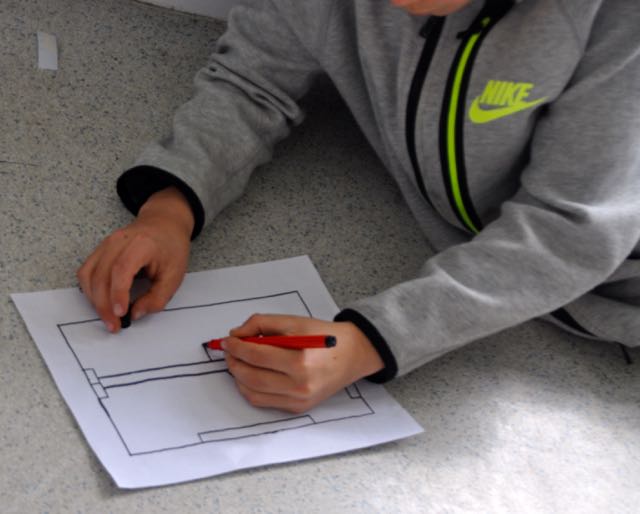

James helped us to make them detailed and accurate.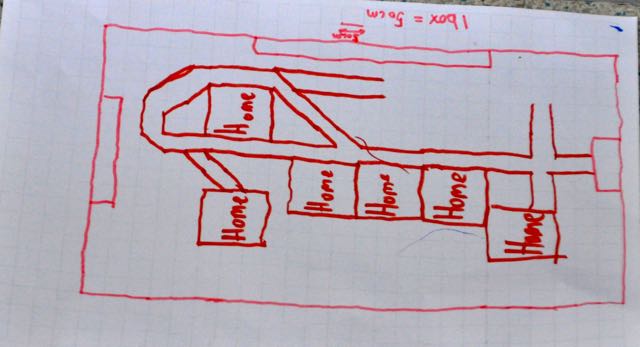
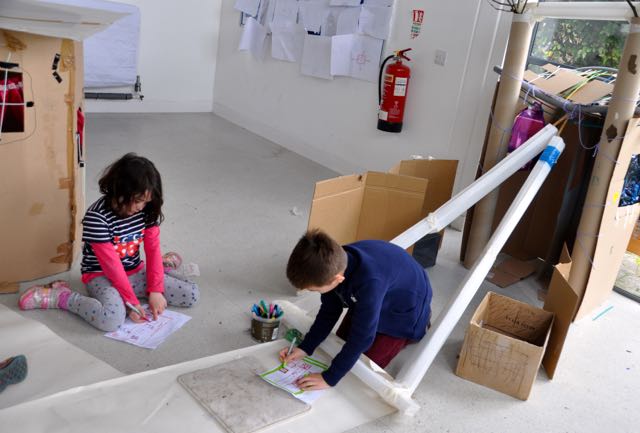
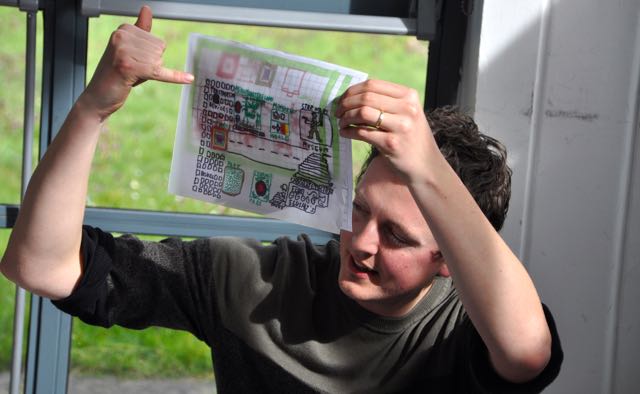
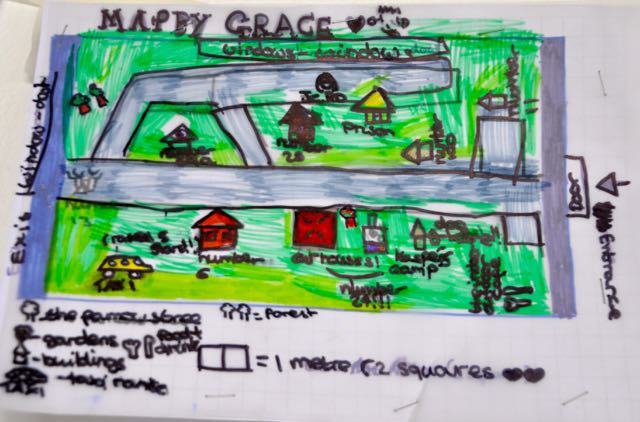
We made a tracing paper overlay onto the plan and added more imaginary elements to the map.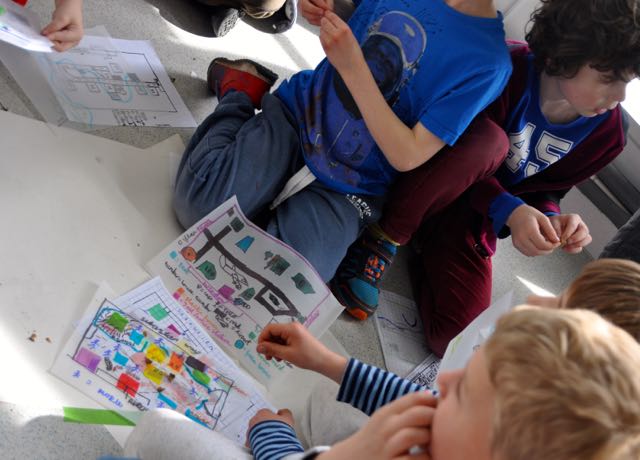
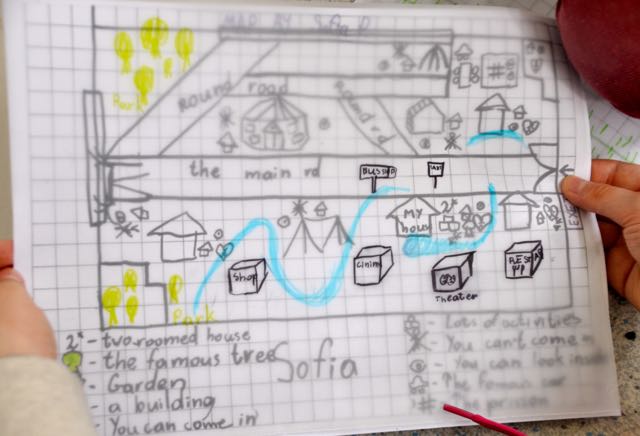

Some of these imaginary items then became a reality!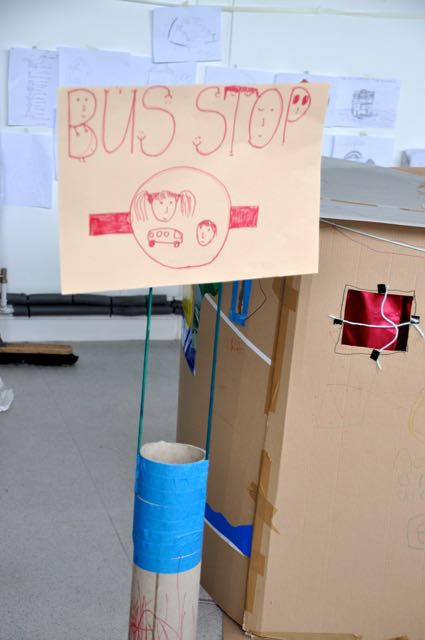
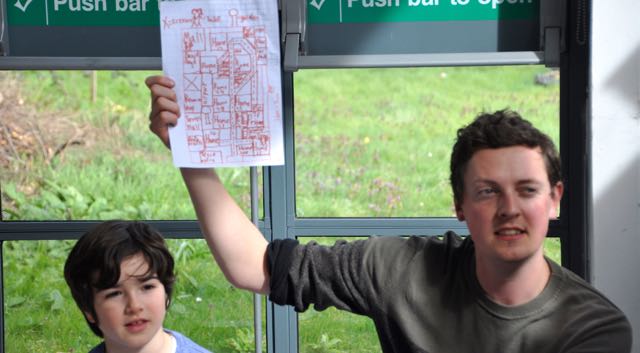
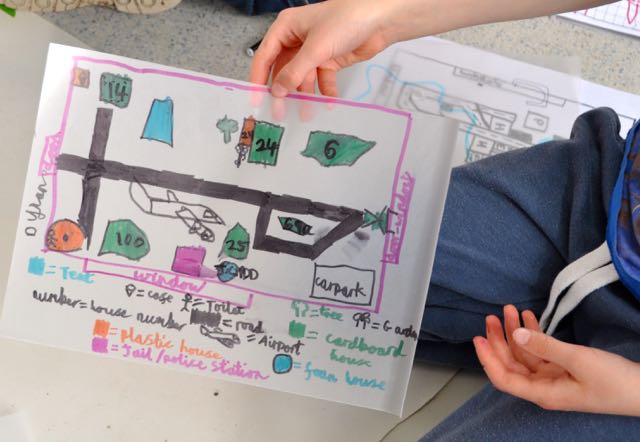
We were now ready to present our city to our parents. The finishing touches were put in place.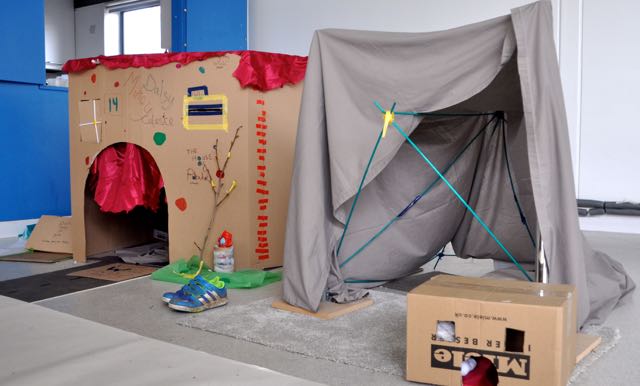
The maps complete and ready to use as a guide.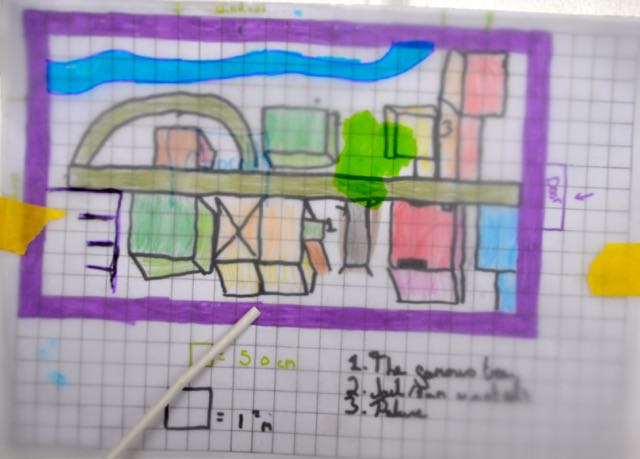
We were very proud of our work
It was a shame to have to take it down…but it will live on in our memories for a while to come….and inspire us in the future.
- Posted by
 admin
admin - Posted in Children's Work, Children’s holiday art courses, Courses
 Mar, 30, 2016
 No Comments.
 Join Us On Facebook
 Join Us On Twitter
 Join Us On In.com
 Subscribe to Our Blog