
 07808 168 543
Brilliant Beacons
Artist Louise Pasquill and assistant practitioner Susie Aylett, created a real challenge for the children, with this multi-skilled project, to build a functional lighthouse.
The many techniques covered to learn how to assemble this complex design and technology model spanned most of this term. Here are some of them: painting; cutting; glueing; knotting; folding; 3D shapes; construction; coastal colours.
Step one, to open up a discussion about lighthouses and their purpose, history and association with artists. The foremost painter of Lighthouses, is Edward Hopper. See his painting “The Lighthouse at Two Lights” here, which hangs at The Metropolitan Museum of Art, New York. This is one of his many examples of painting the architecture of these majestic buildings.
We read from the book series “the Lighthouse Keeper” by Ronda Armitage which is on the National Curriculum for KS1, studying the amusing and imaginative illustrations by the author. The idea of the dangers of the sea and the threat of rocks and stormy waters resonated with the children, so it was important that our final models should light up, to act as a warning to sailors at night.
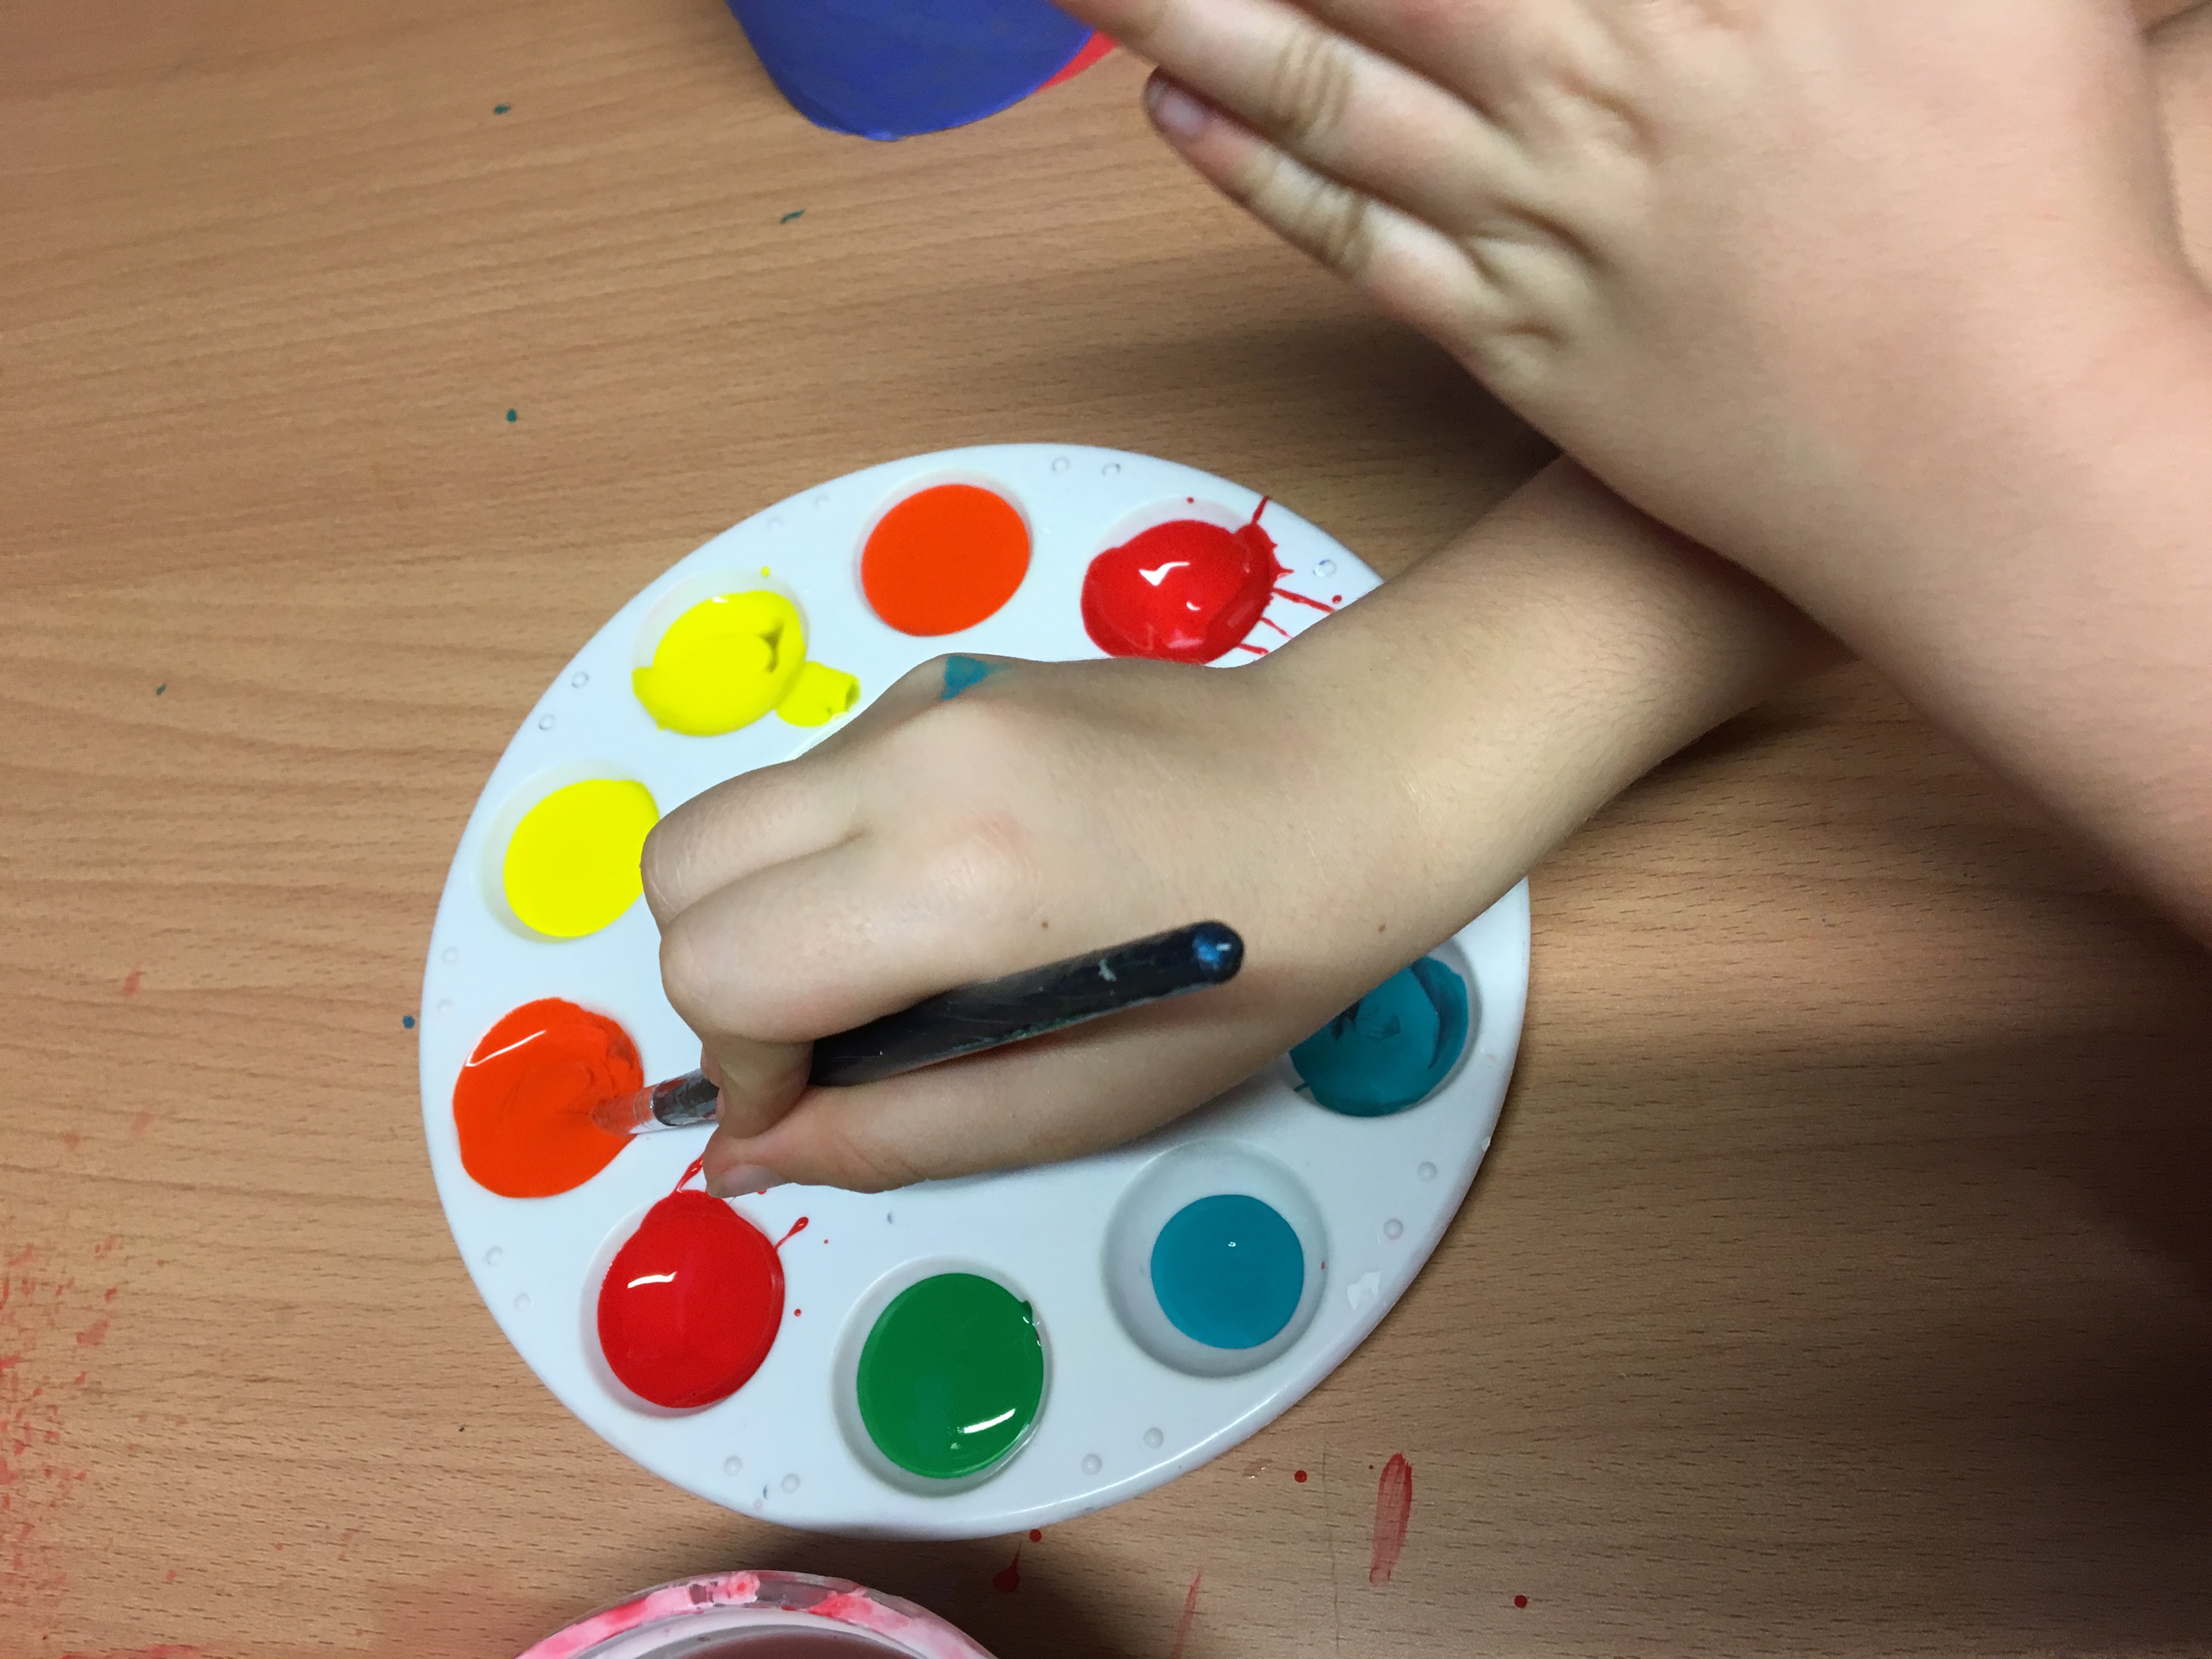
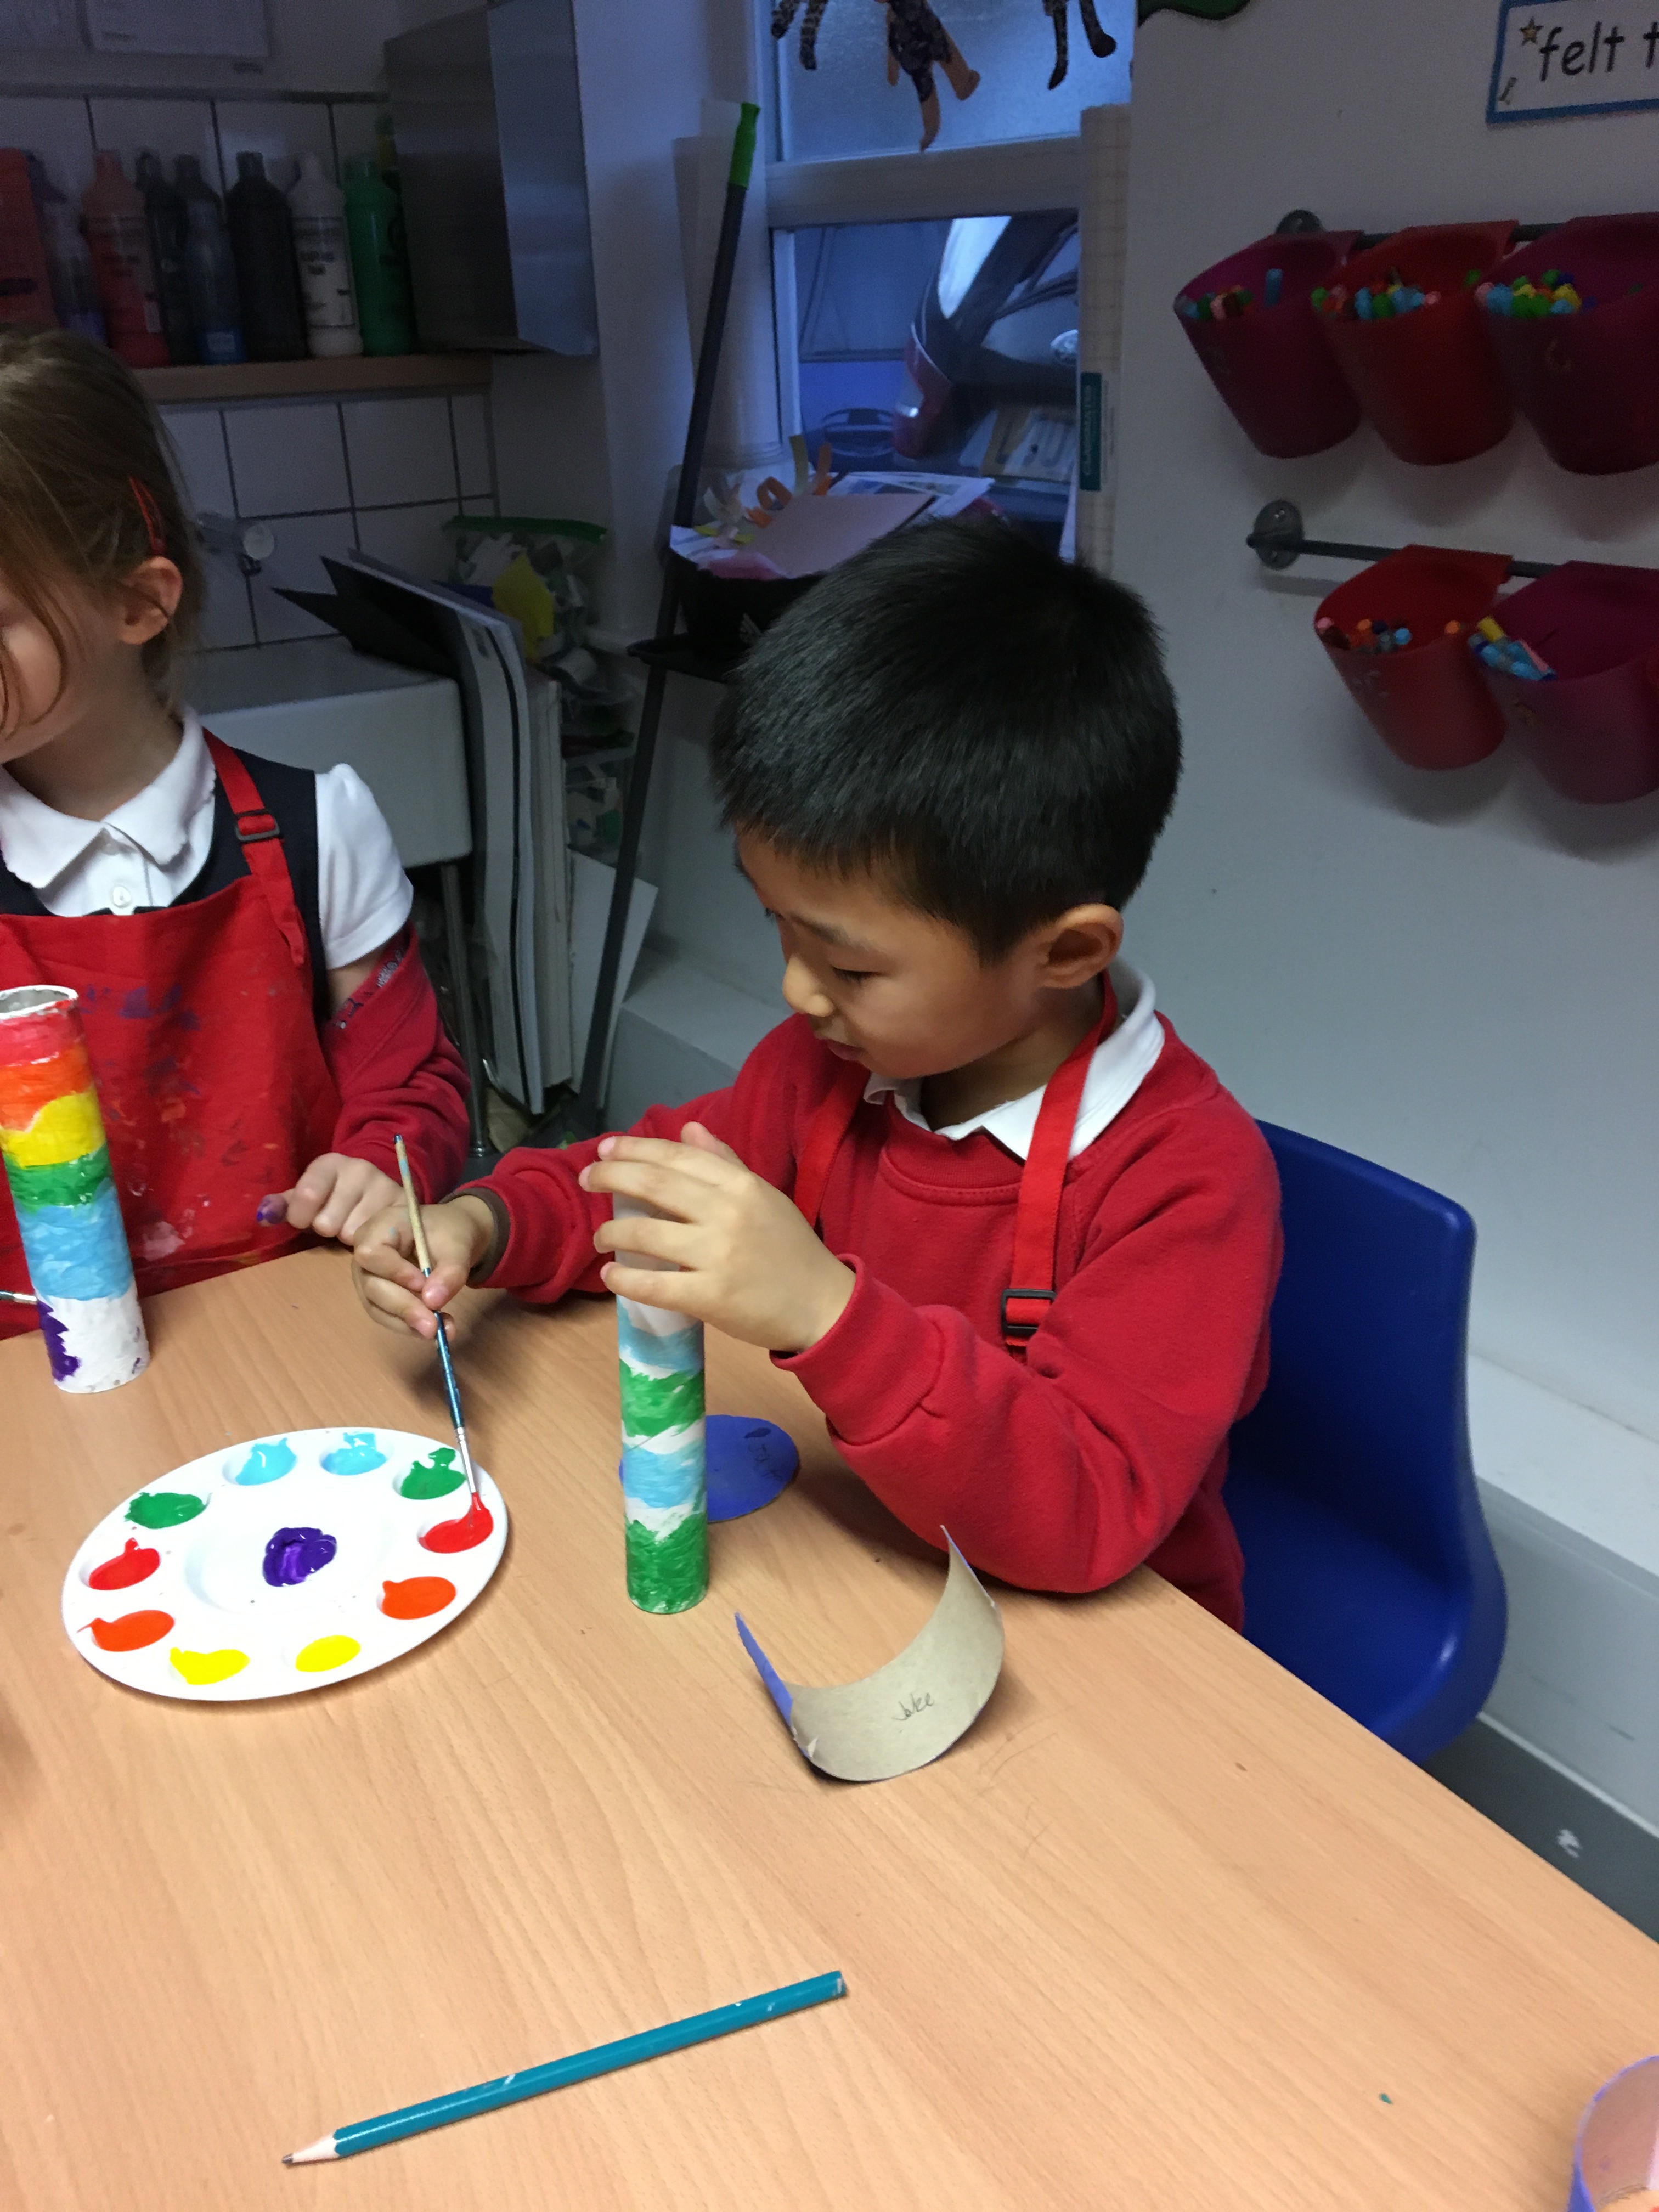
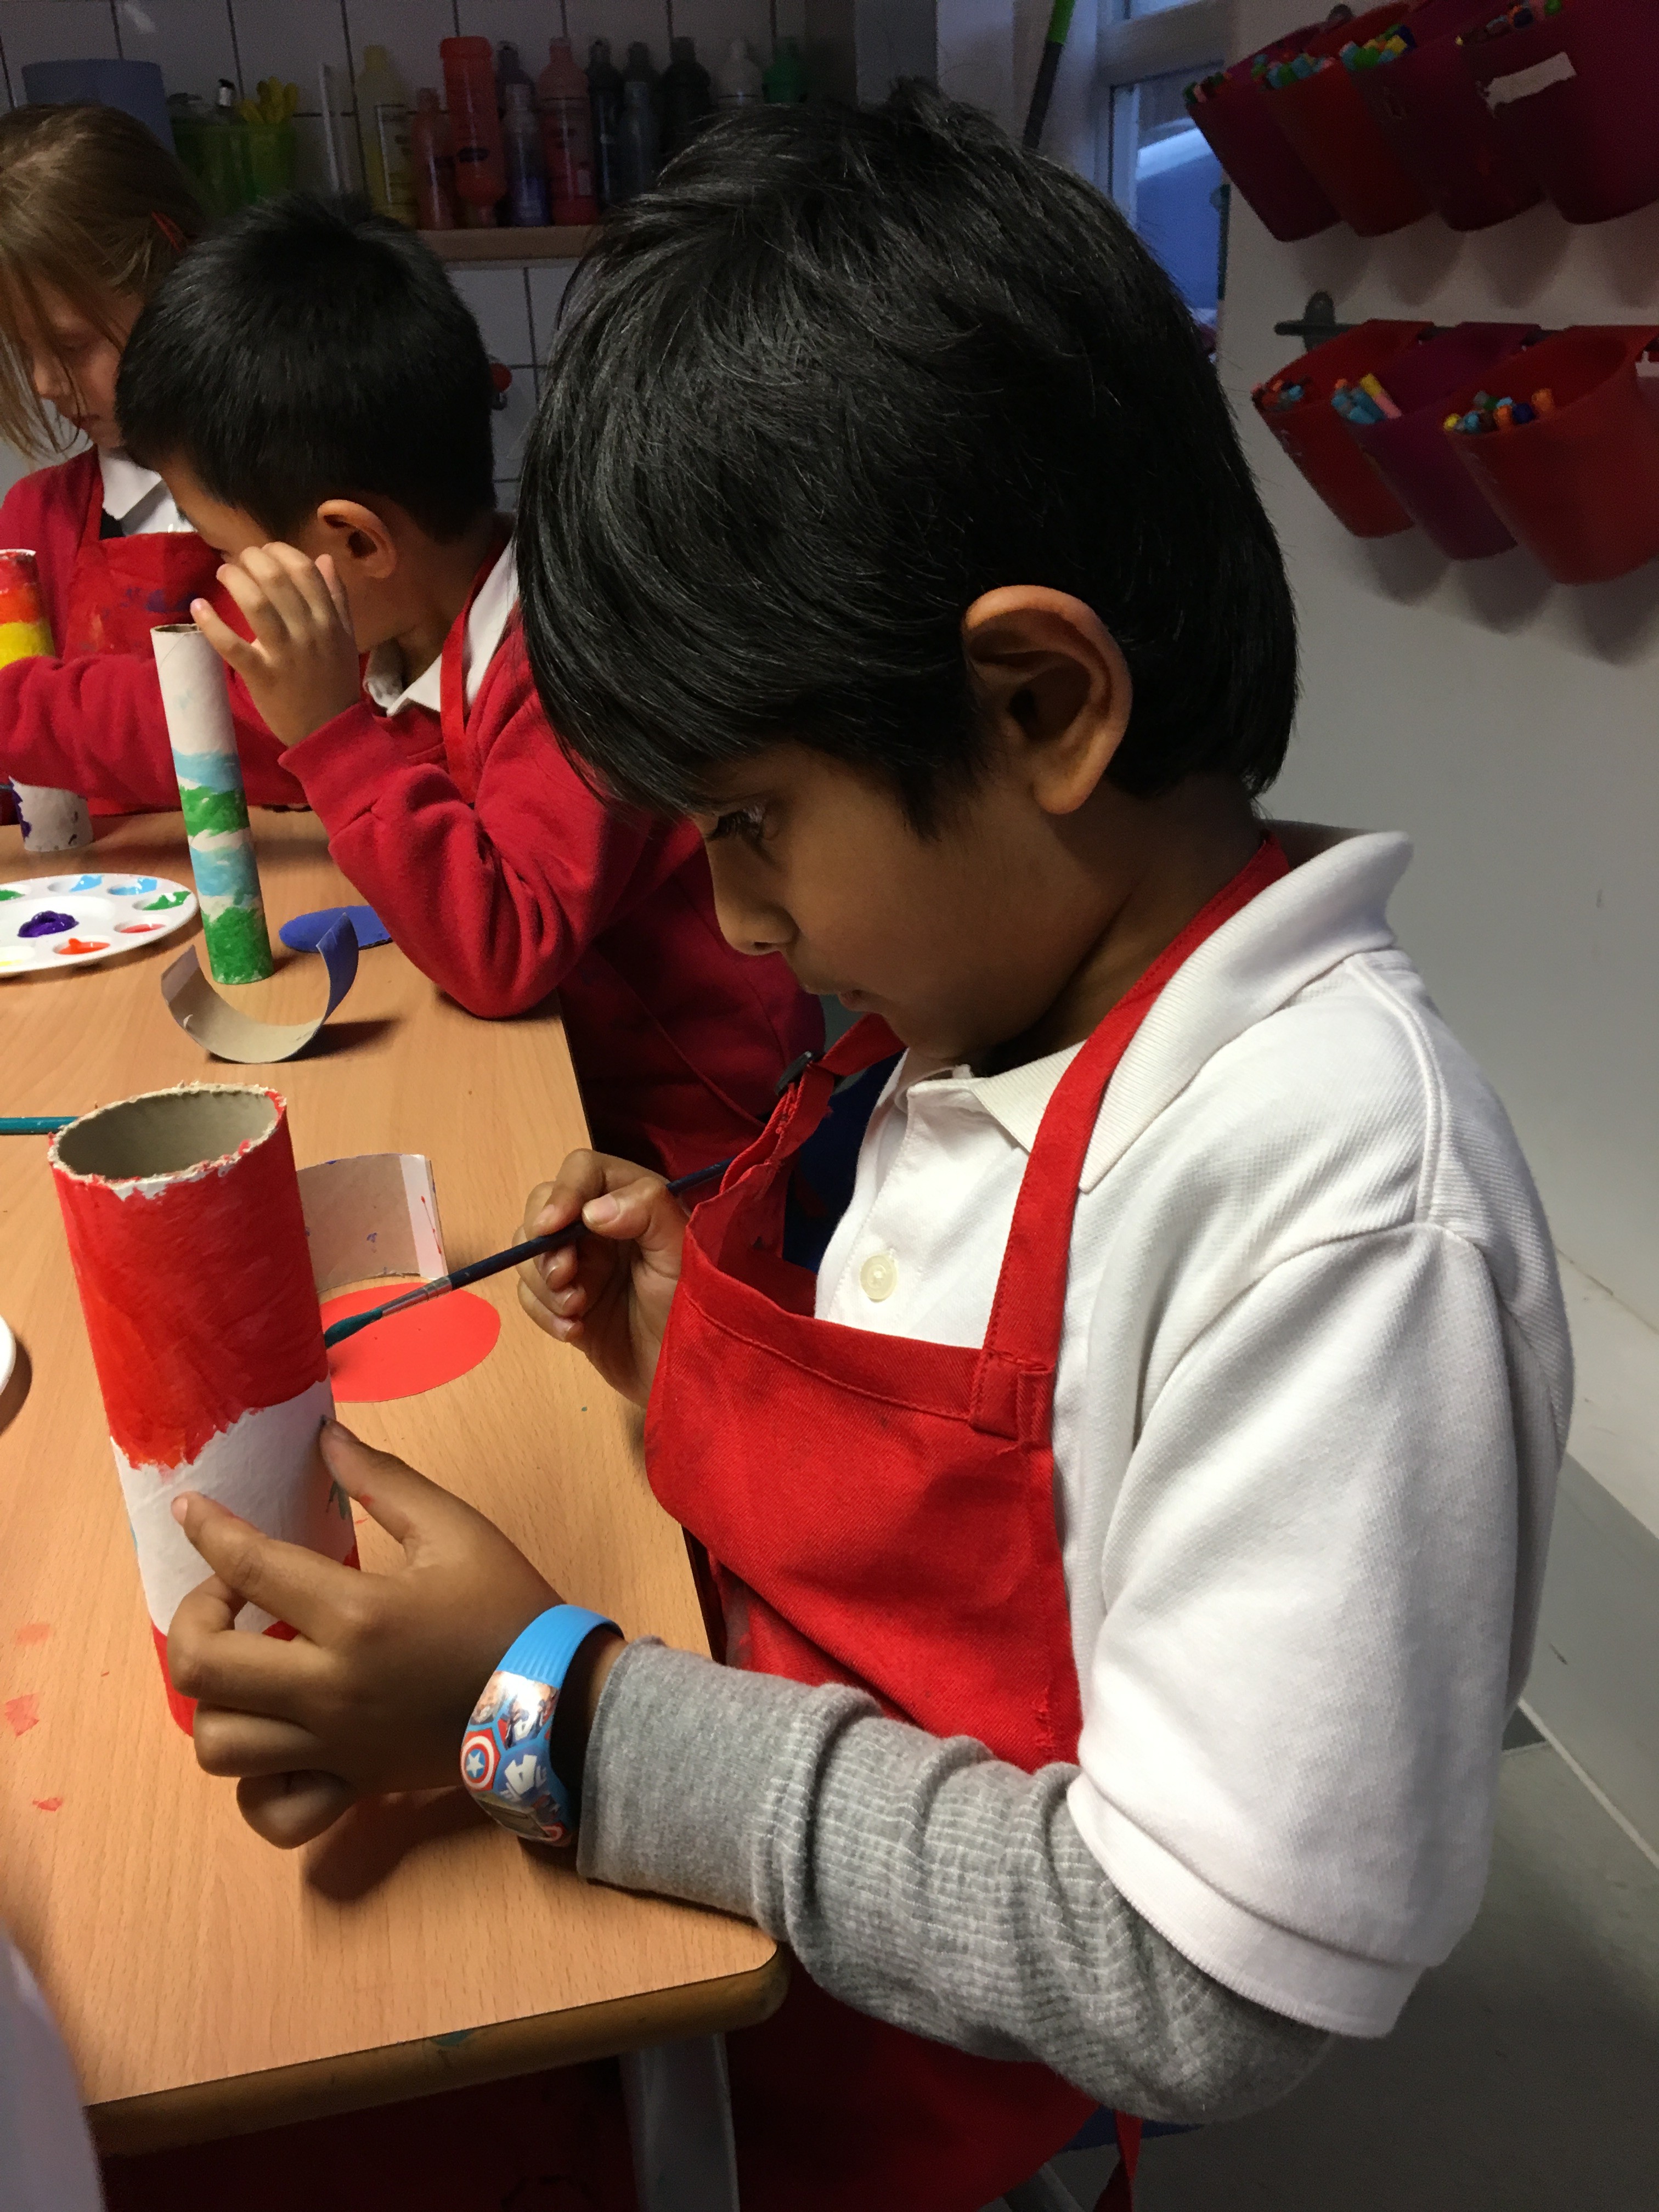
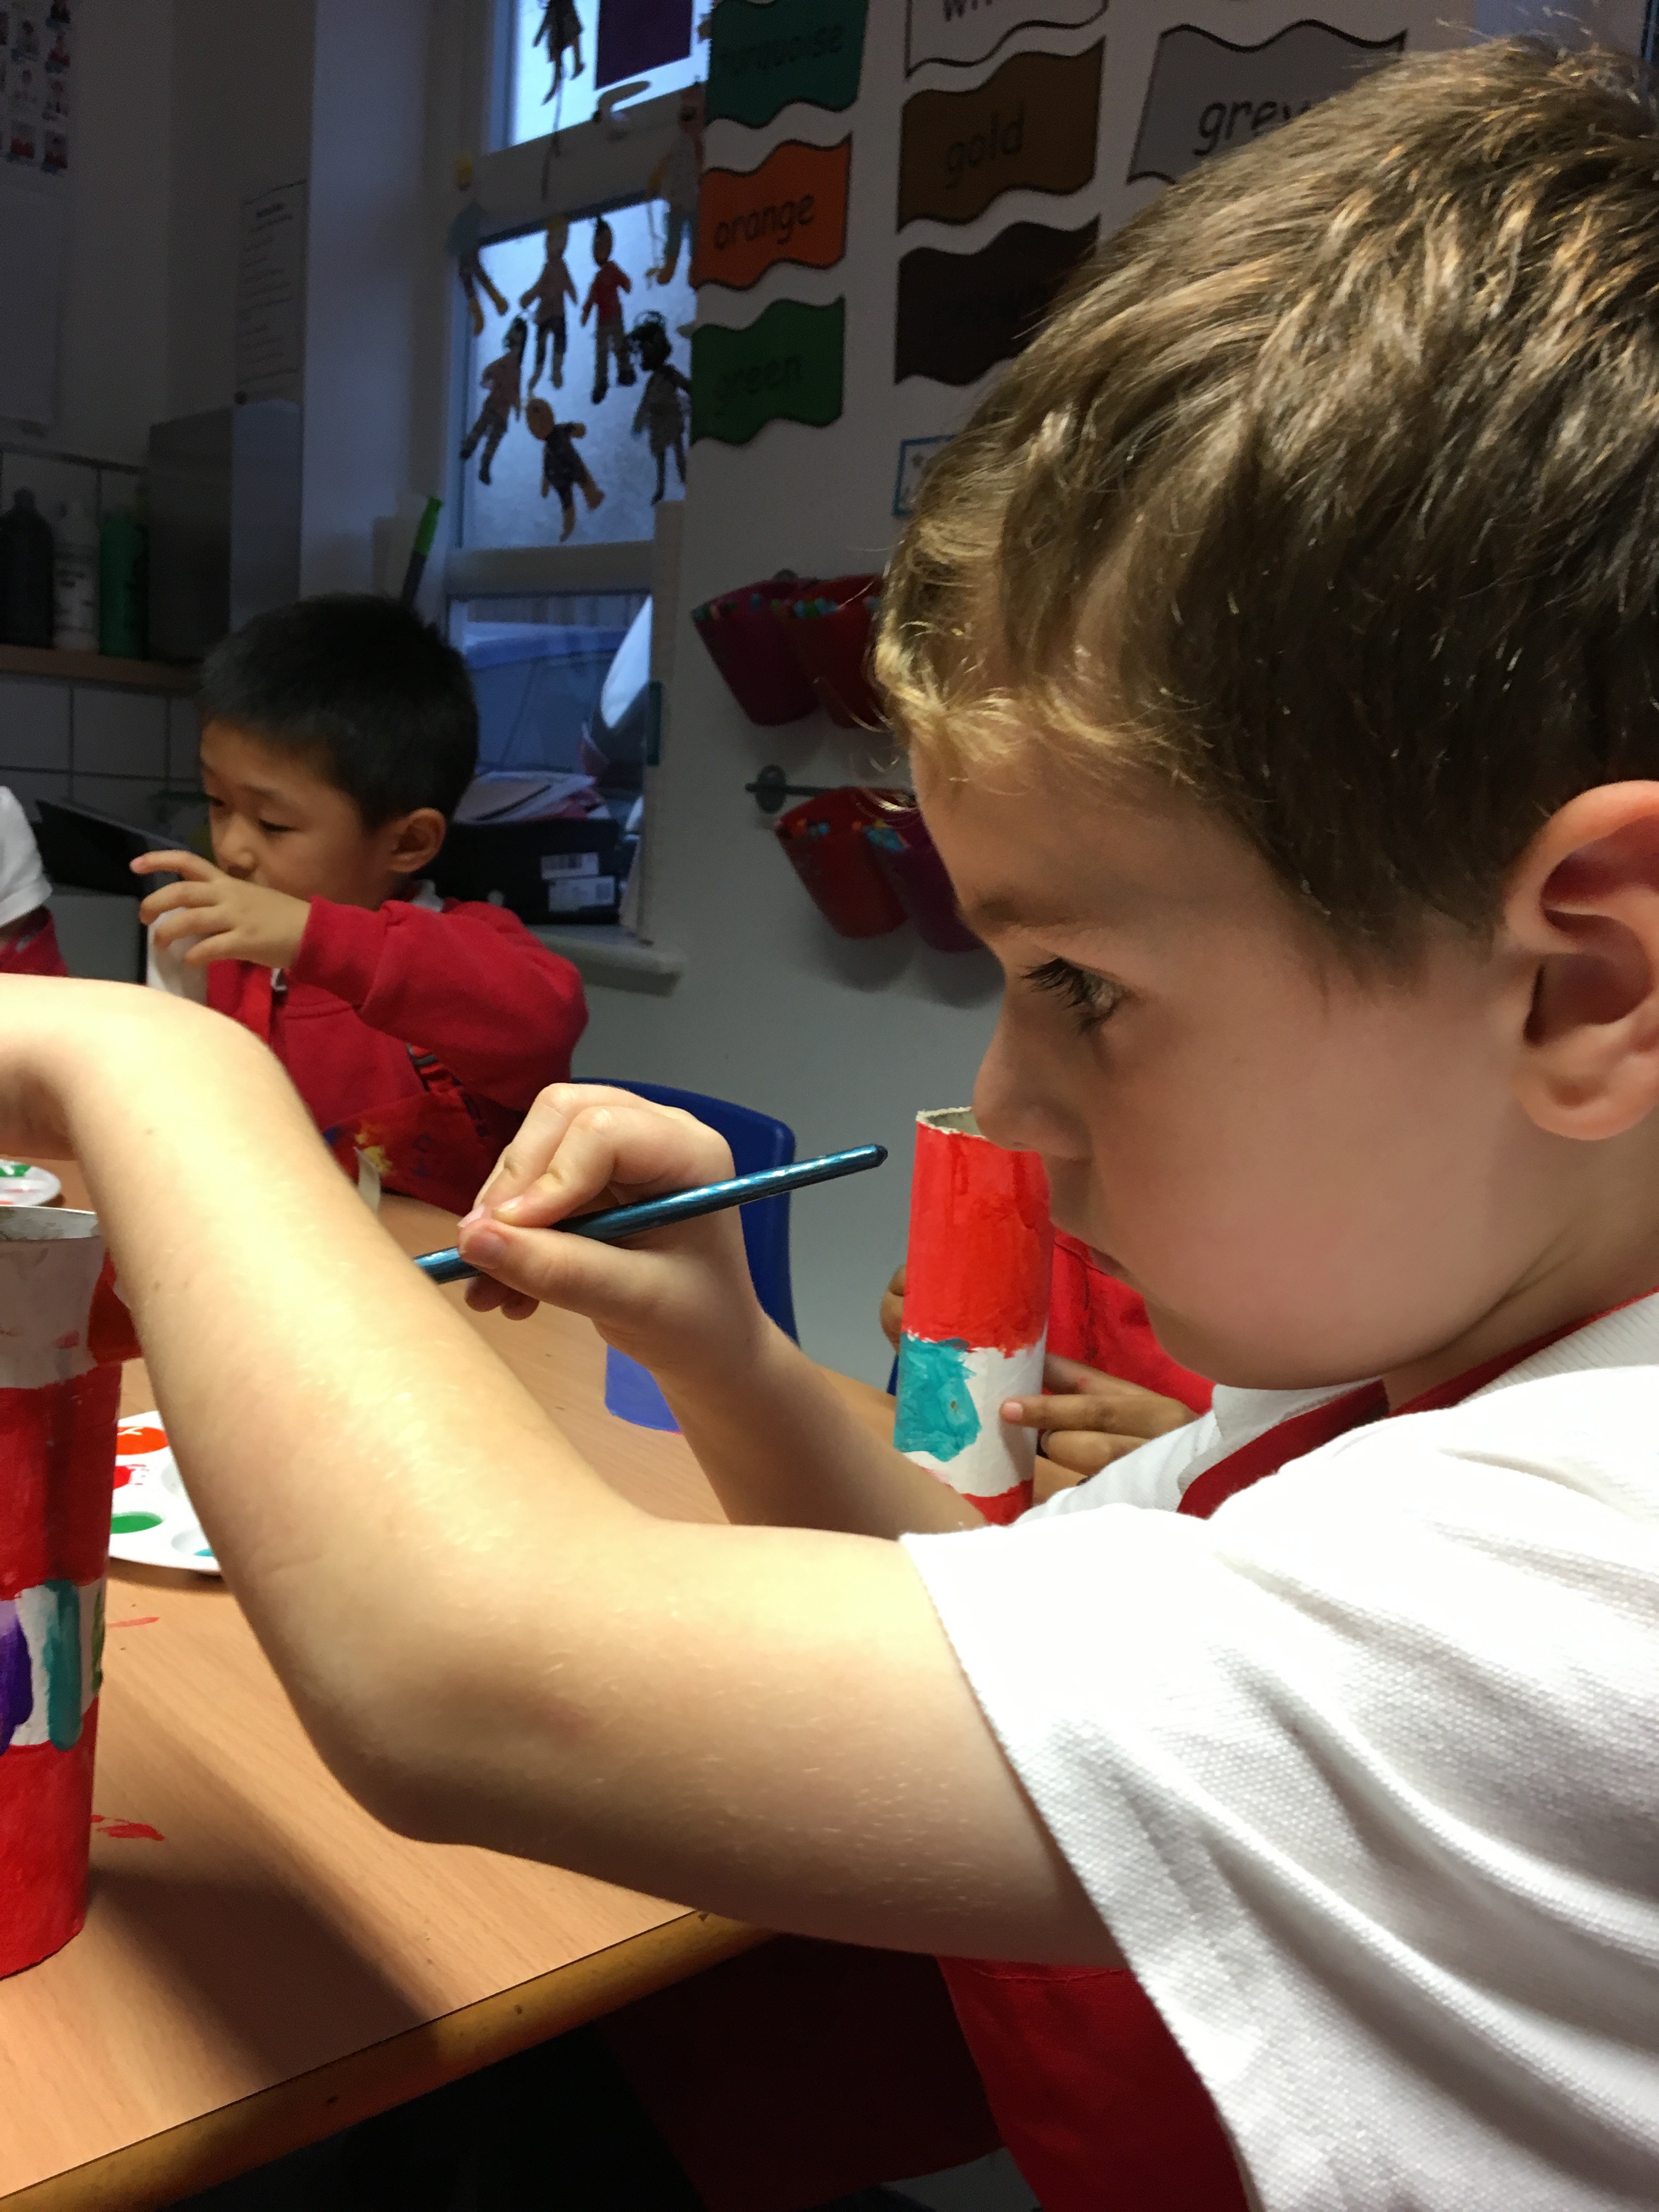
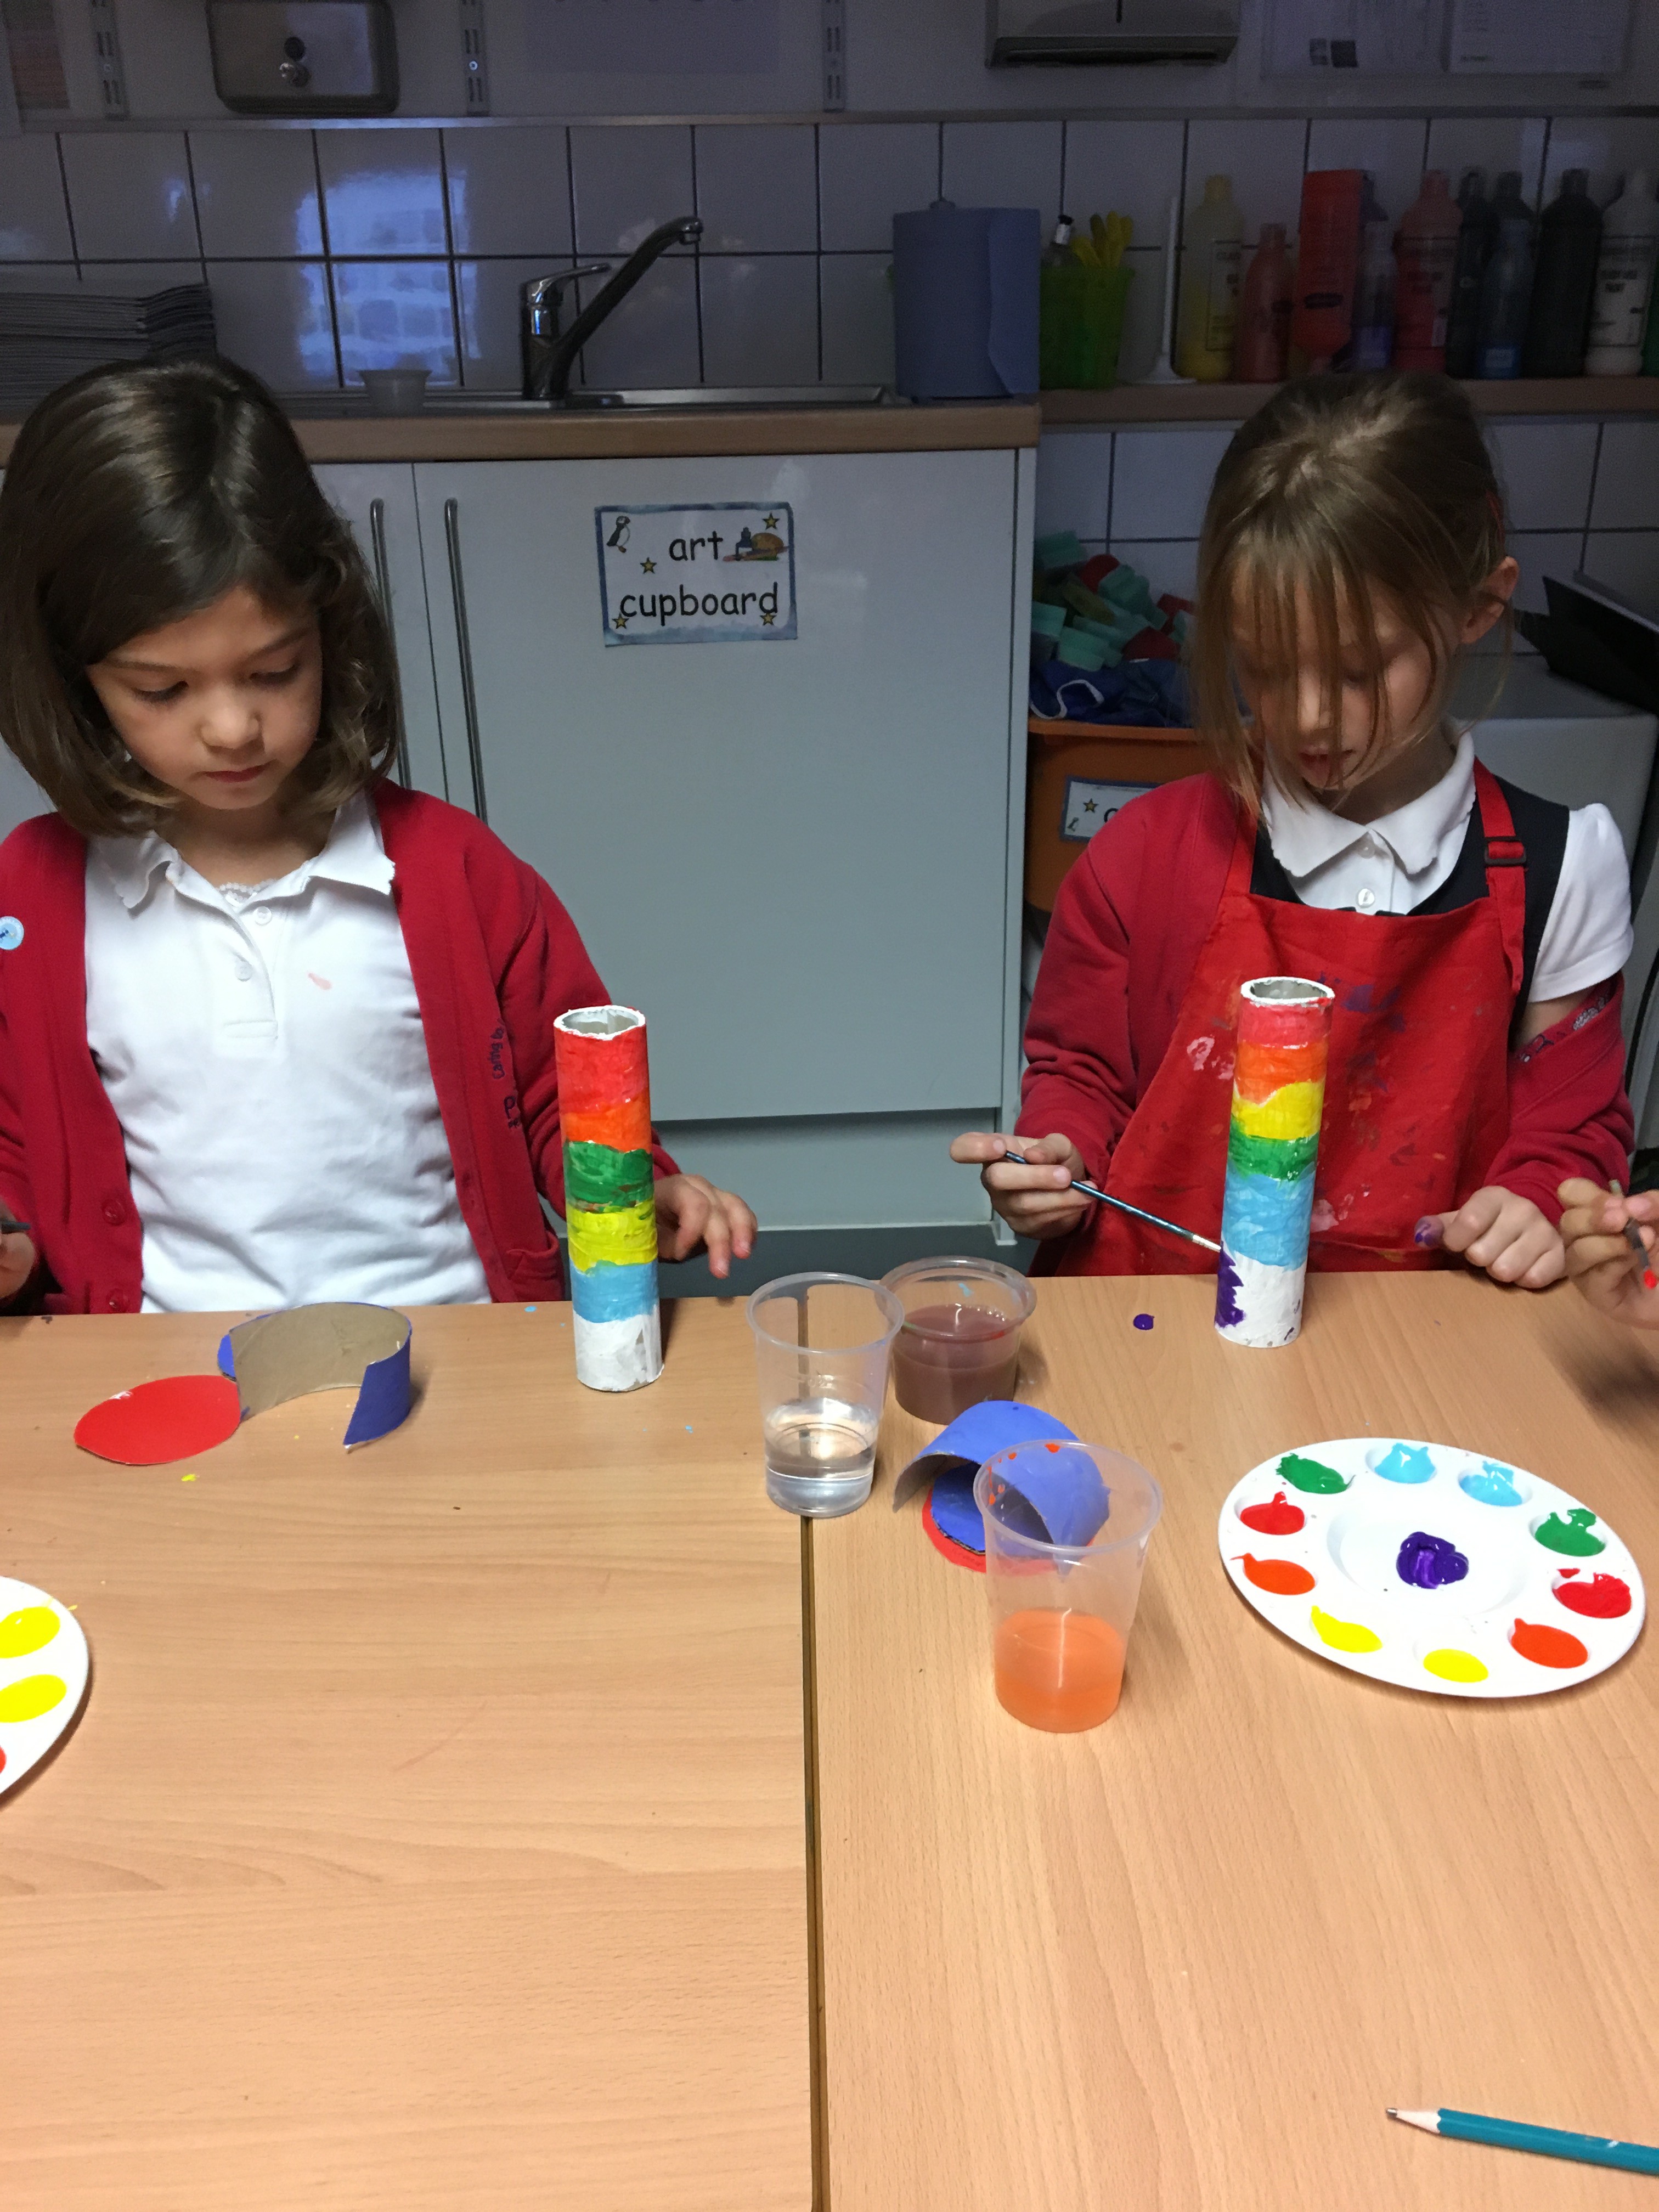
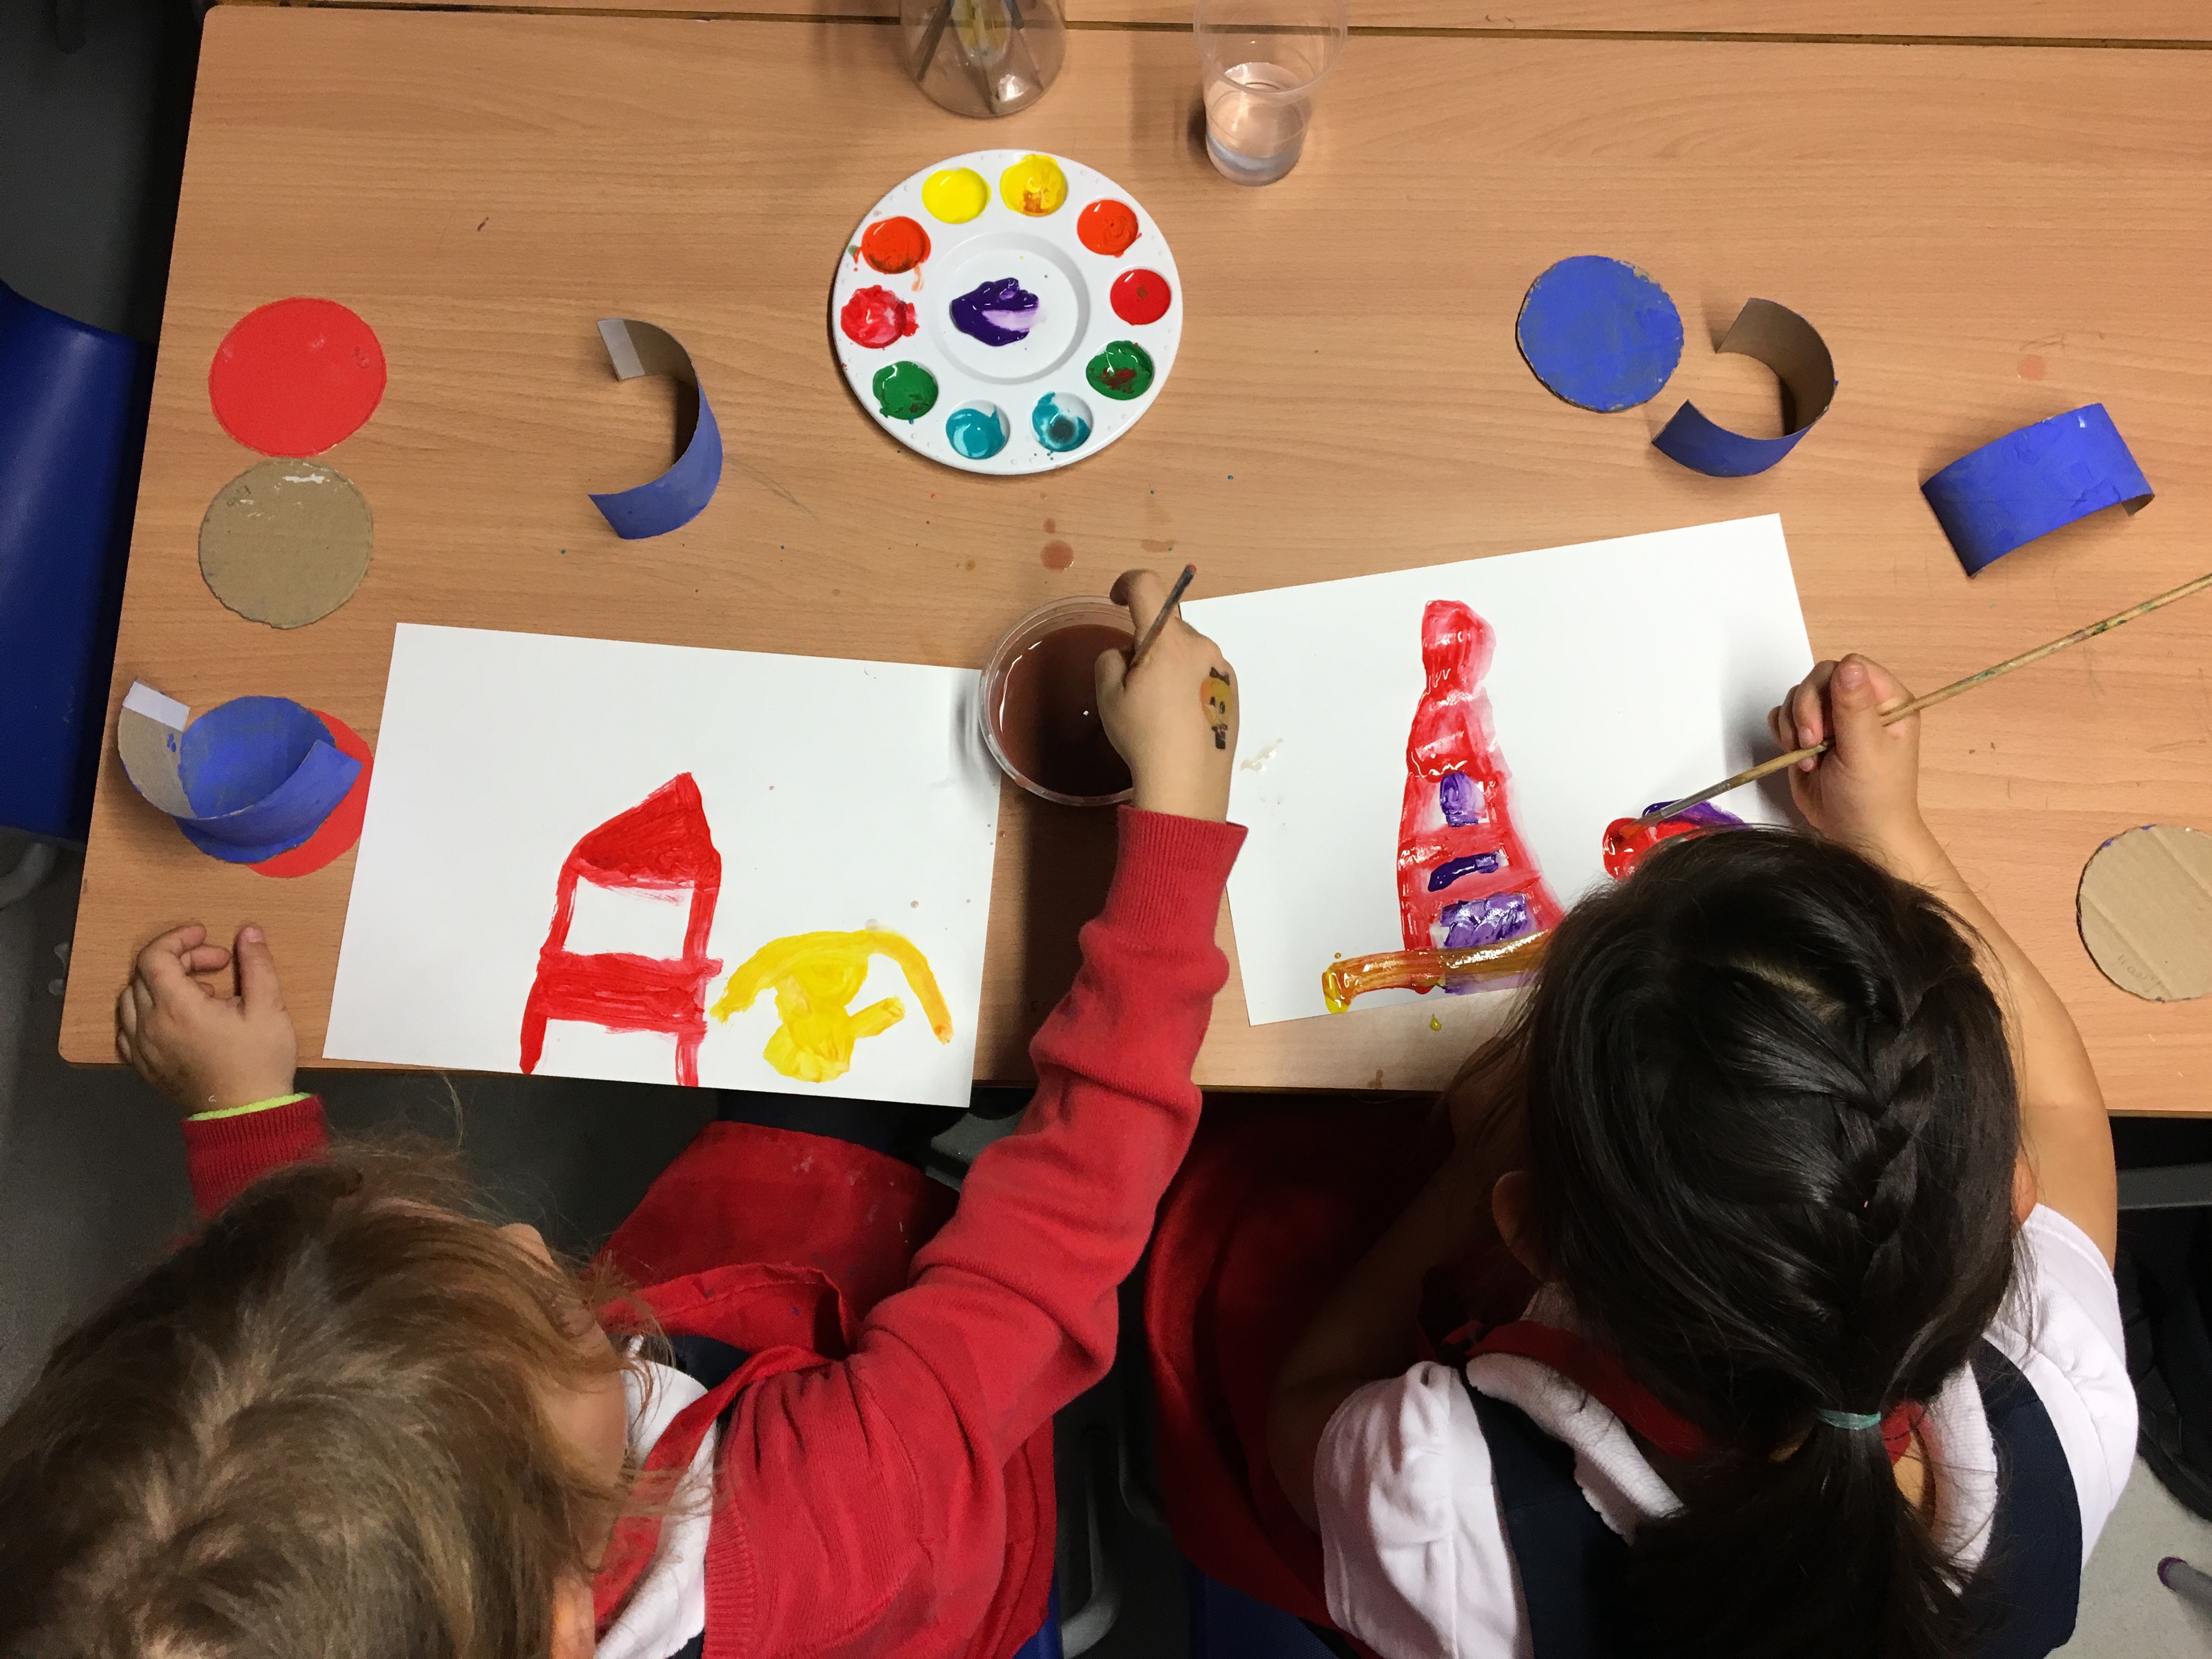
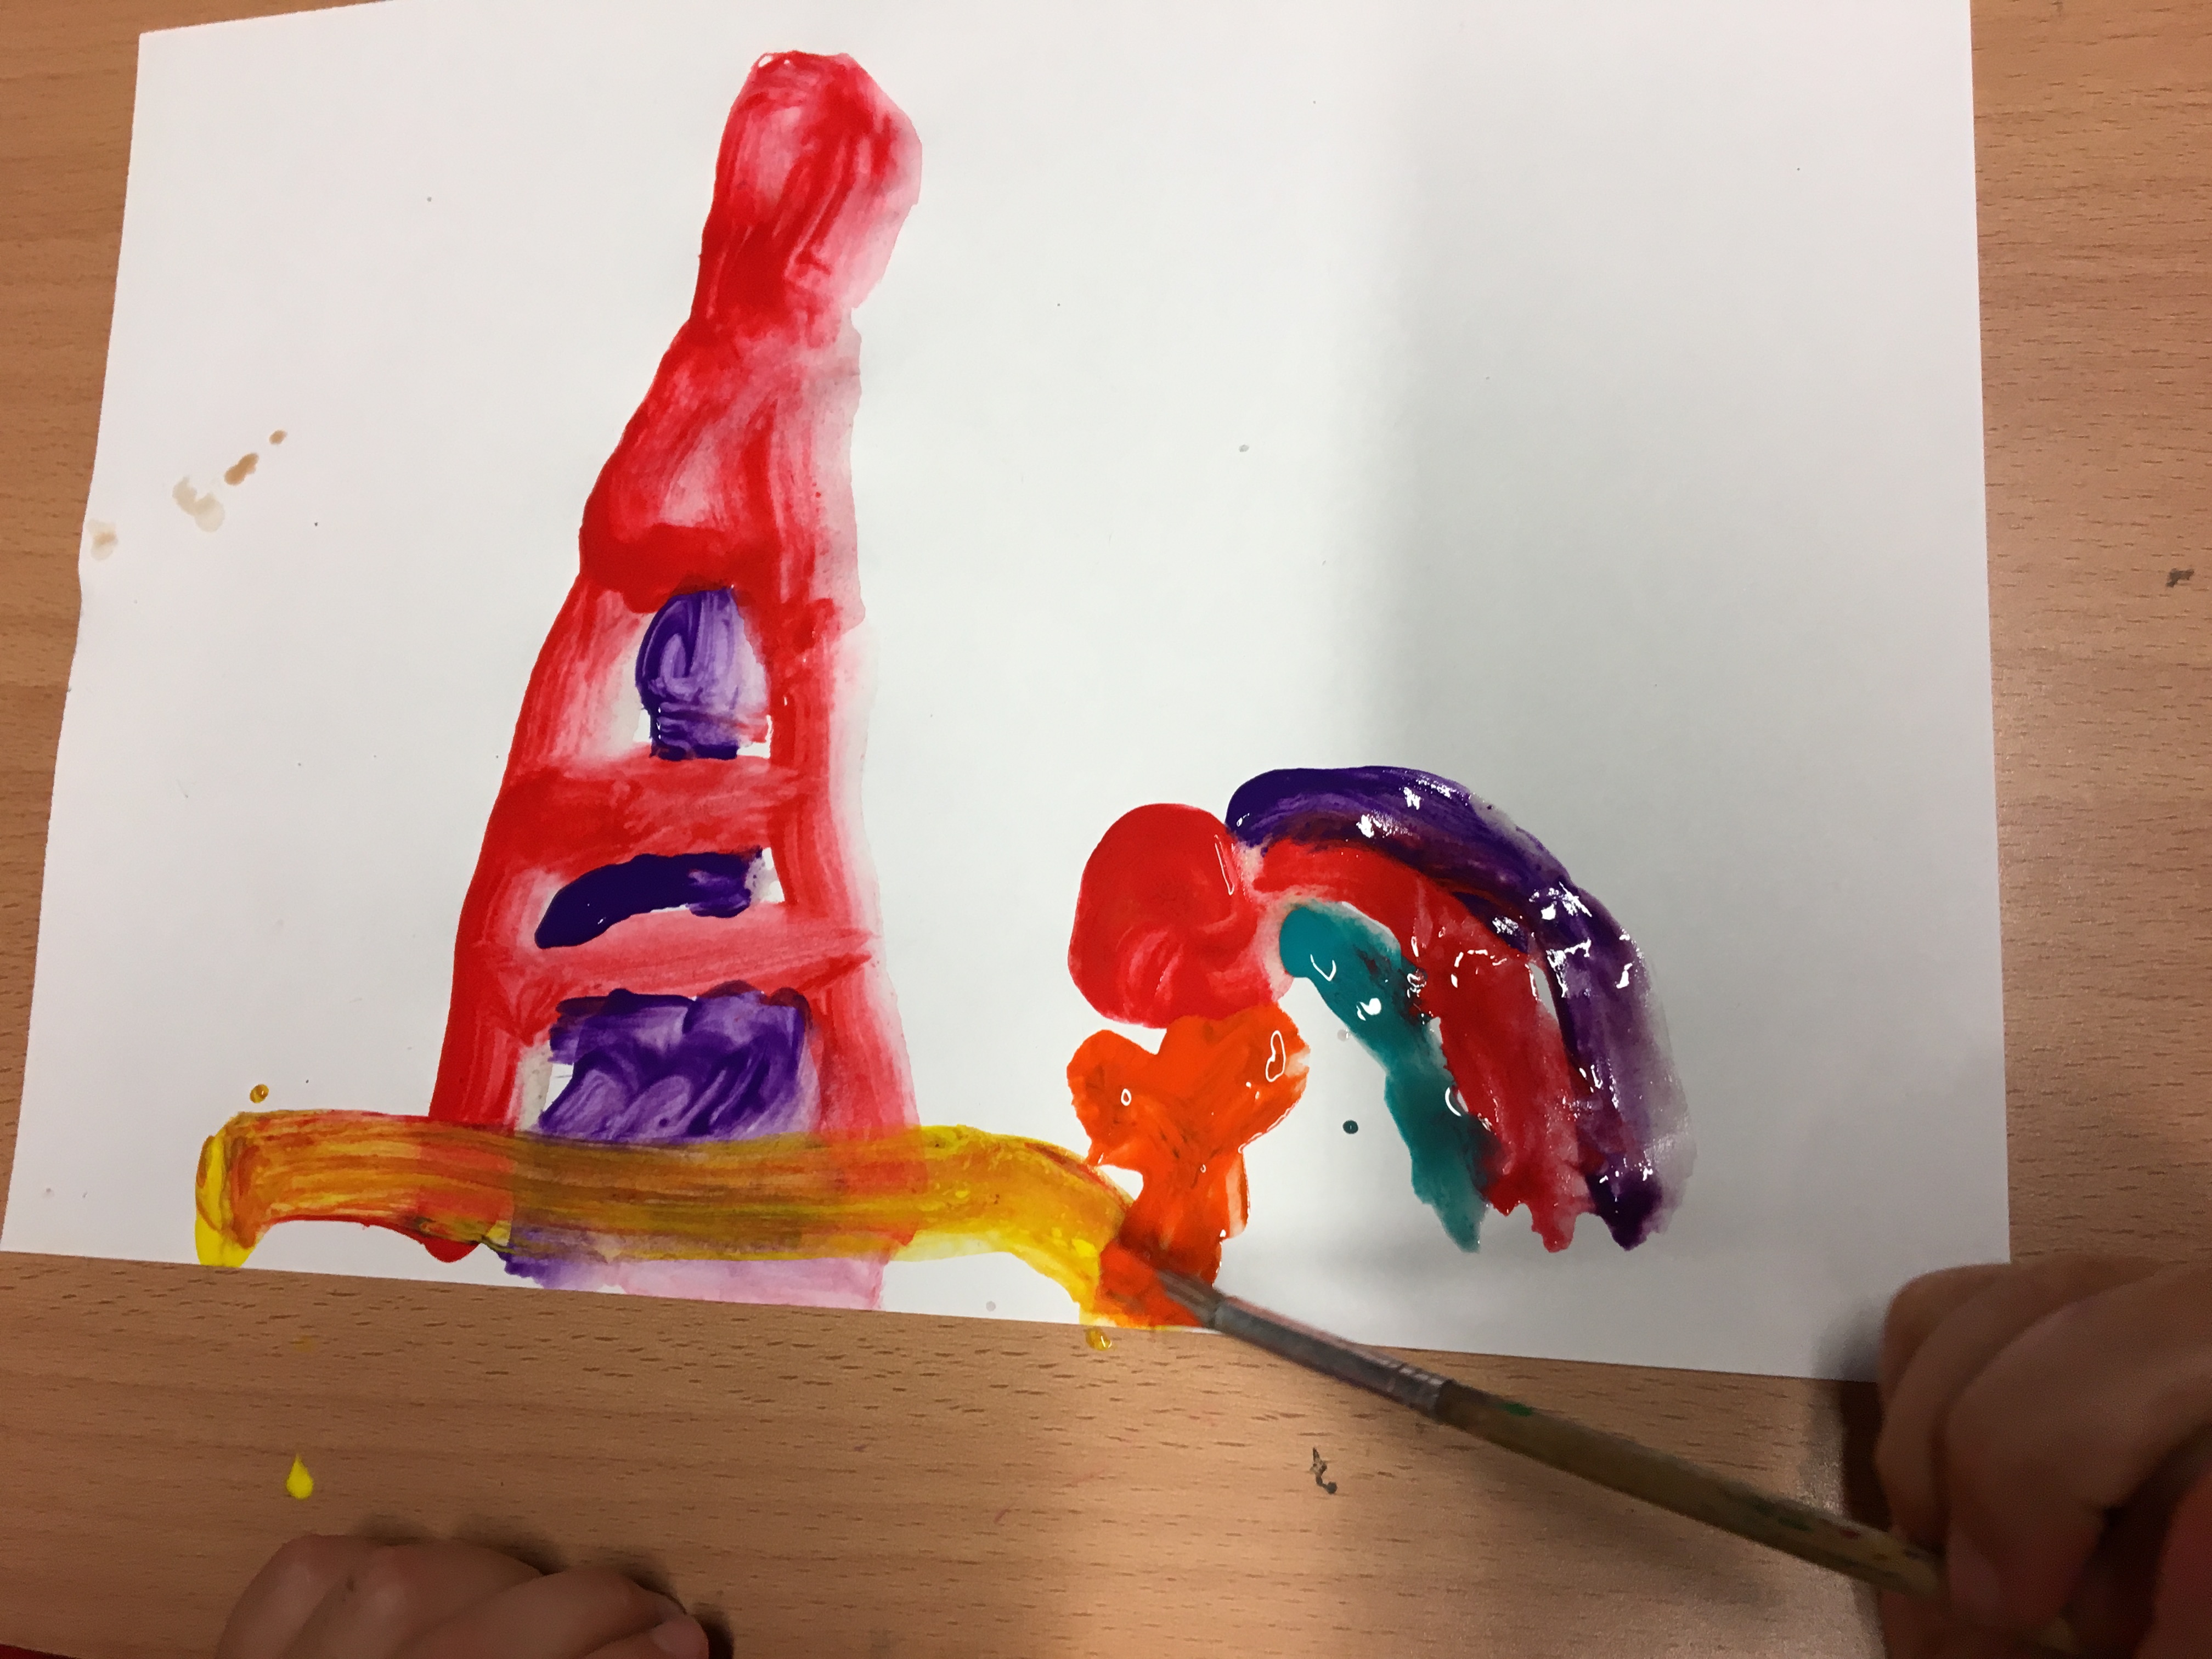
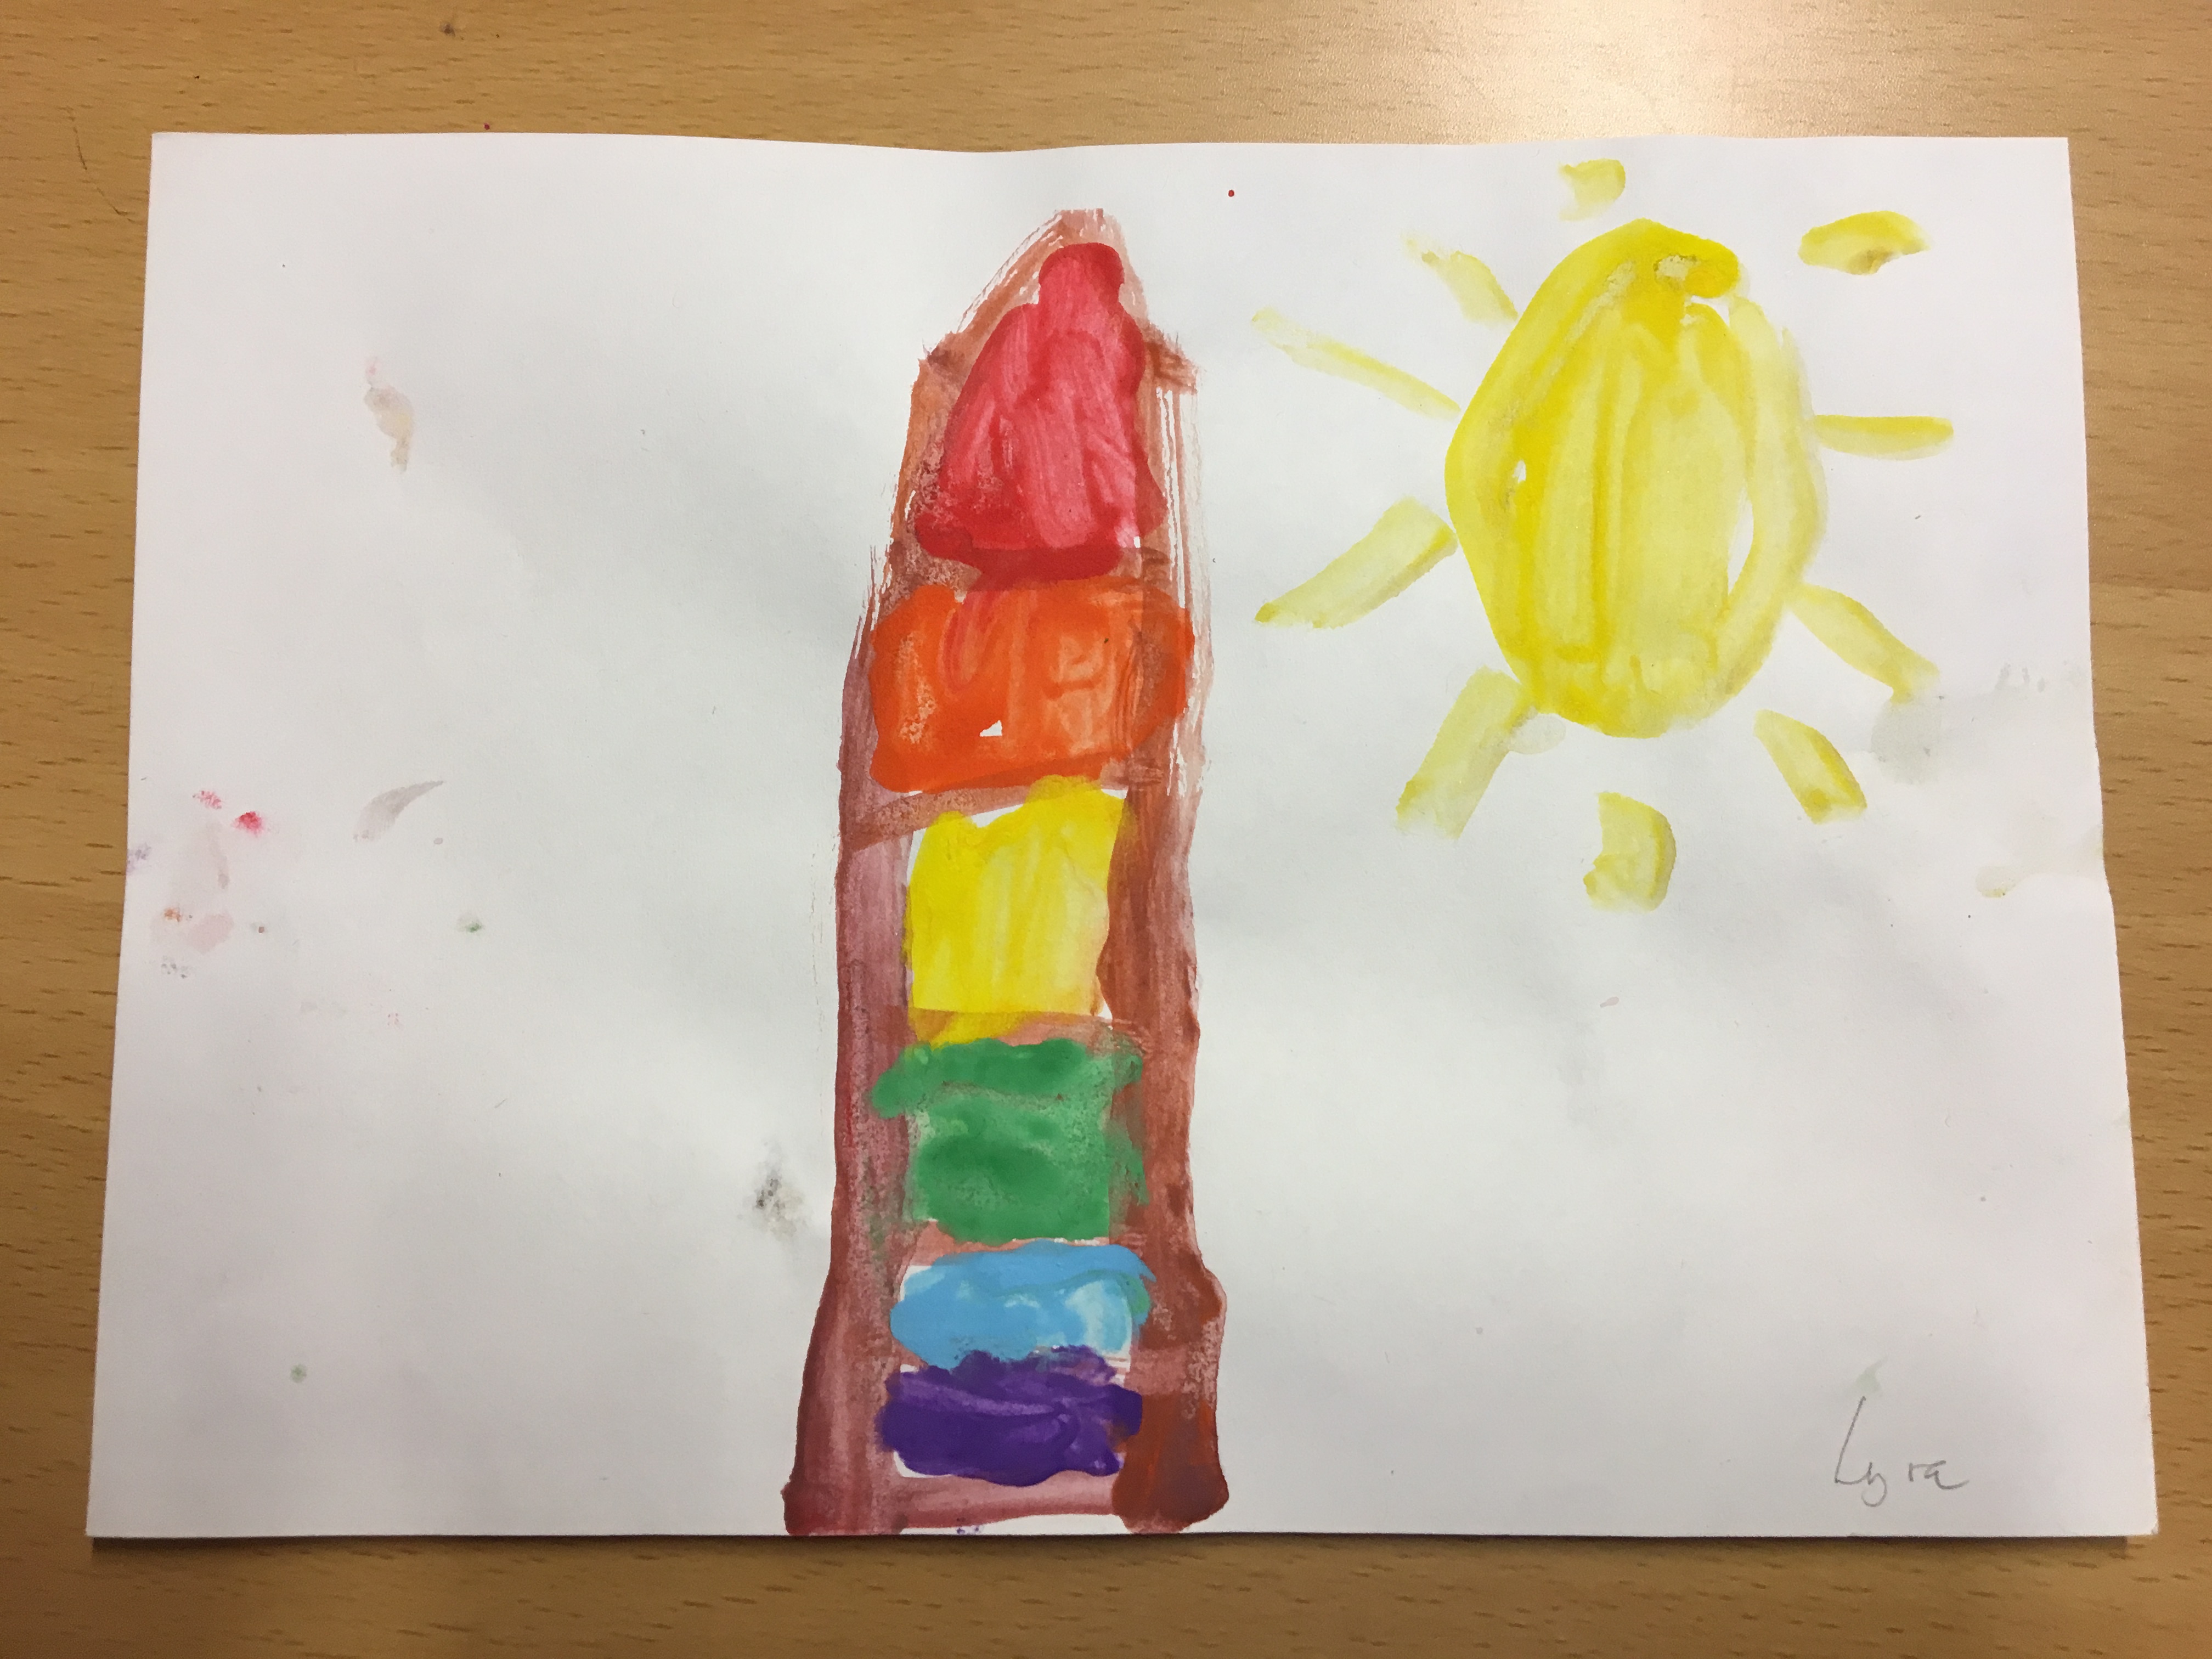
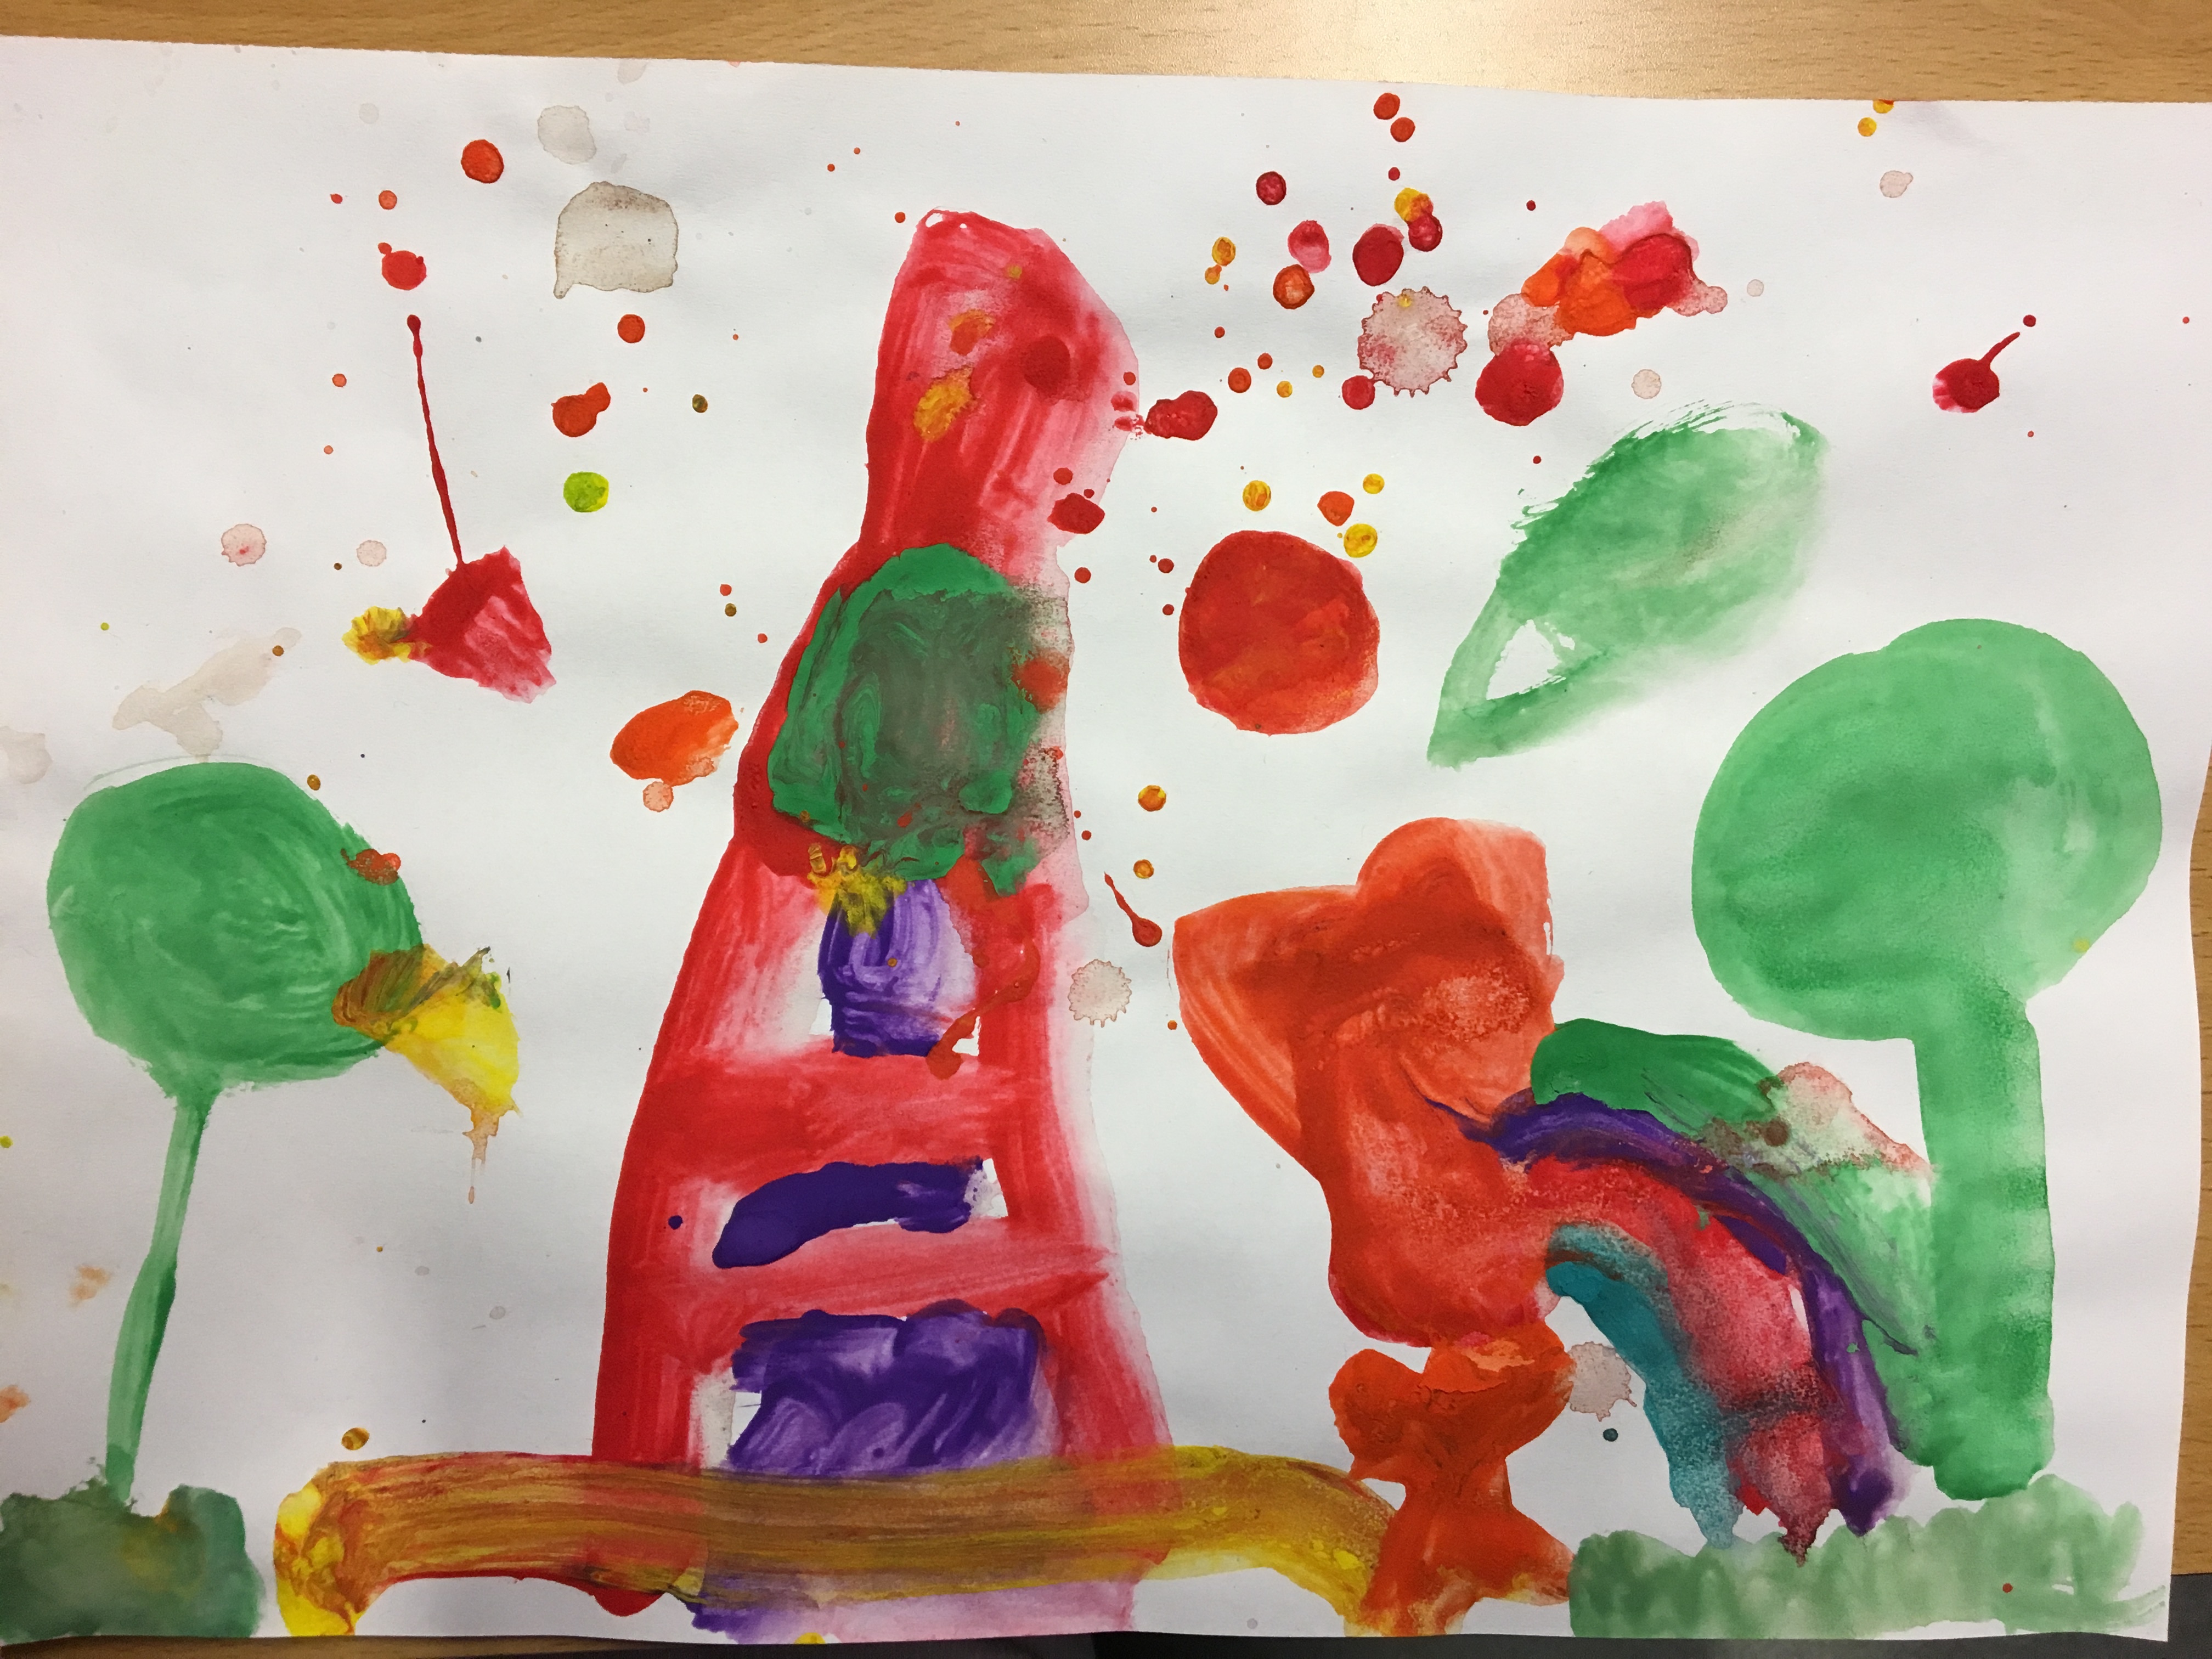
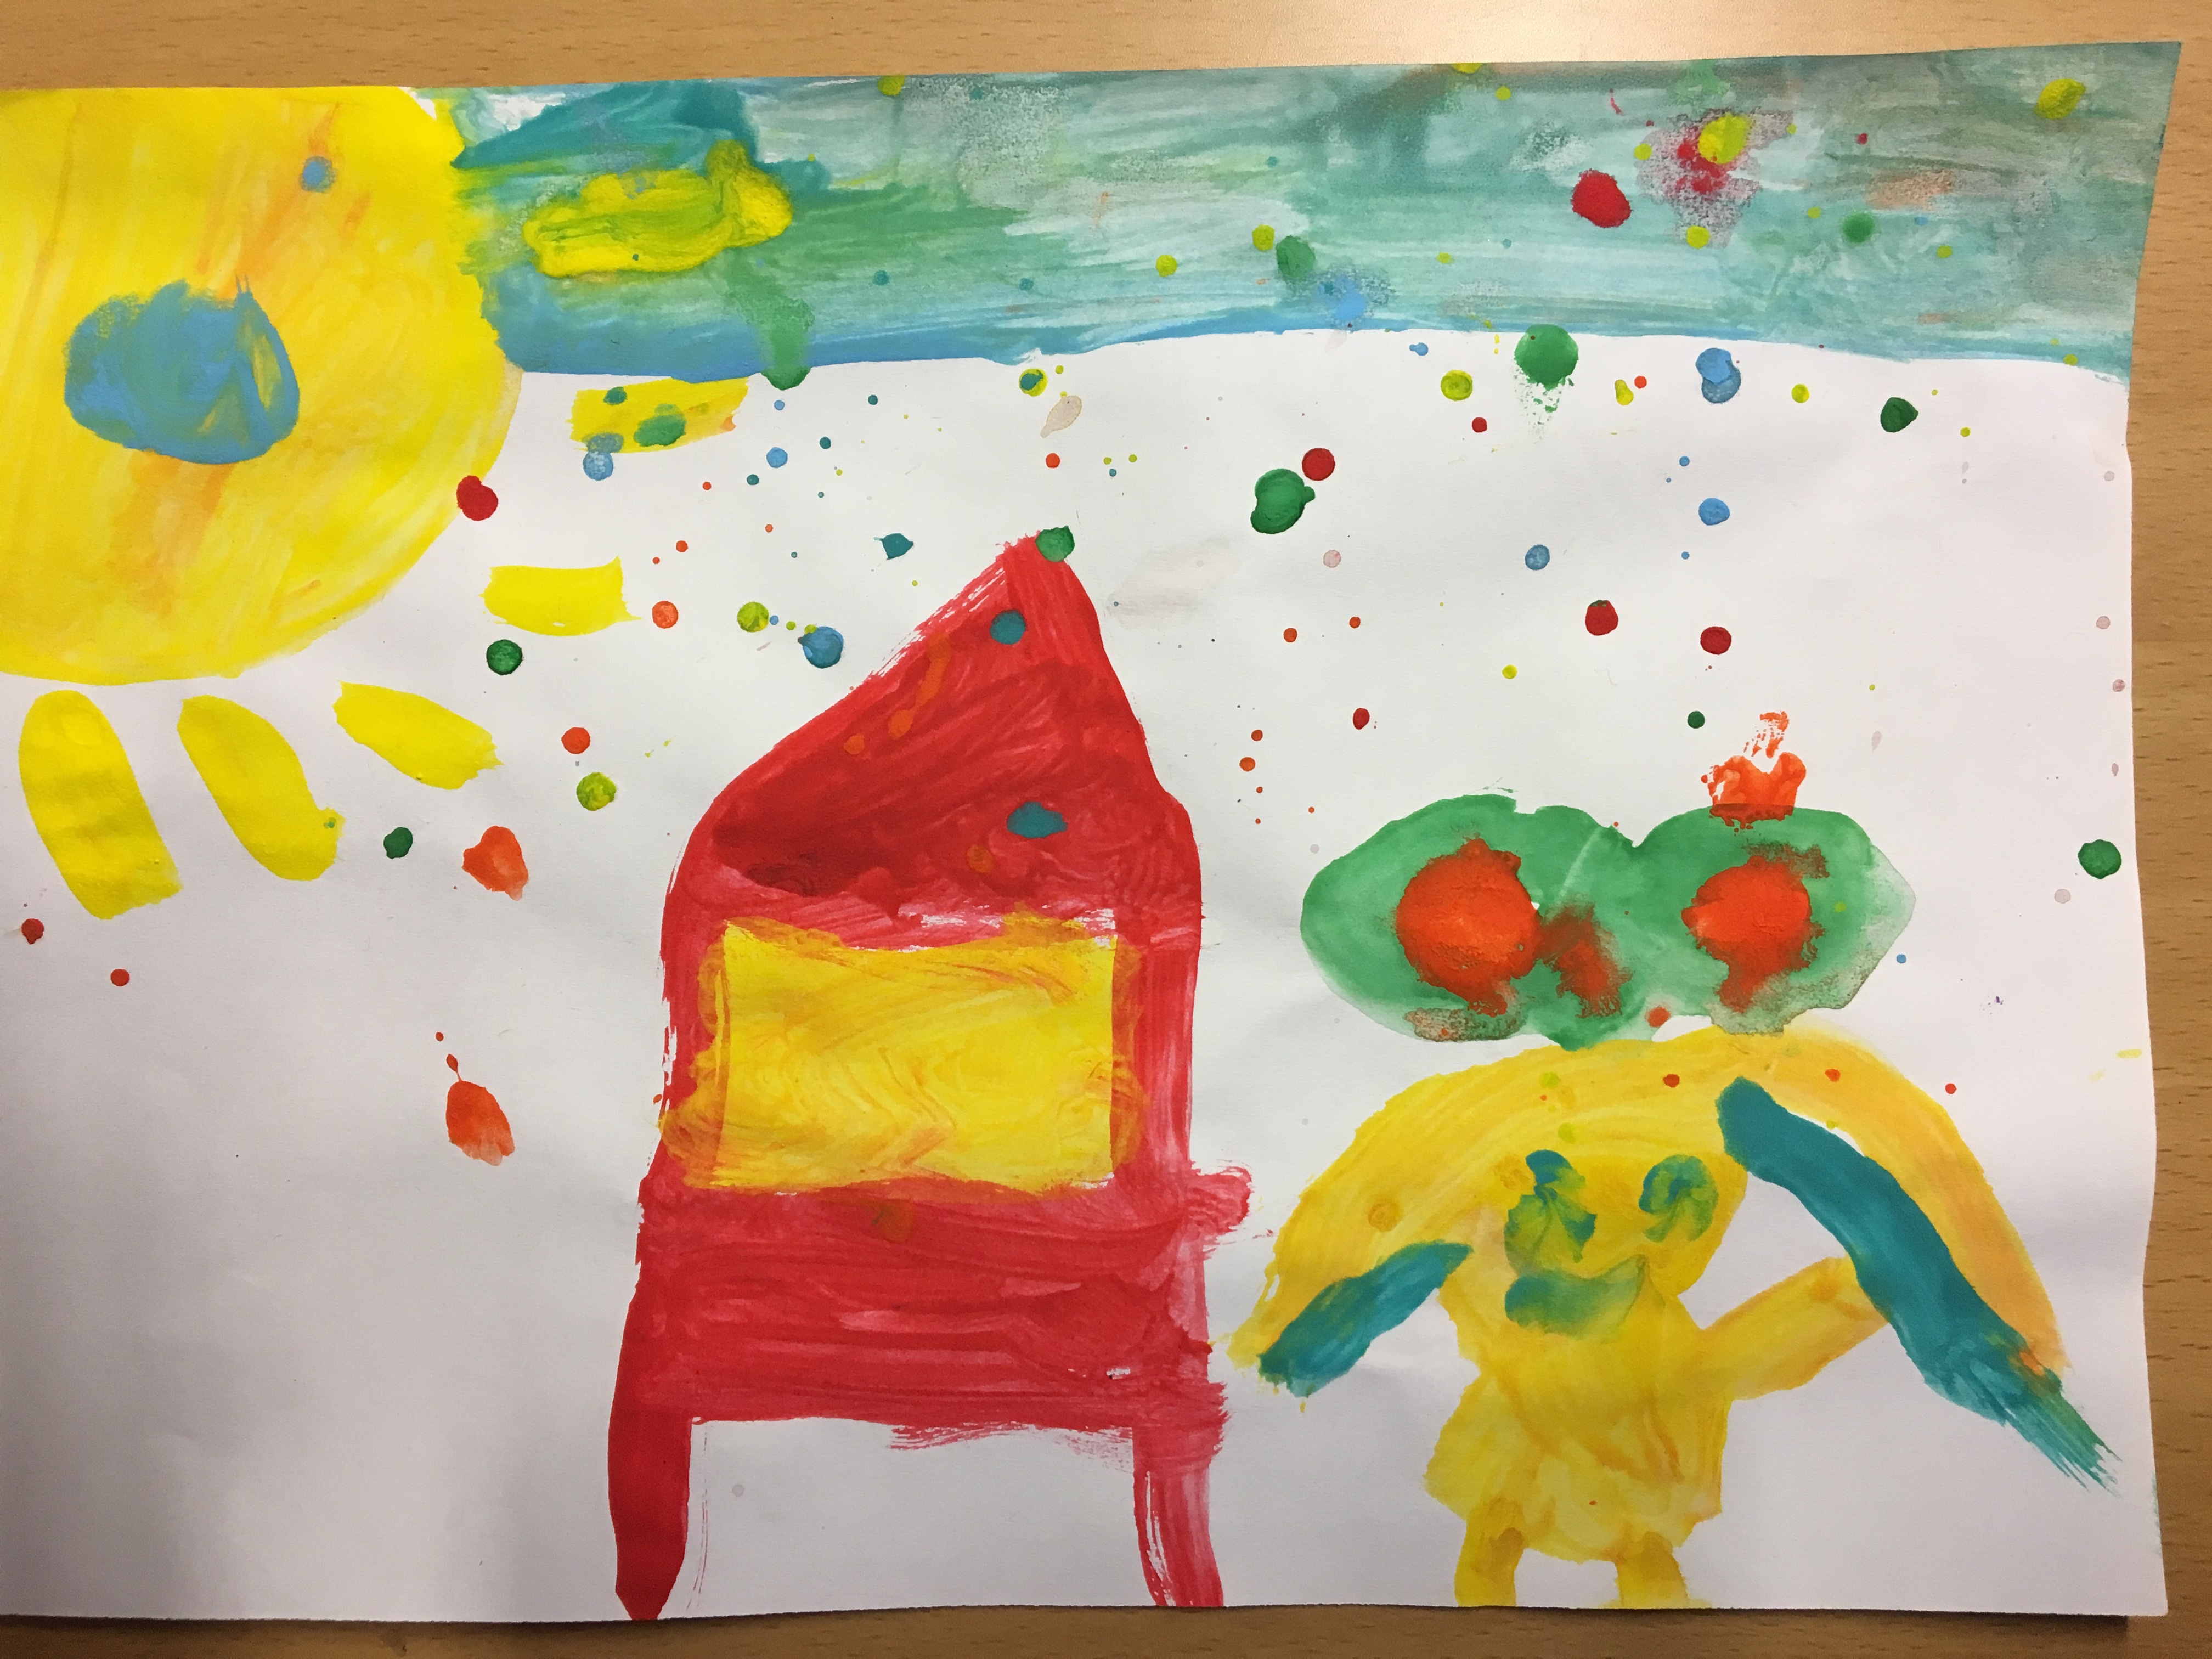
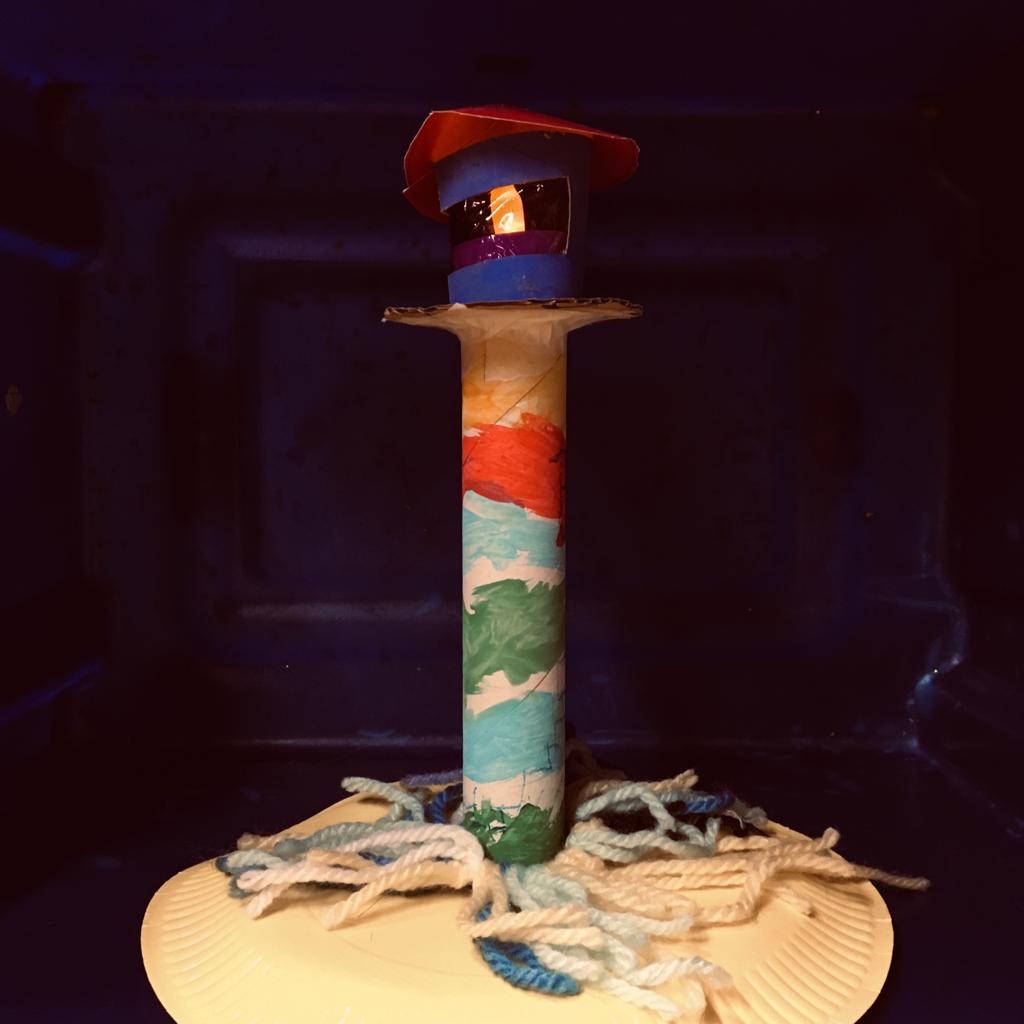
The children decided on individual patterns for their cylindrical trunks, the main body of the building. These varied from rainbow patterns, to traditional alternate, horizontal red and white stripes. Whilst these were drying, everyone had the chance to interpret their design in a 2D painting on paper, using their chosen colour palette.
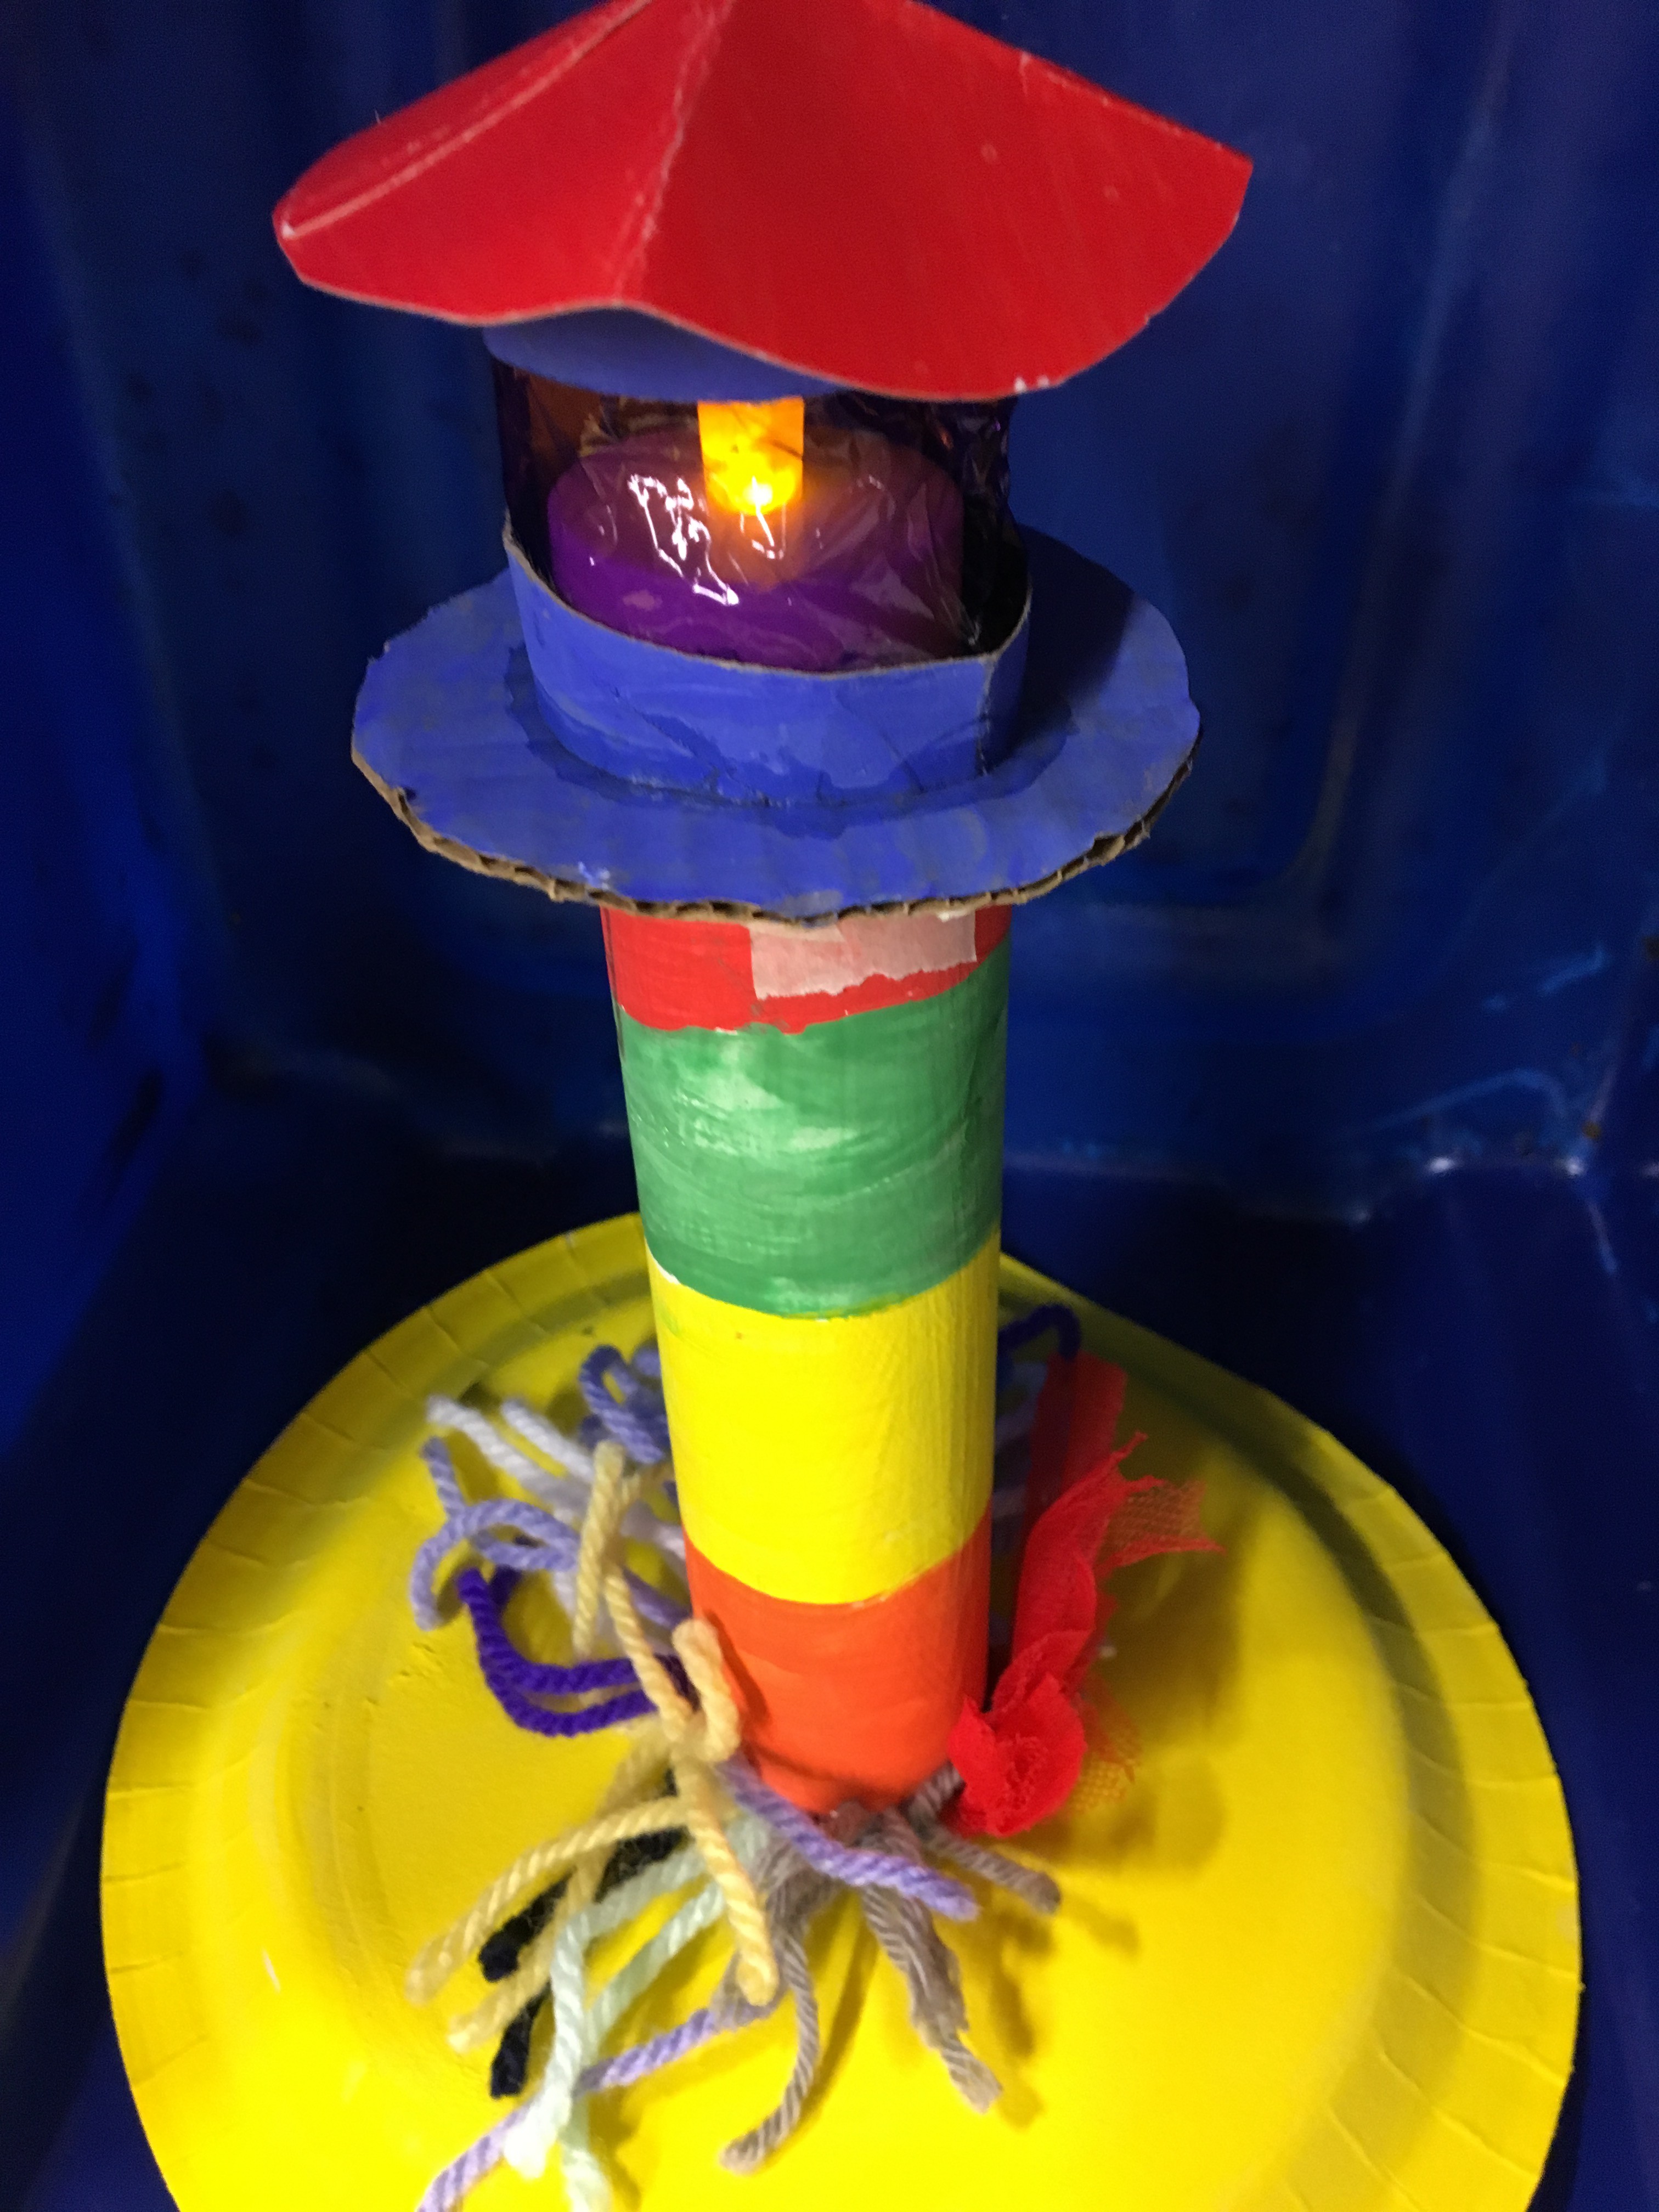
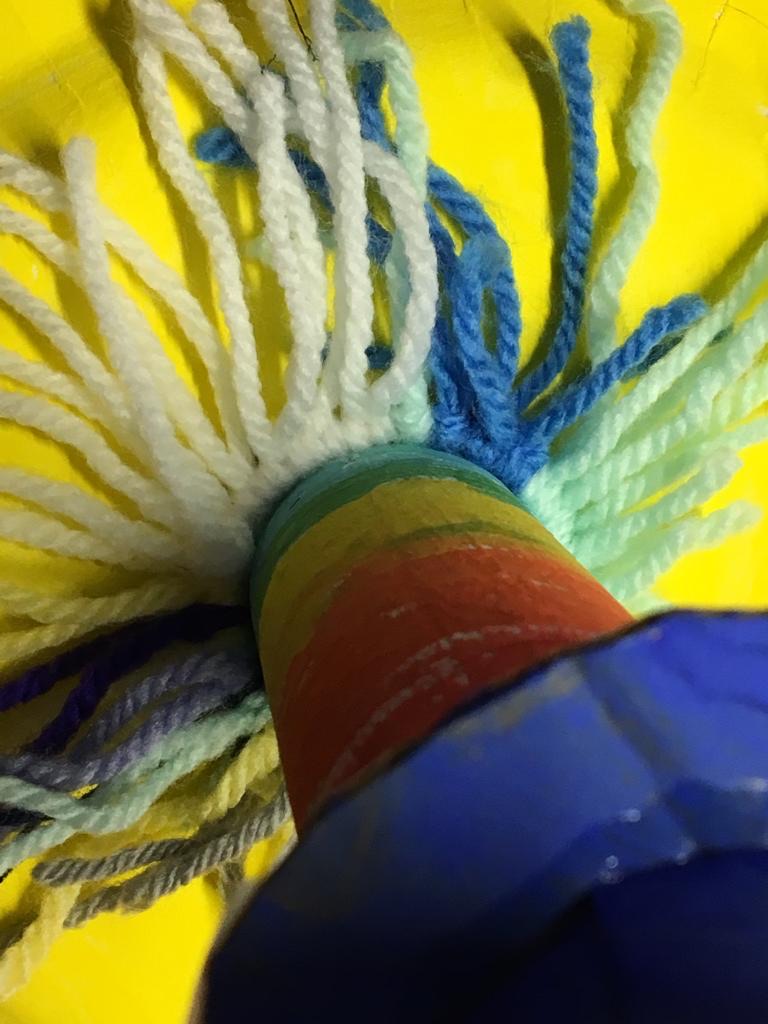
The next step was to make the tower. This was created from a cardboard toilet roll with a rectangular window cut out of it. The window frame has a piece of cellophane fitted onto the back, using glue sticks, to allow the light to shine out. The tube was painted blue and mounted onto a round piece of card, also painted blue and cut from a template made using a jar lid.
The base needed a 1 cm surround to provide a platform for the tower to sit on. Finally the tower was topped with a red roof. This needed to be removable to enable the light to be accessible.
The roof was made by drawing around the template (the same jar lid used for the platform base) in pencil, onto a piece of flexible red card. Once cut, the circle was folded in half both ways, to locate the centre point. The children then cut a line to the centre and folded the circle into a hat, before fixing it with a staple.
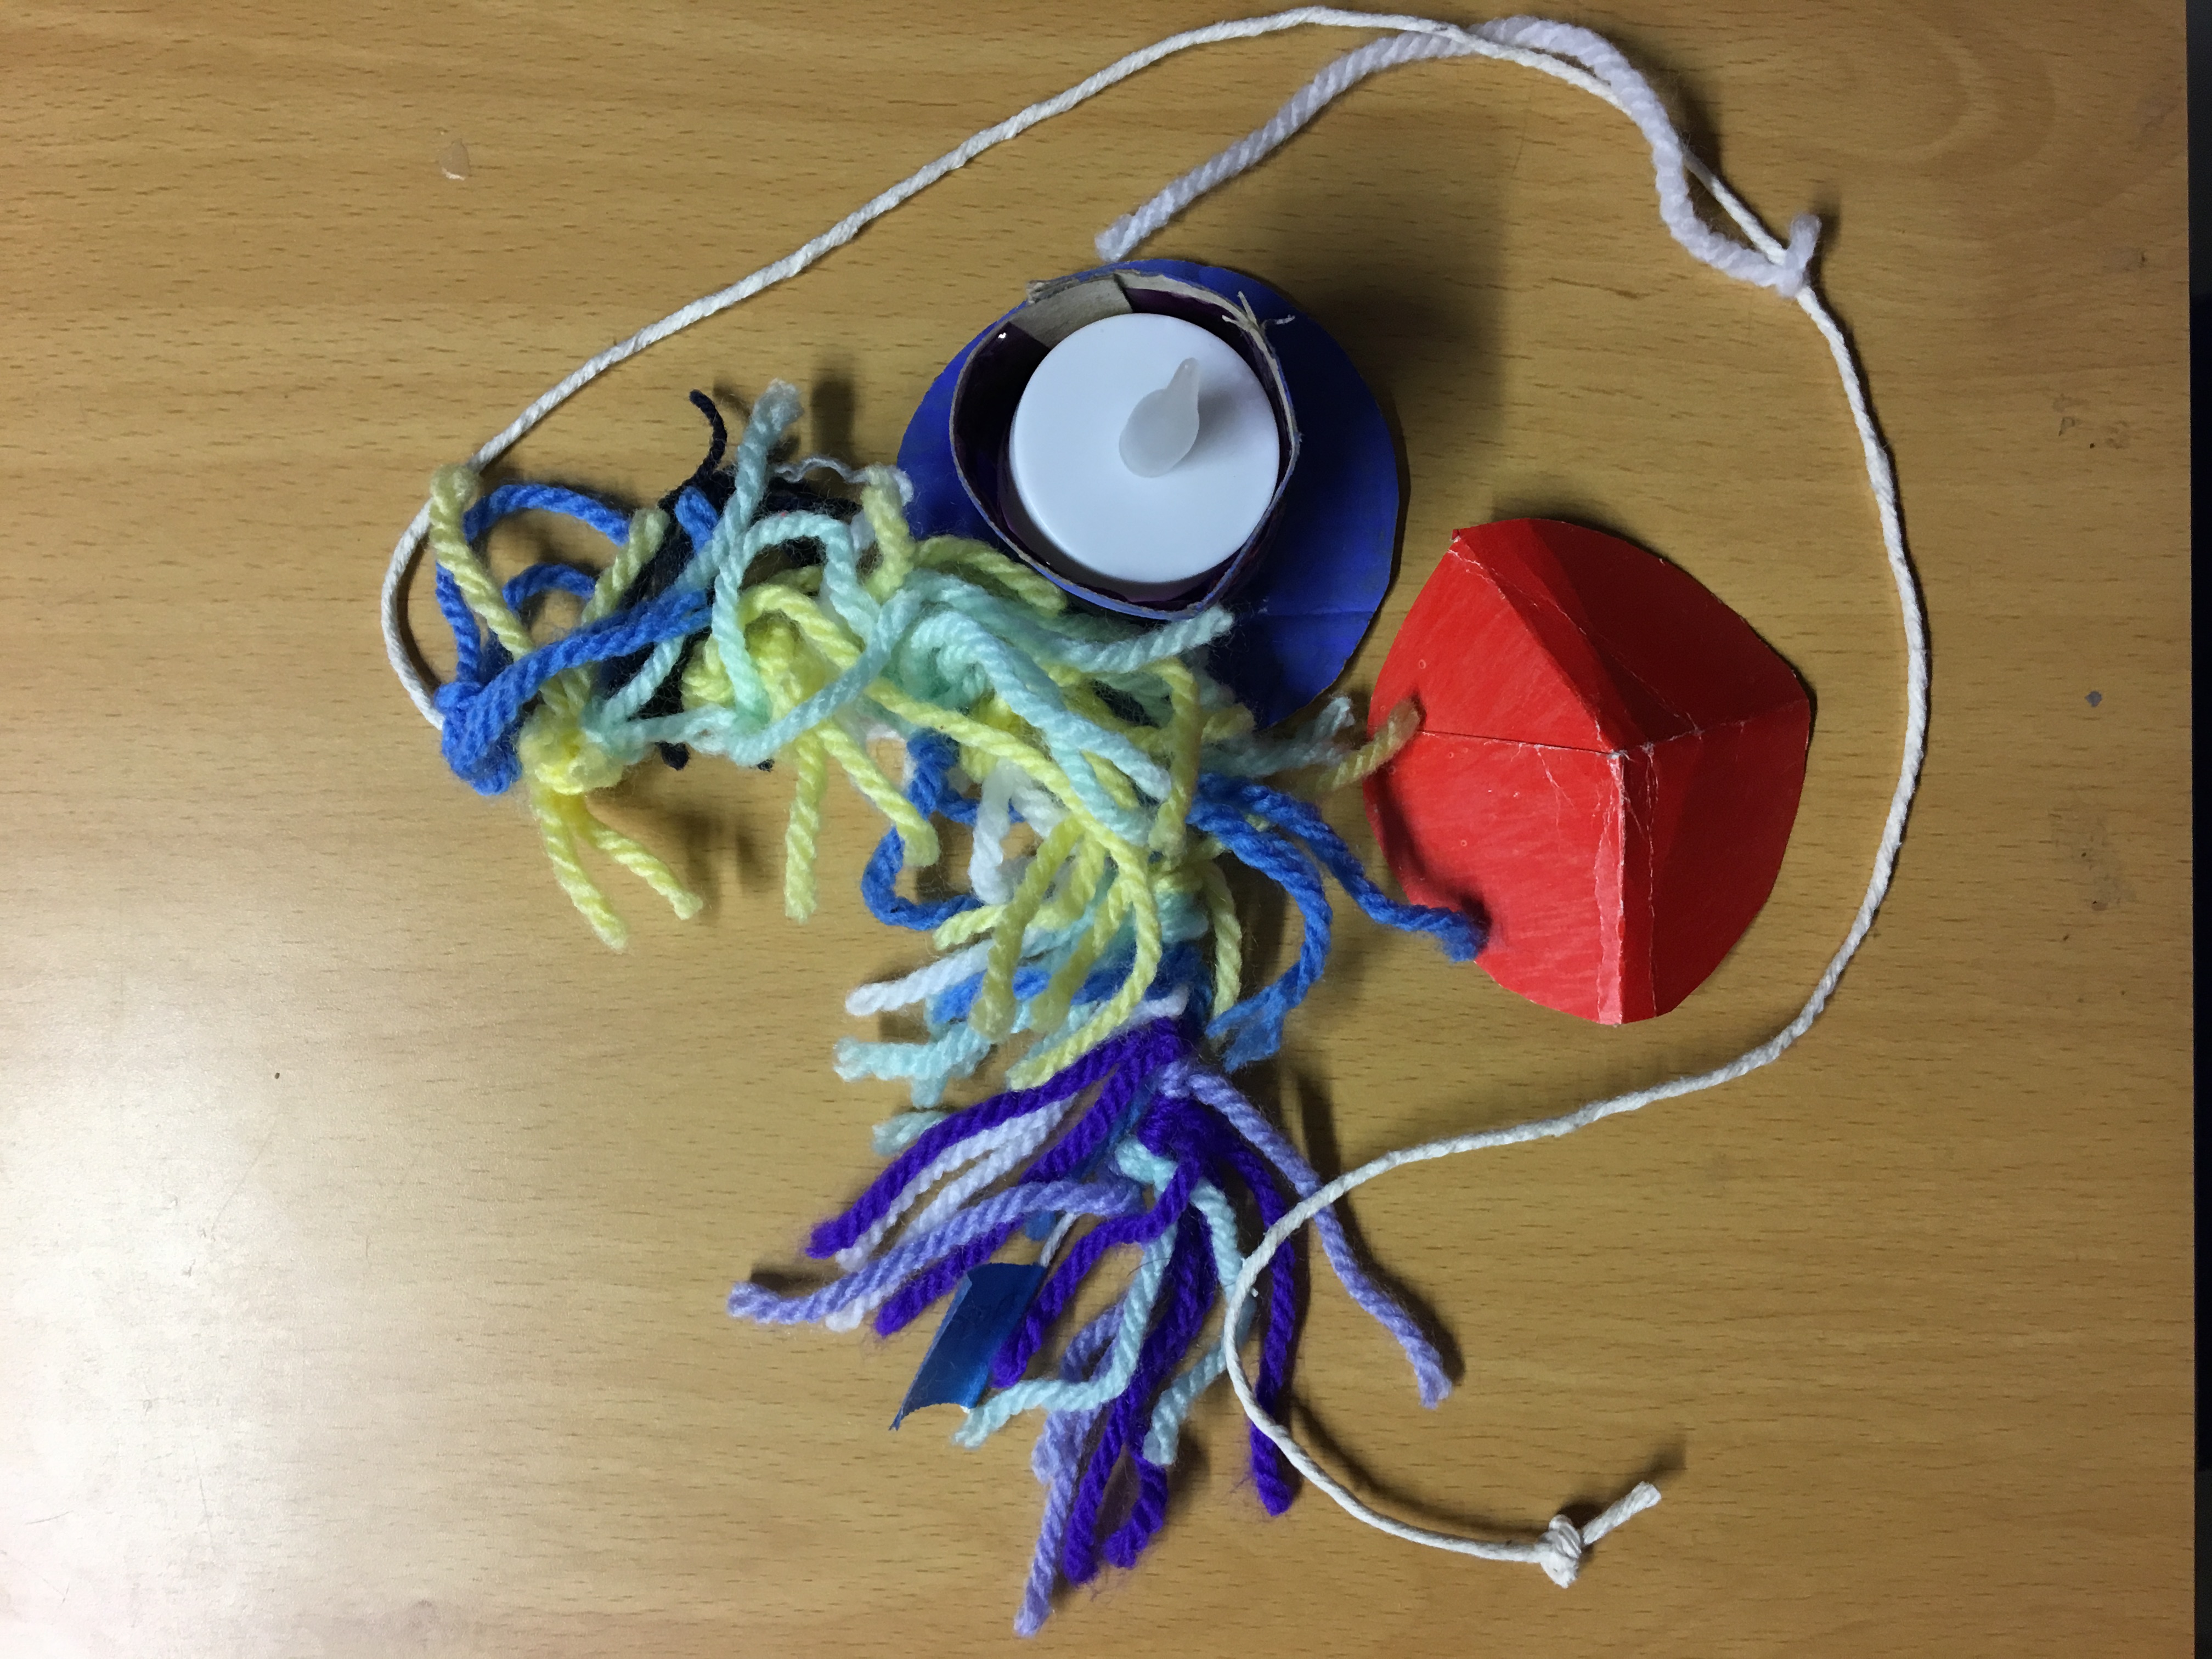
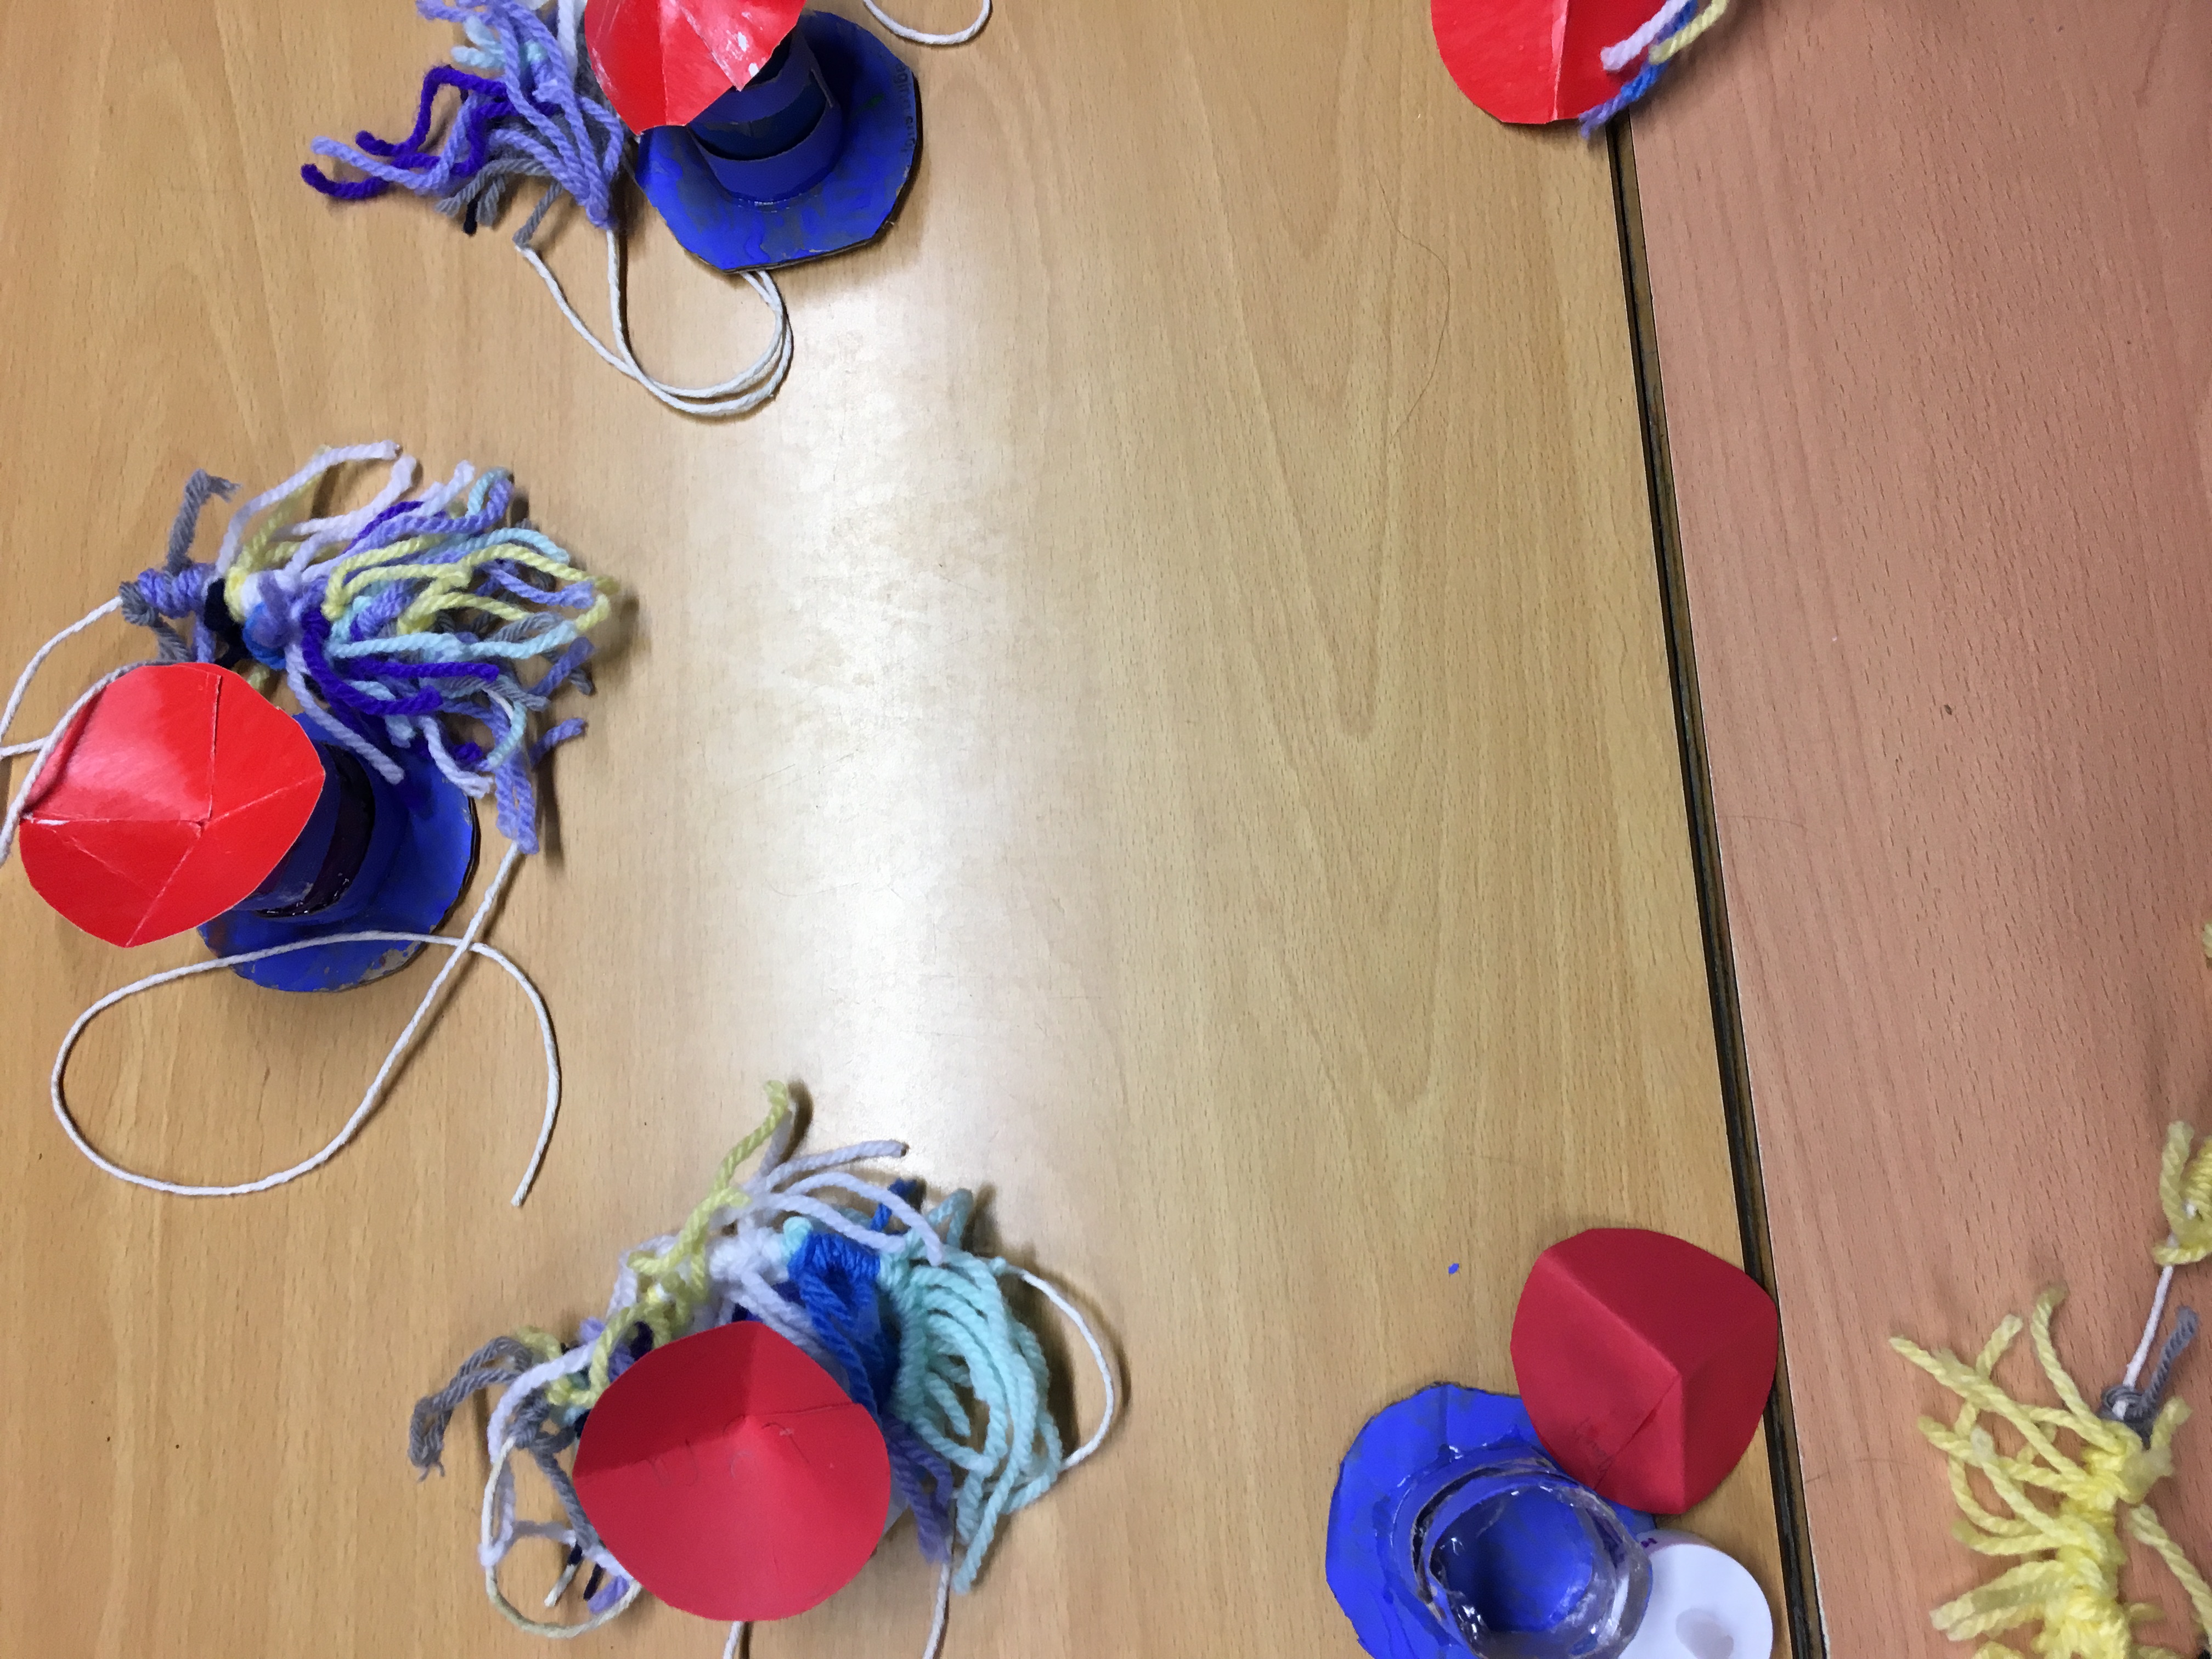
The next element of our design, was the abstract interpretation of the seashore, to fix around the base of the lighthouse. This was done using a selection of different coloured wool. The colours were chosen from the many different tones that water reflects from the sky and it’s ever changing weather. We looked at paintings of water by Turner, Monet and Hopper, to understand ways to visually express the sea differently. These artists have all created their colour language to identify the sea, rivers and lakes through their eyes. Now we know that it isn’t simply blue, but can contain yellow, green, purple, white and grey too.
 Some children chose to mix their colours together, others liked keeping them in groups. The knotting took a lot of concentration, clever fingers and was a very communal activity. Everyone sat around a big table, helping and supporting one another. For some it was trickier than others, but with a little help, we all managed to give it a try.
The last activity, was to paint the sandy foundation, from which the lighthouses must stand tall. This was made from an upturned paper plate, the base of which was painted yellow using poster paint. Once dry, the adults made a cross incision for the cylinder to slide through and stand vertically, supported all the way around. The fringe/seashore, was tied around the base of the lighthouse, to symbolise the waves ebbing and flowing around it.

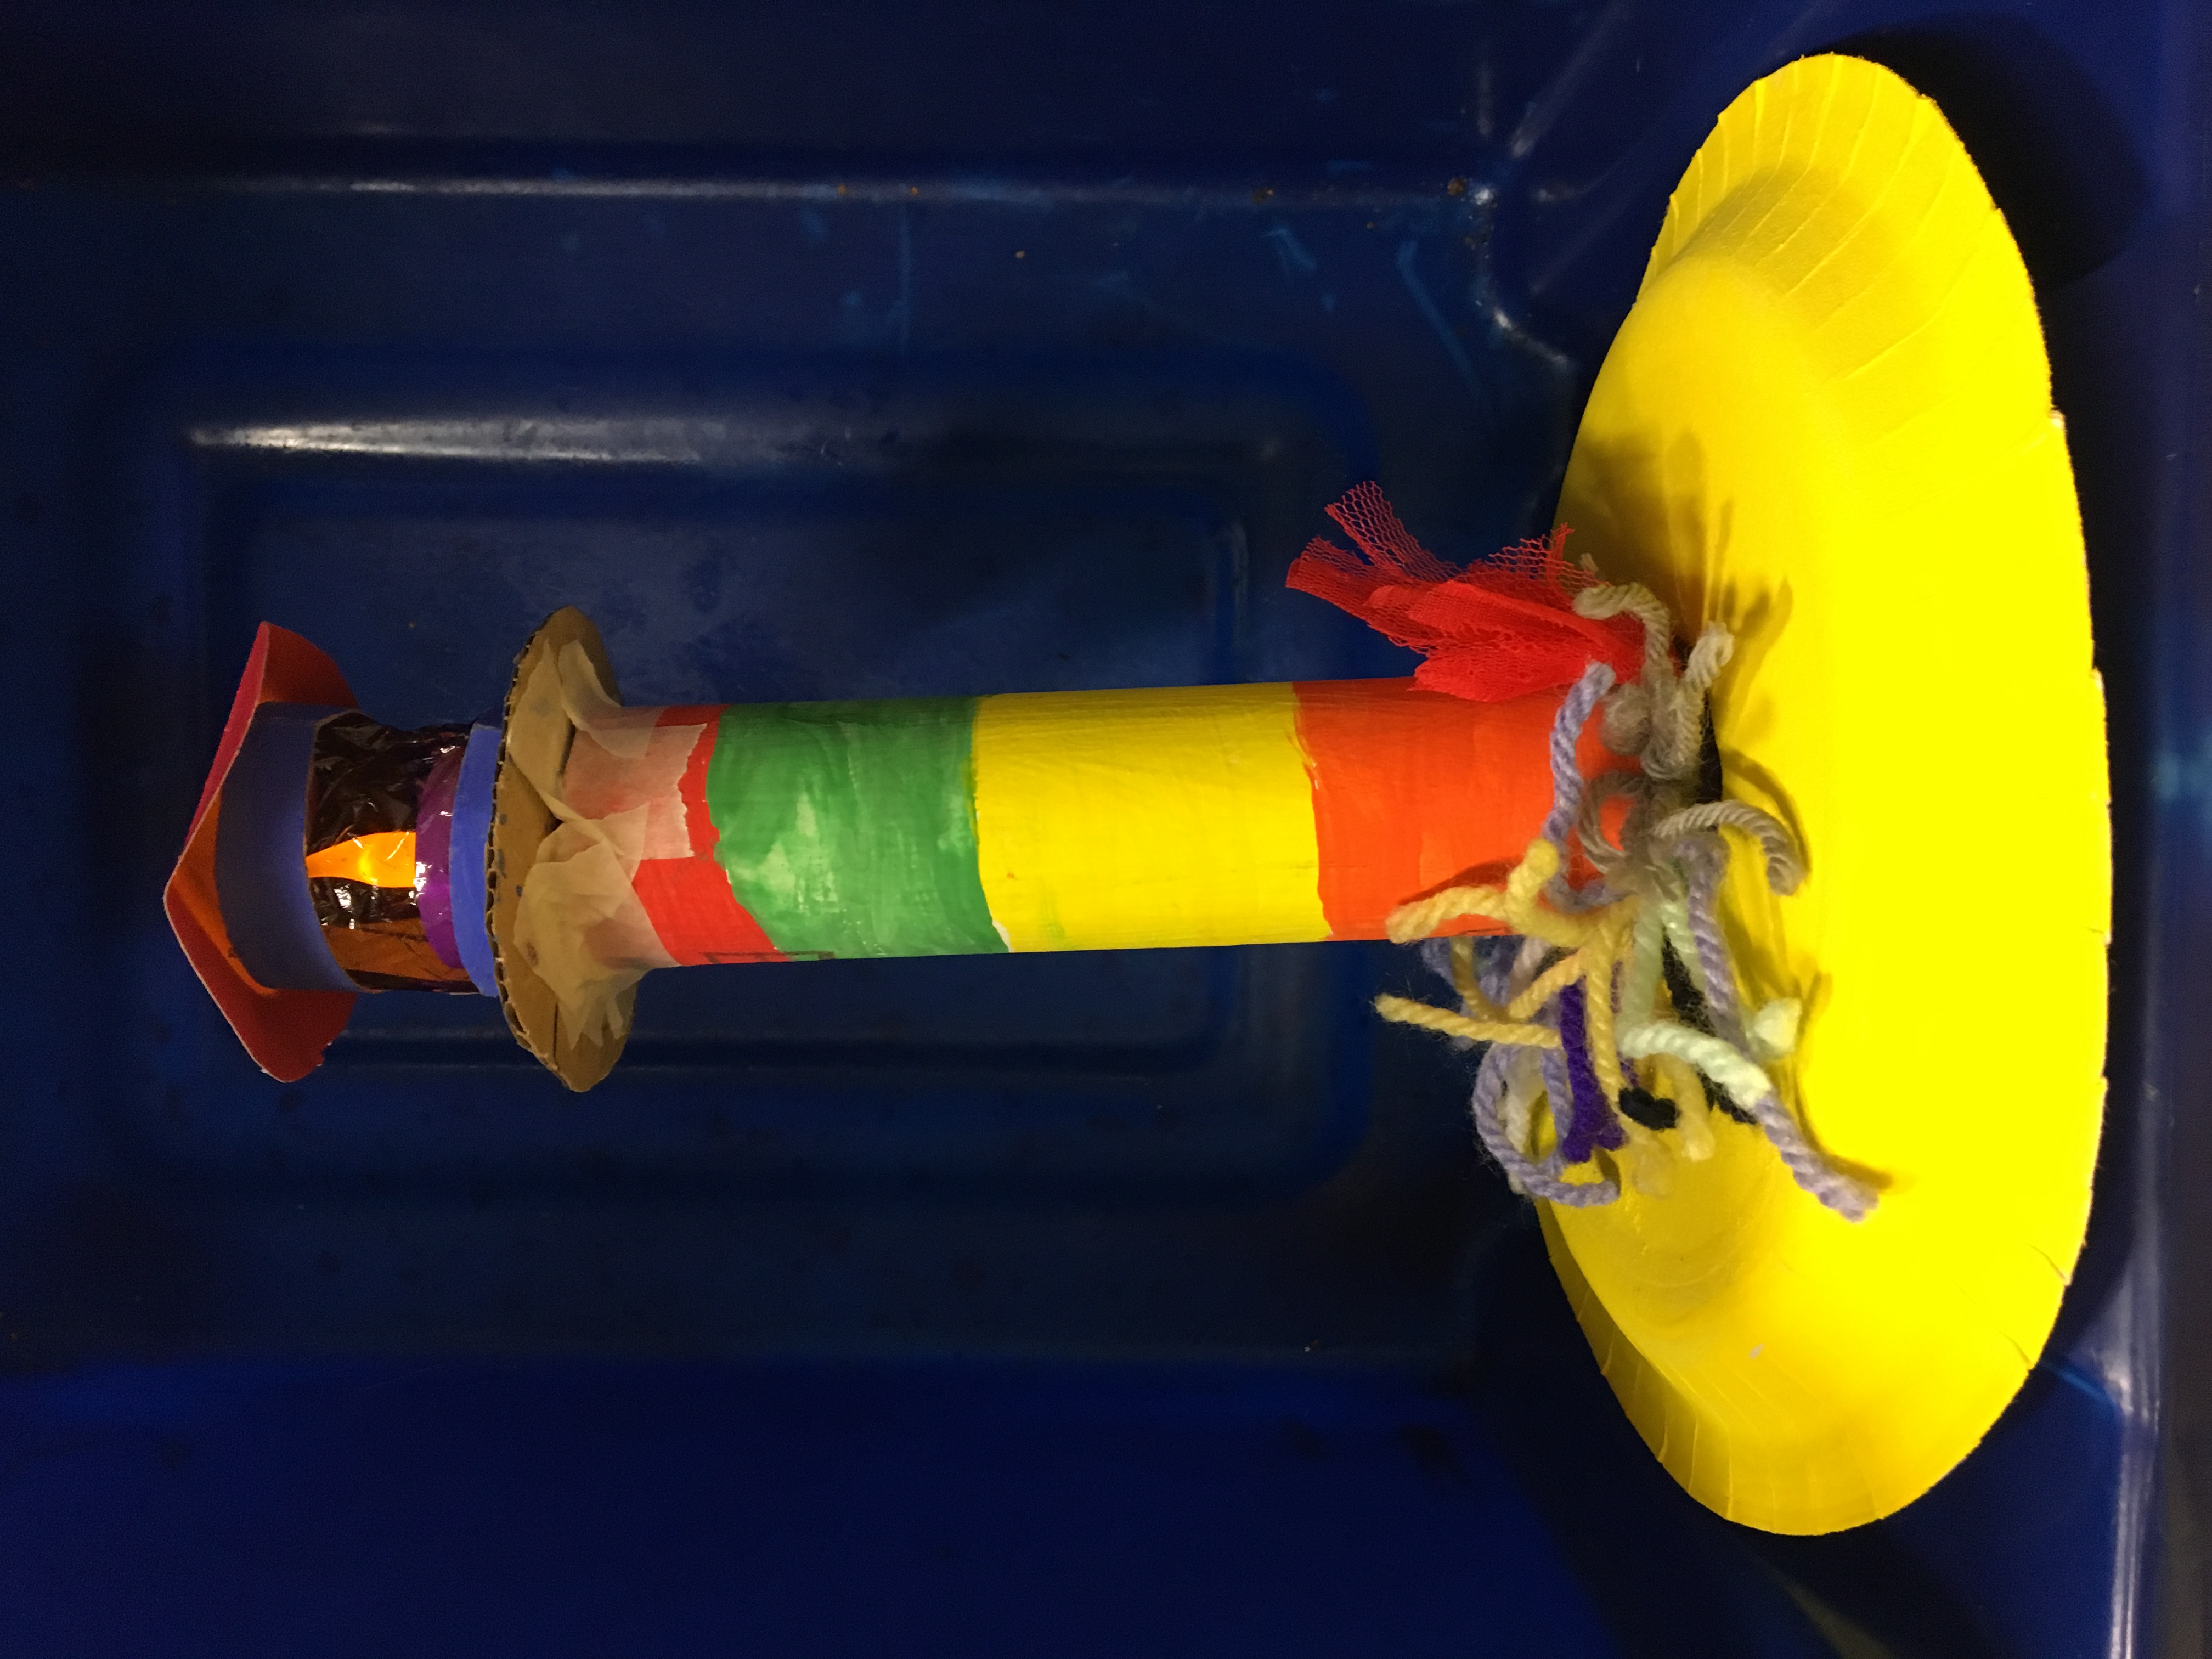
The excitement was at it’s peak, when the final week of the project brought with it, the electric nightlights, to be fitted in the tower at the top of the building.
Each child was delighted with their amazing achievement, when they crowned their tower with a real light and took it home to use as a lamp!
- Posted by
 admin
admin - Posted in Children's Work, Creativity, Pelham After School Art Club, Uncategorized
 Dec, 29, 2018
 No Comments.
 Join Us On Facebook
 Join Us On Twitter
 Join Us On In.com
 Subscribe to Our Blog