
 07808 168 543
Modern Pottery Masters
 The younger artists at Pelham After School Art Club, have been working hard on their painting skills, so it’s time to apply them to decoration, but what can we decorate? Let’s make something!
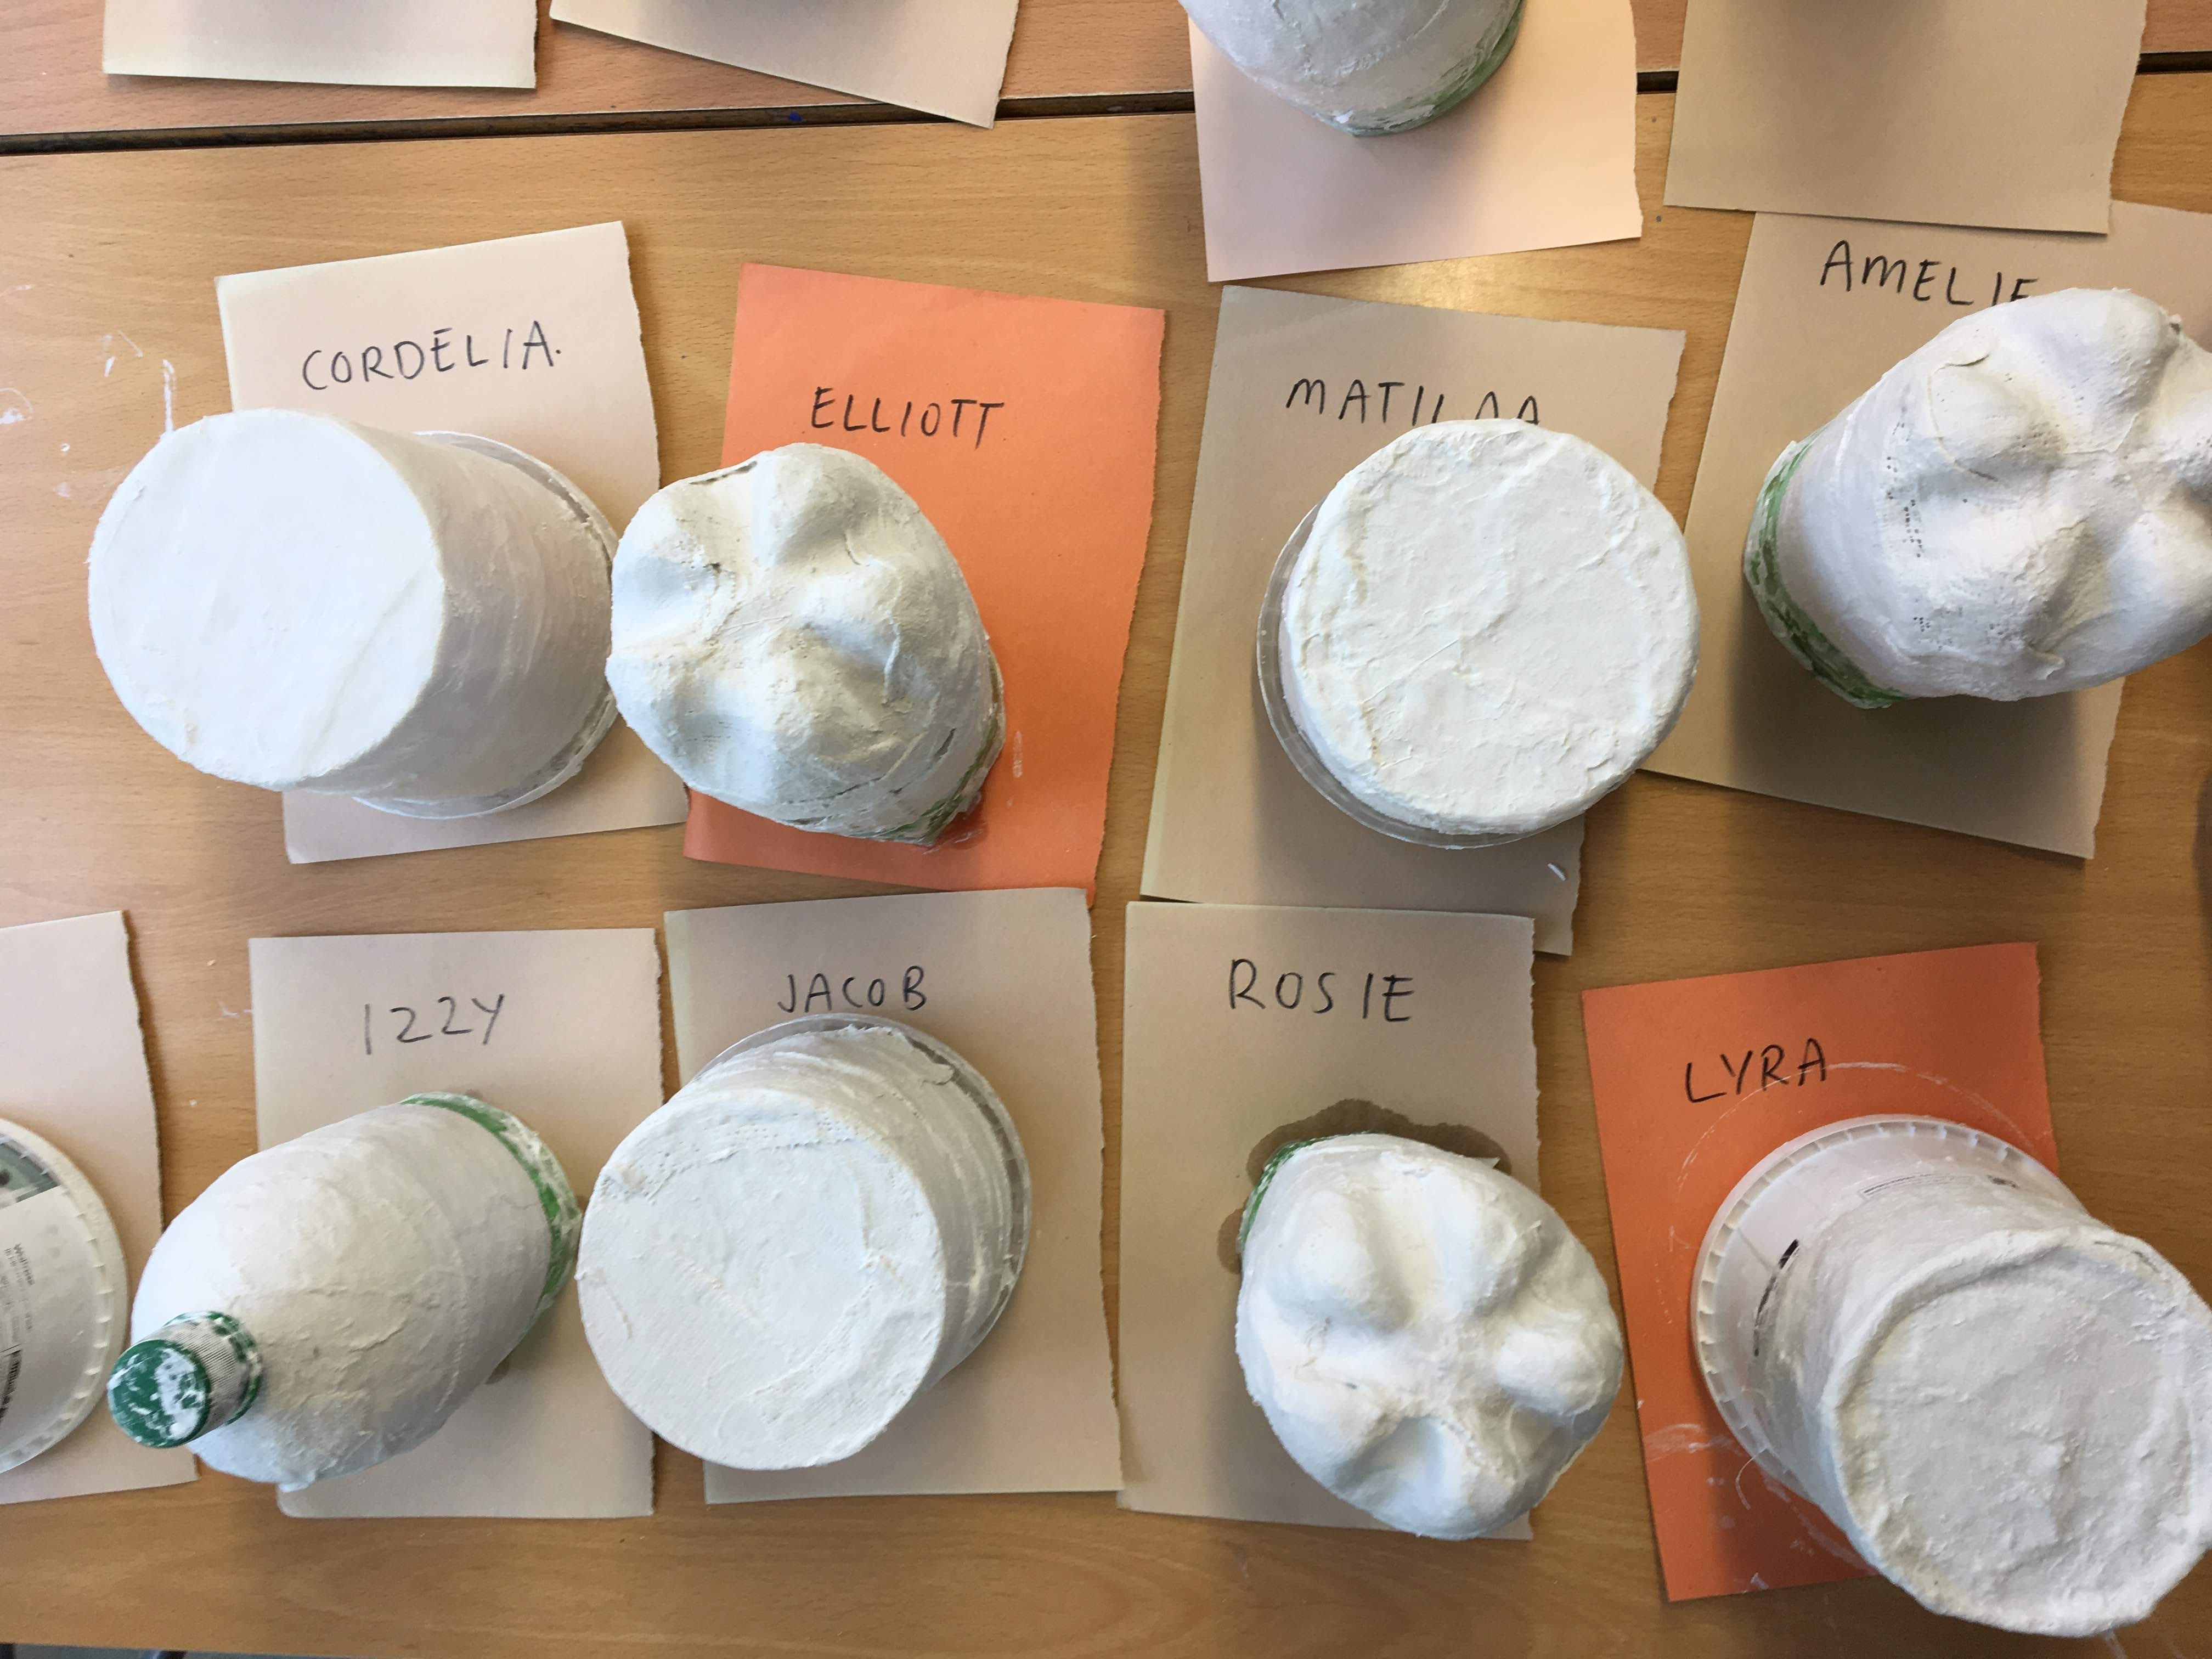
A hand-crafted plaster pot or vase formed using recycled plastic bottles in a variety of sizes and shapes; mod roc and a big imagination. Let’s get messy.
Mod-roc (modelling rock) was originally used in the medical profession, for casting broken bones to help them heal. This finely woven gauze bandage, impregnated with dry, plaster of Paris, has become a popular material for construction and modelling projects now too. The story goes, that a theatre prop-maker first used it with chicken wire framework and it’s popularity for craft grew from there.
When dipped in water and stroked with gentle pressure, the plaster becomes a smooth paste and will take the shape of the mould around which it is placed. When dry, it forms a very hard, white plaster surface, robust and toughened by the interior gauze muslin weave, the perfect canvas for our young artists to decorate.
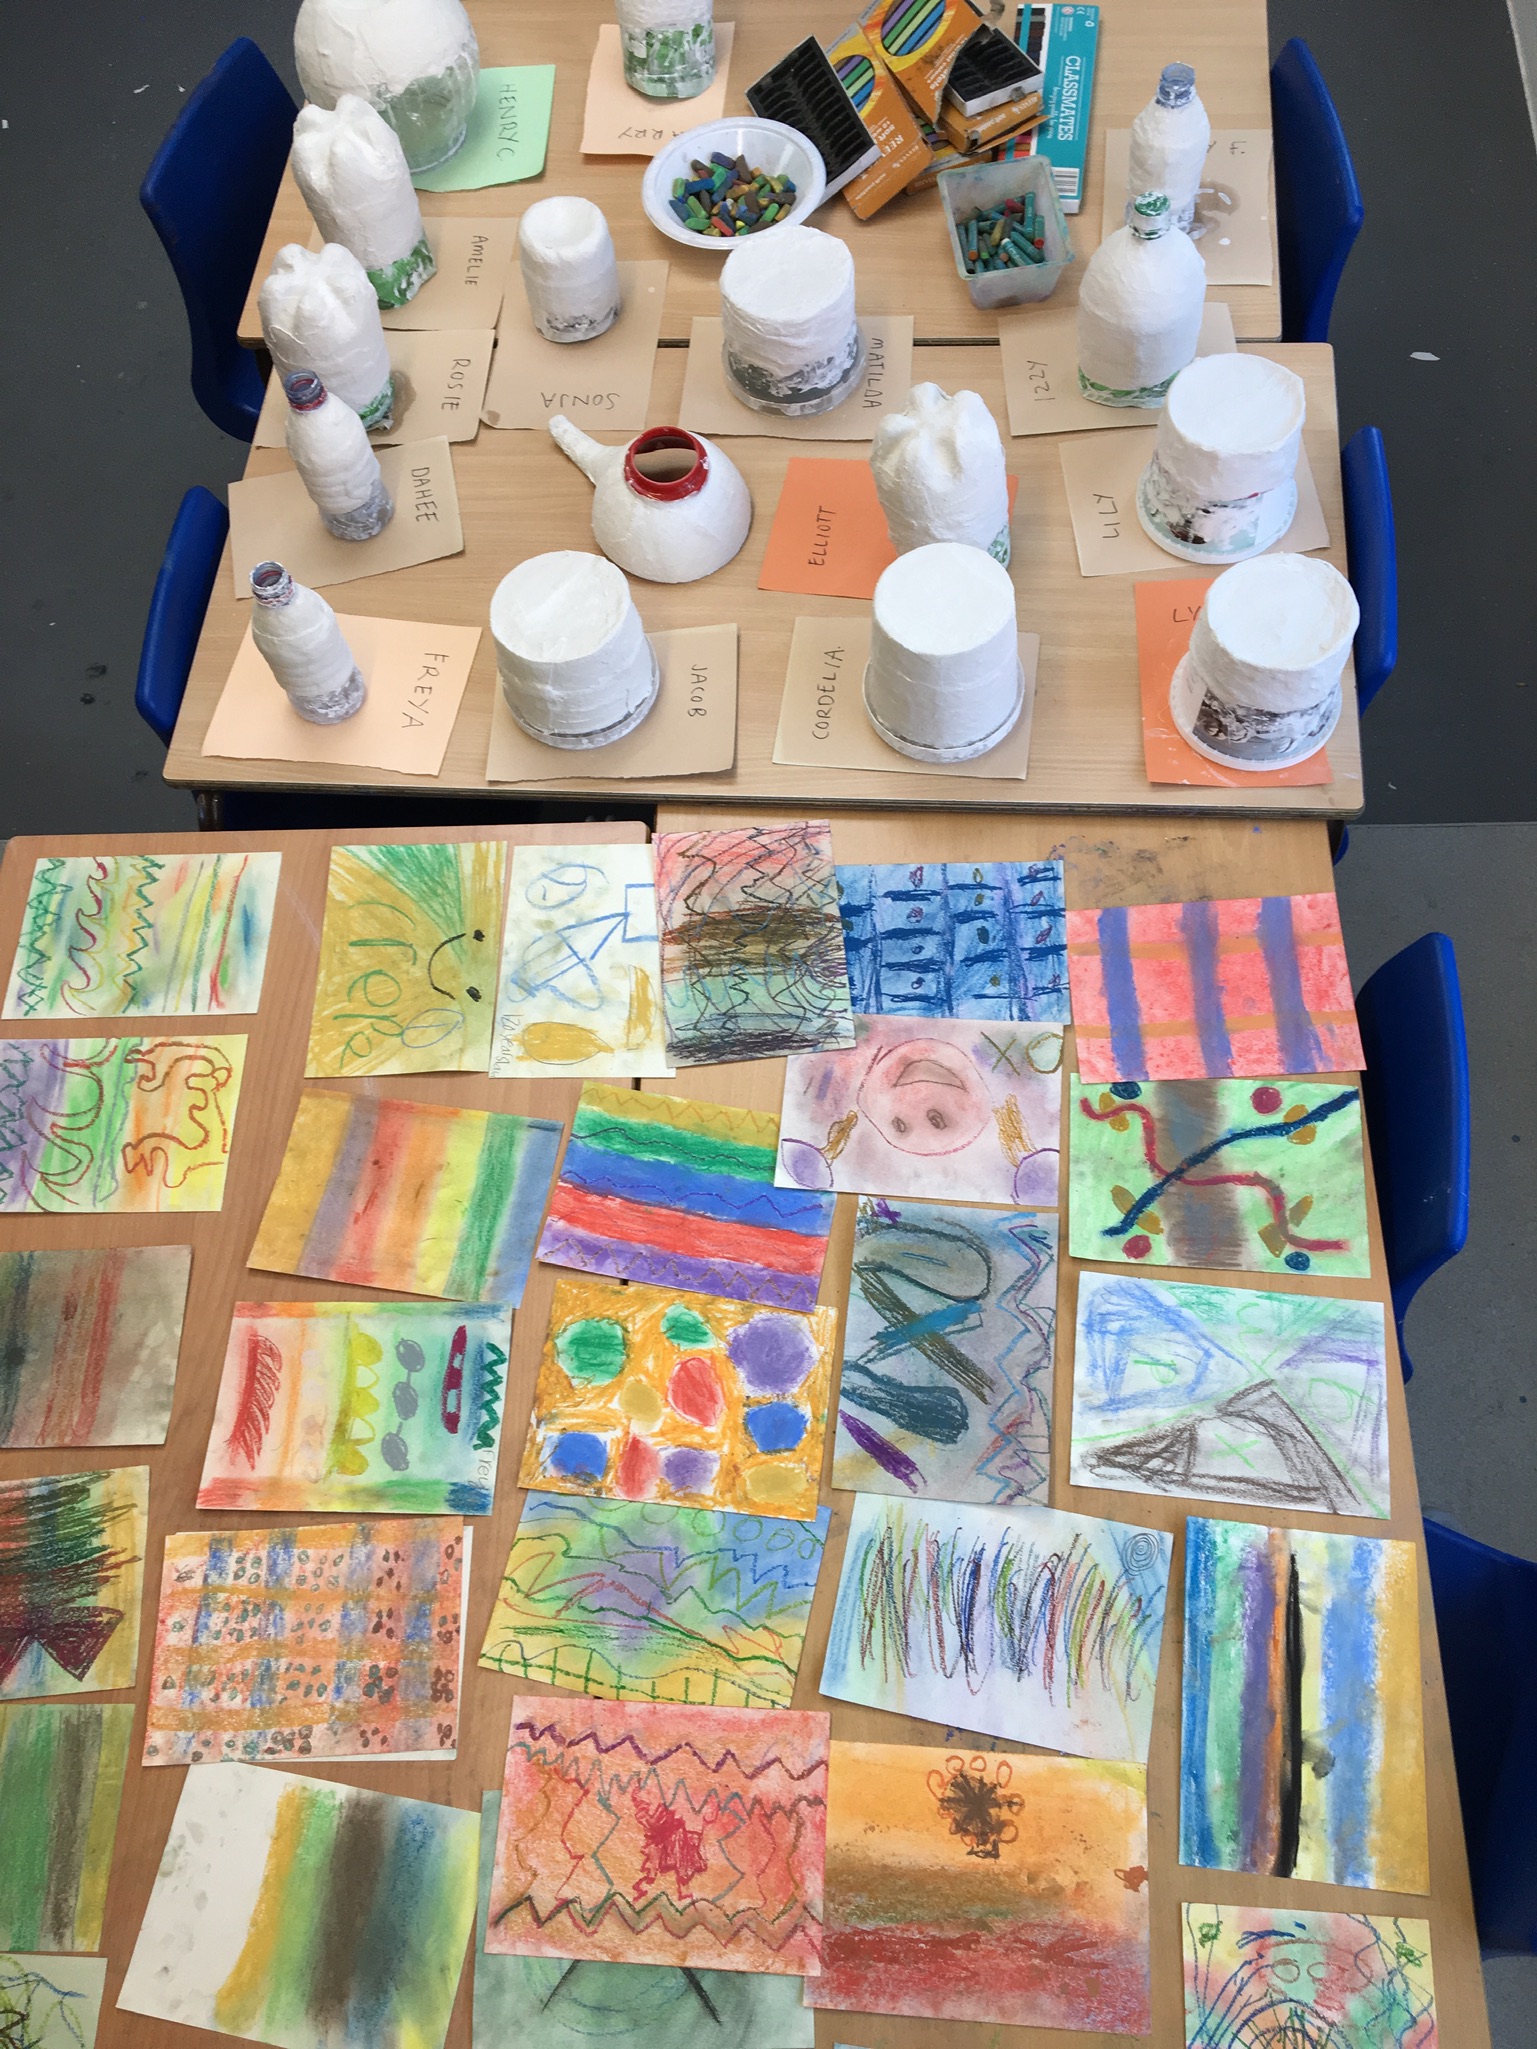
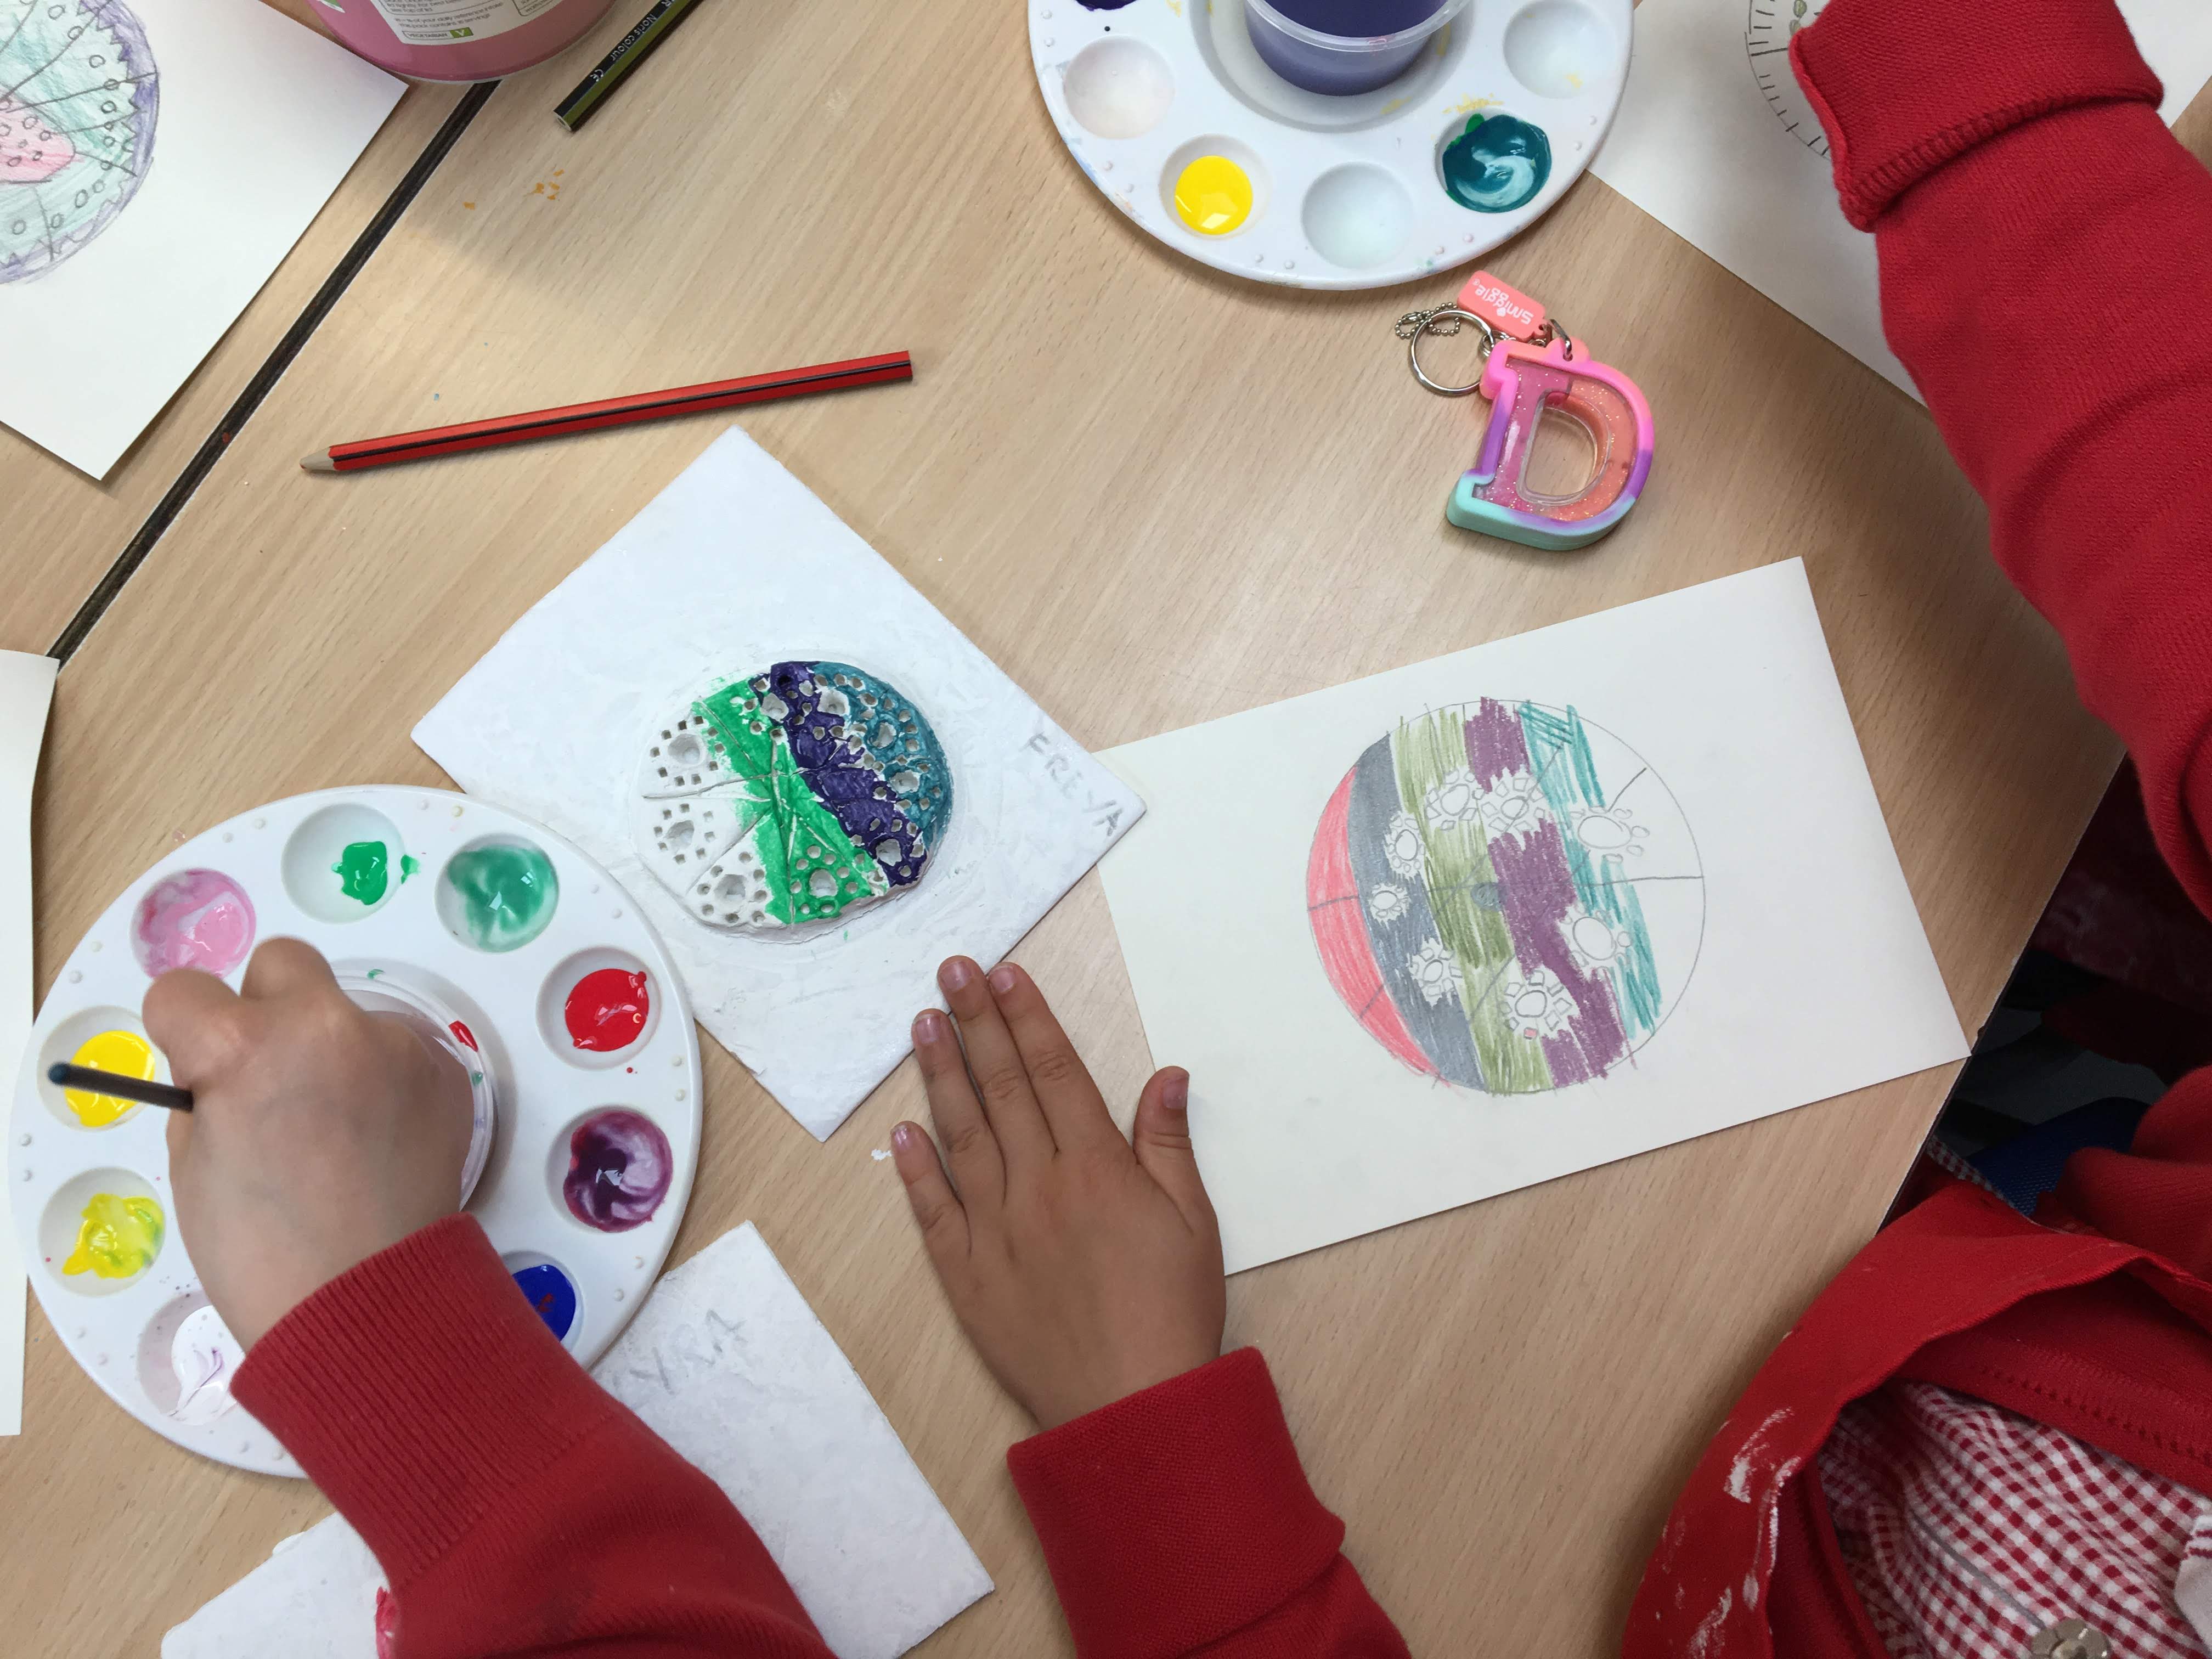
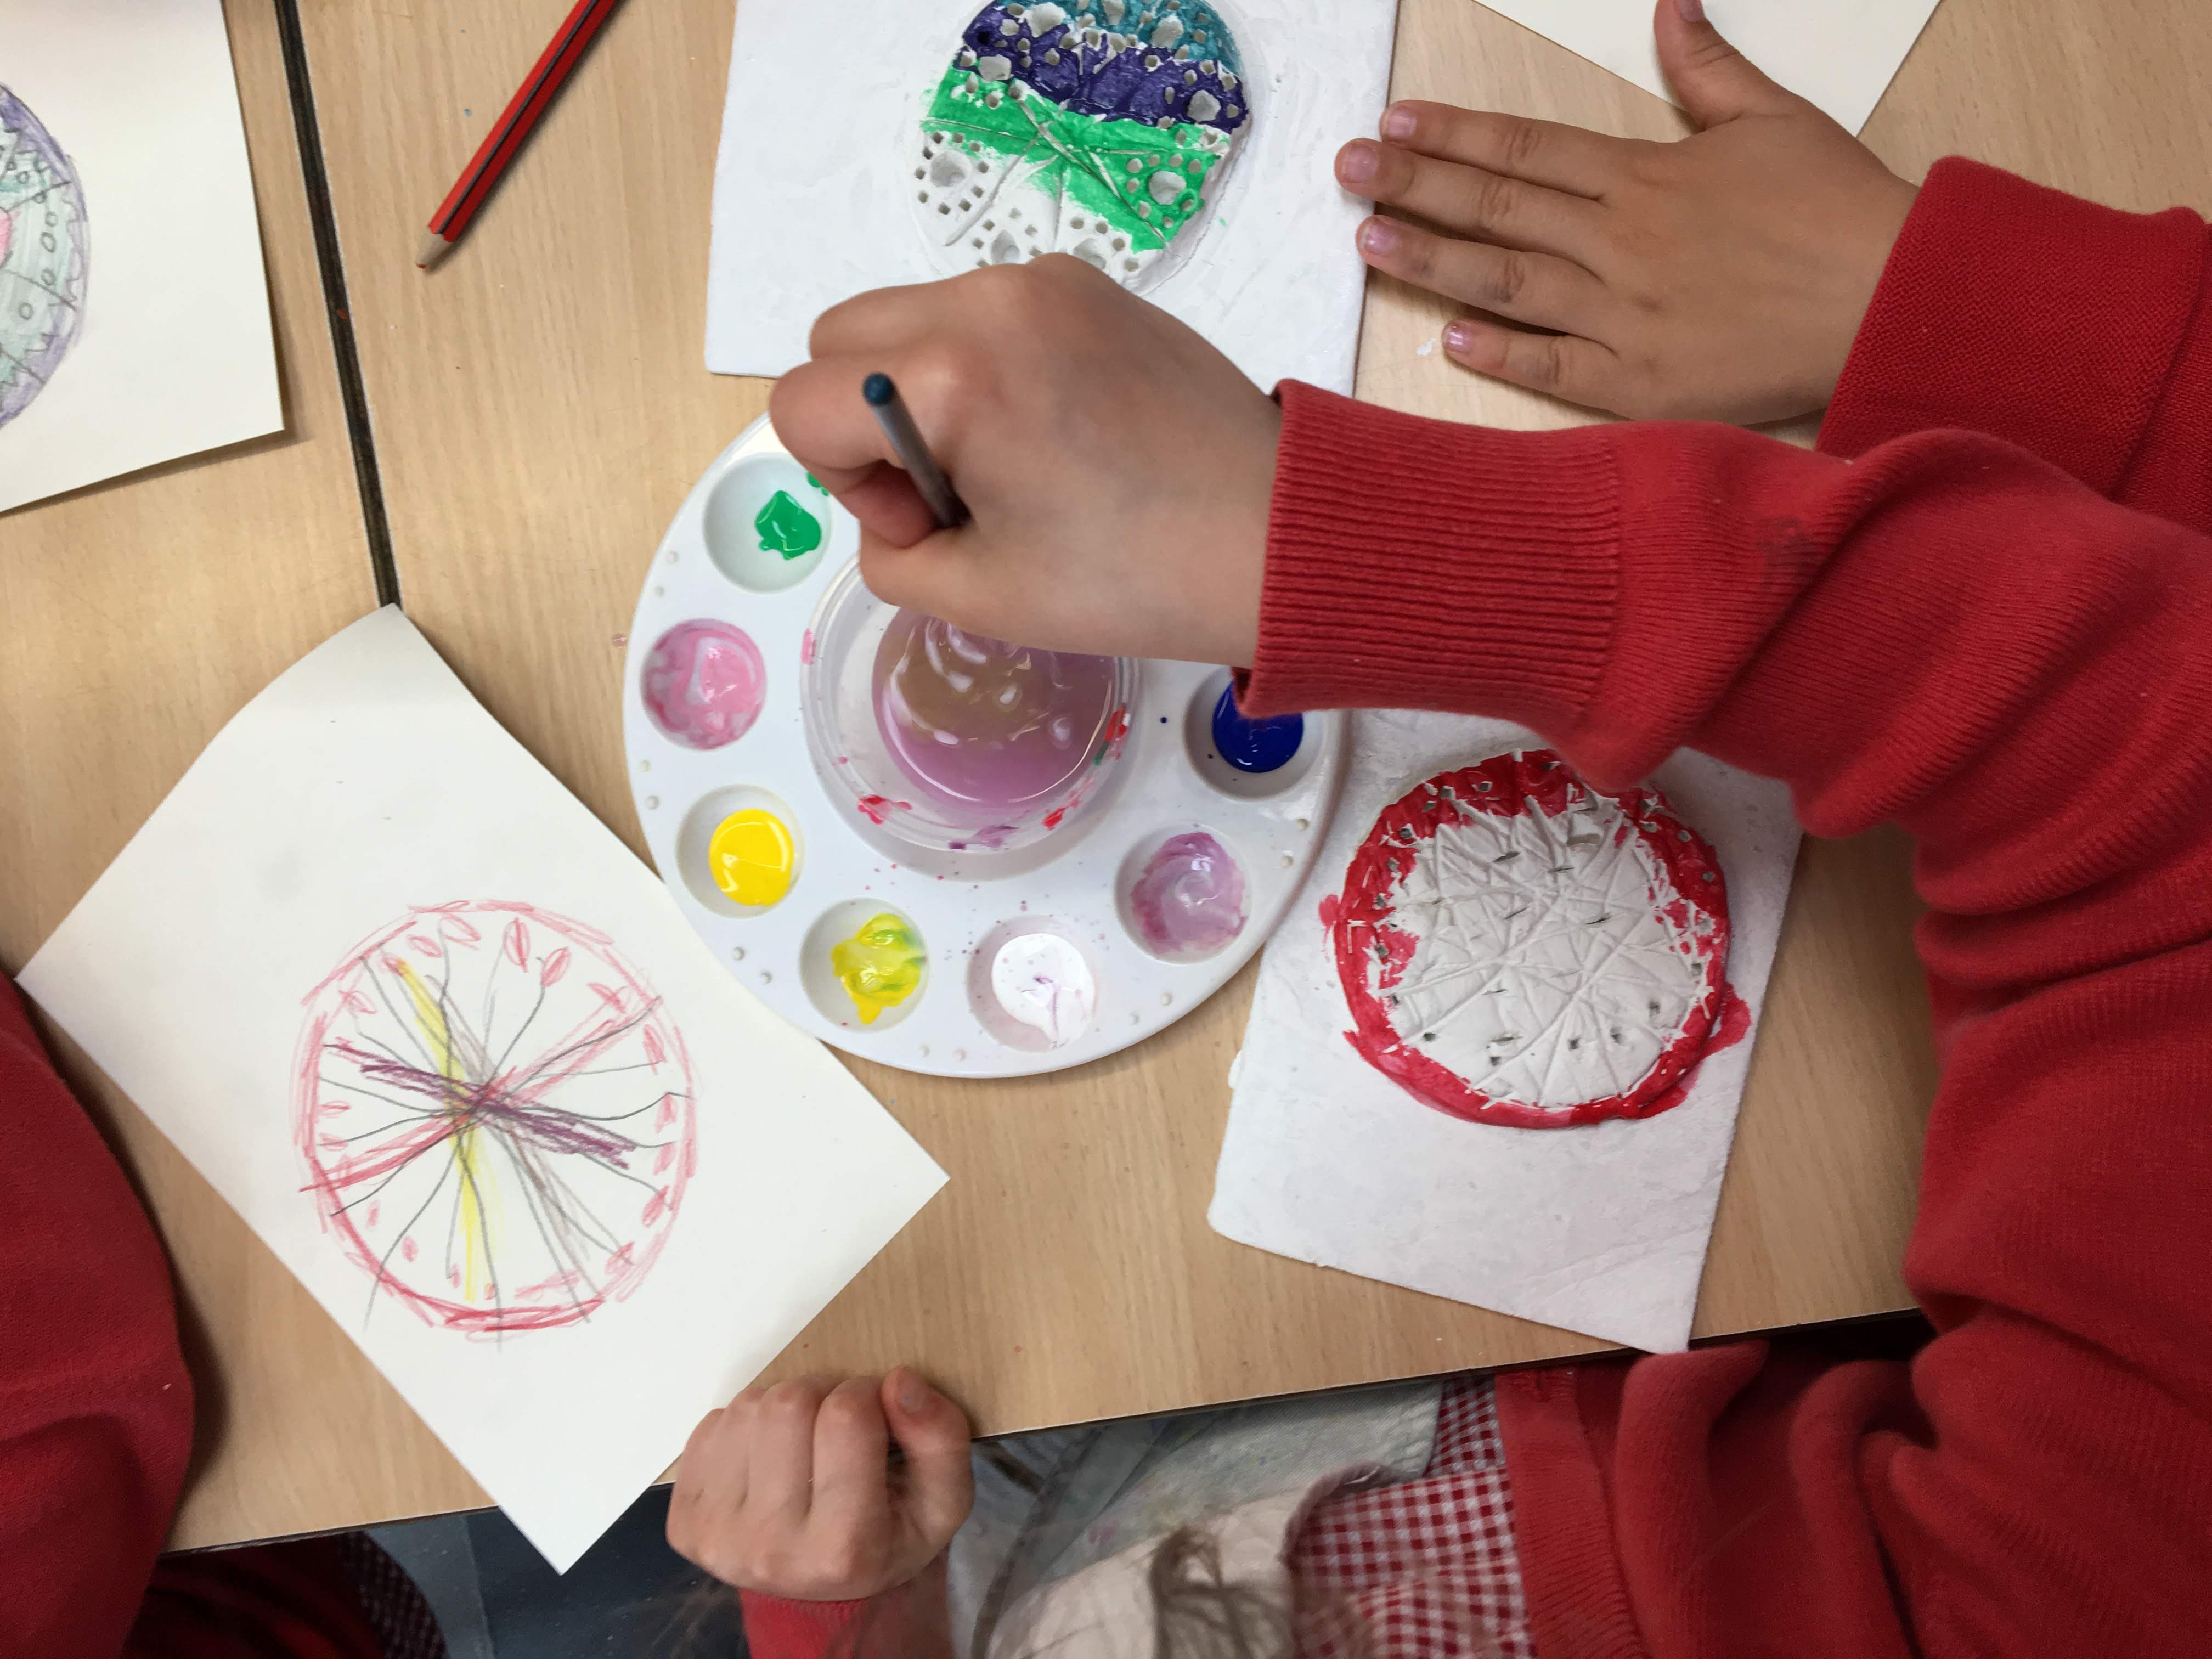
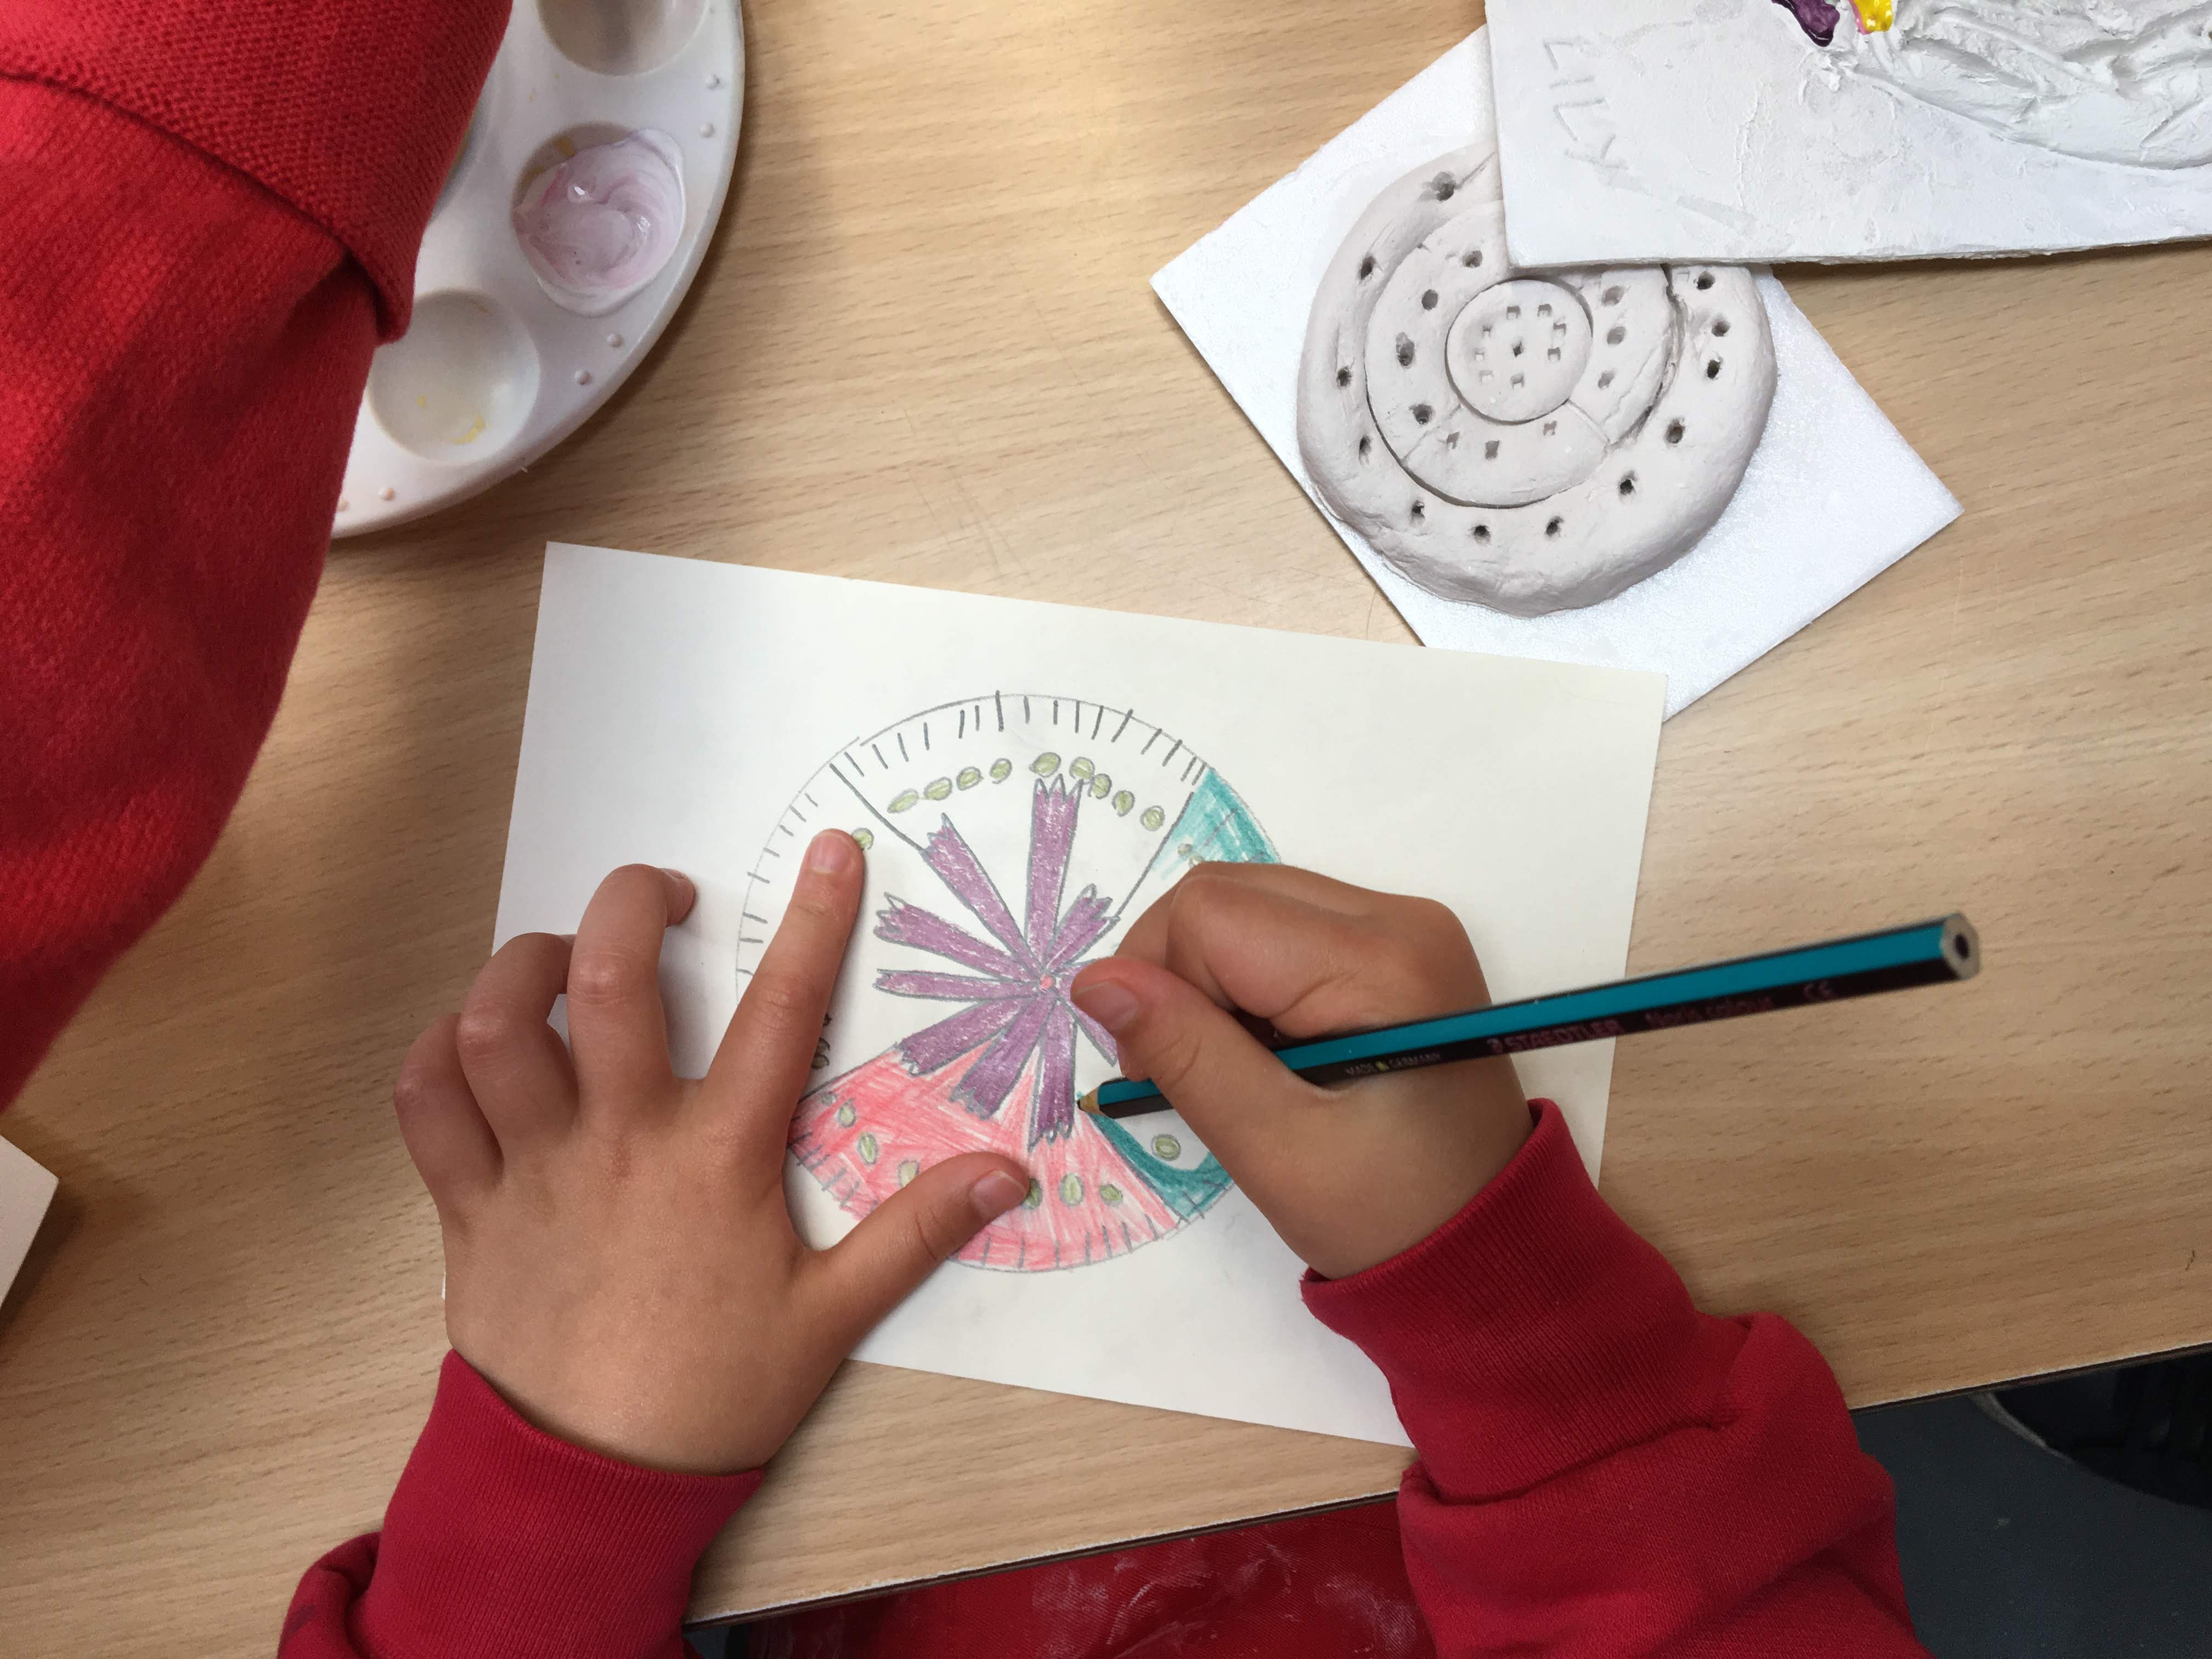
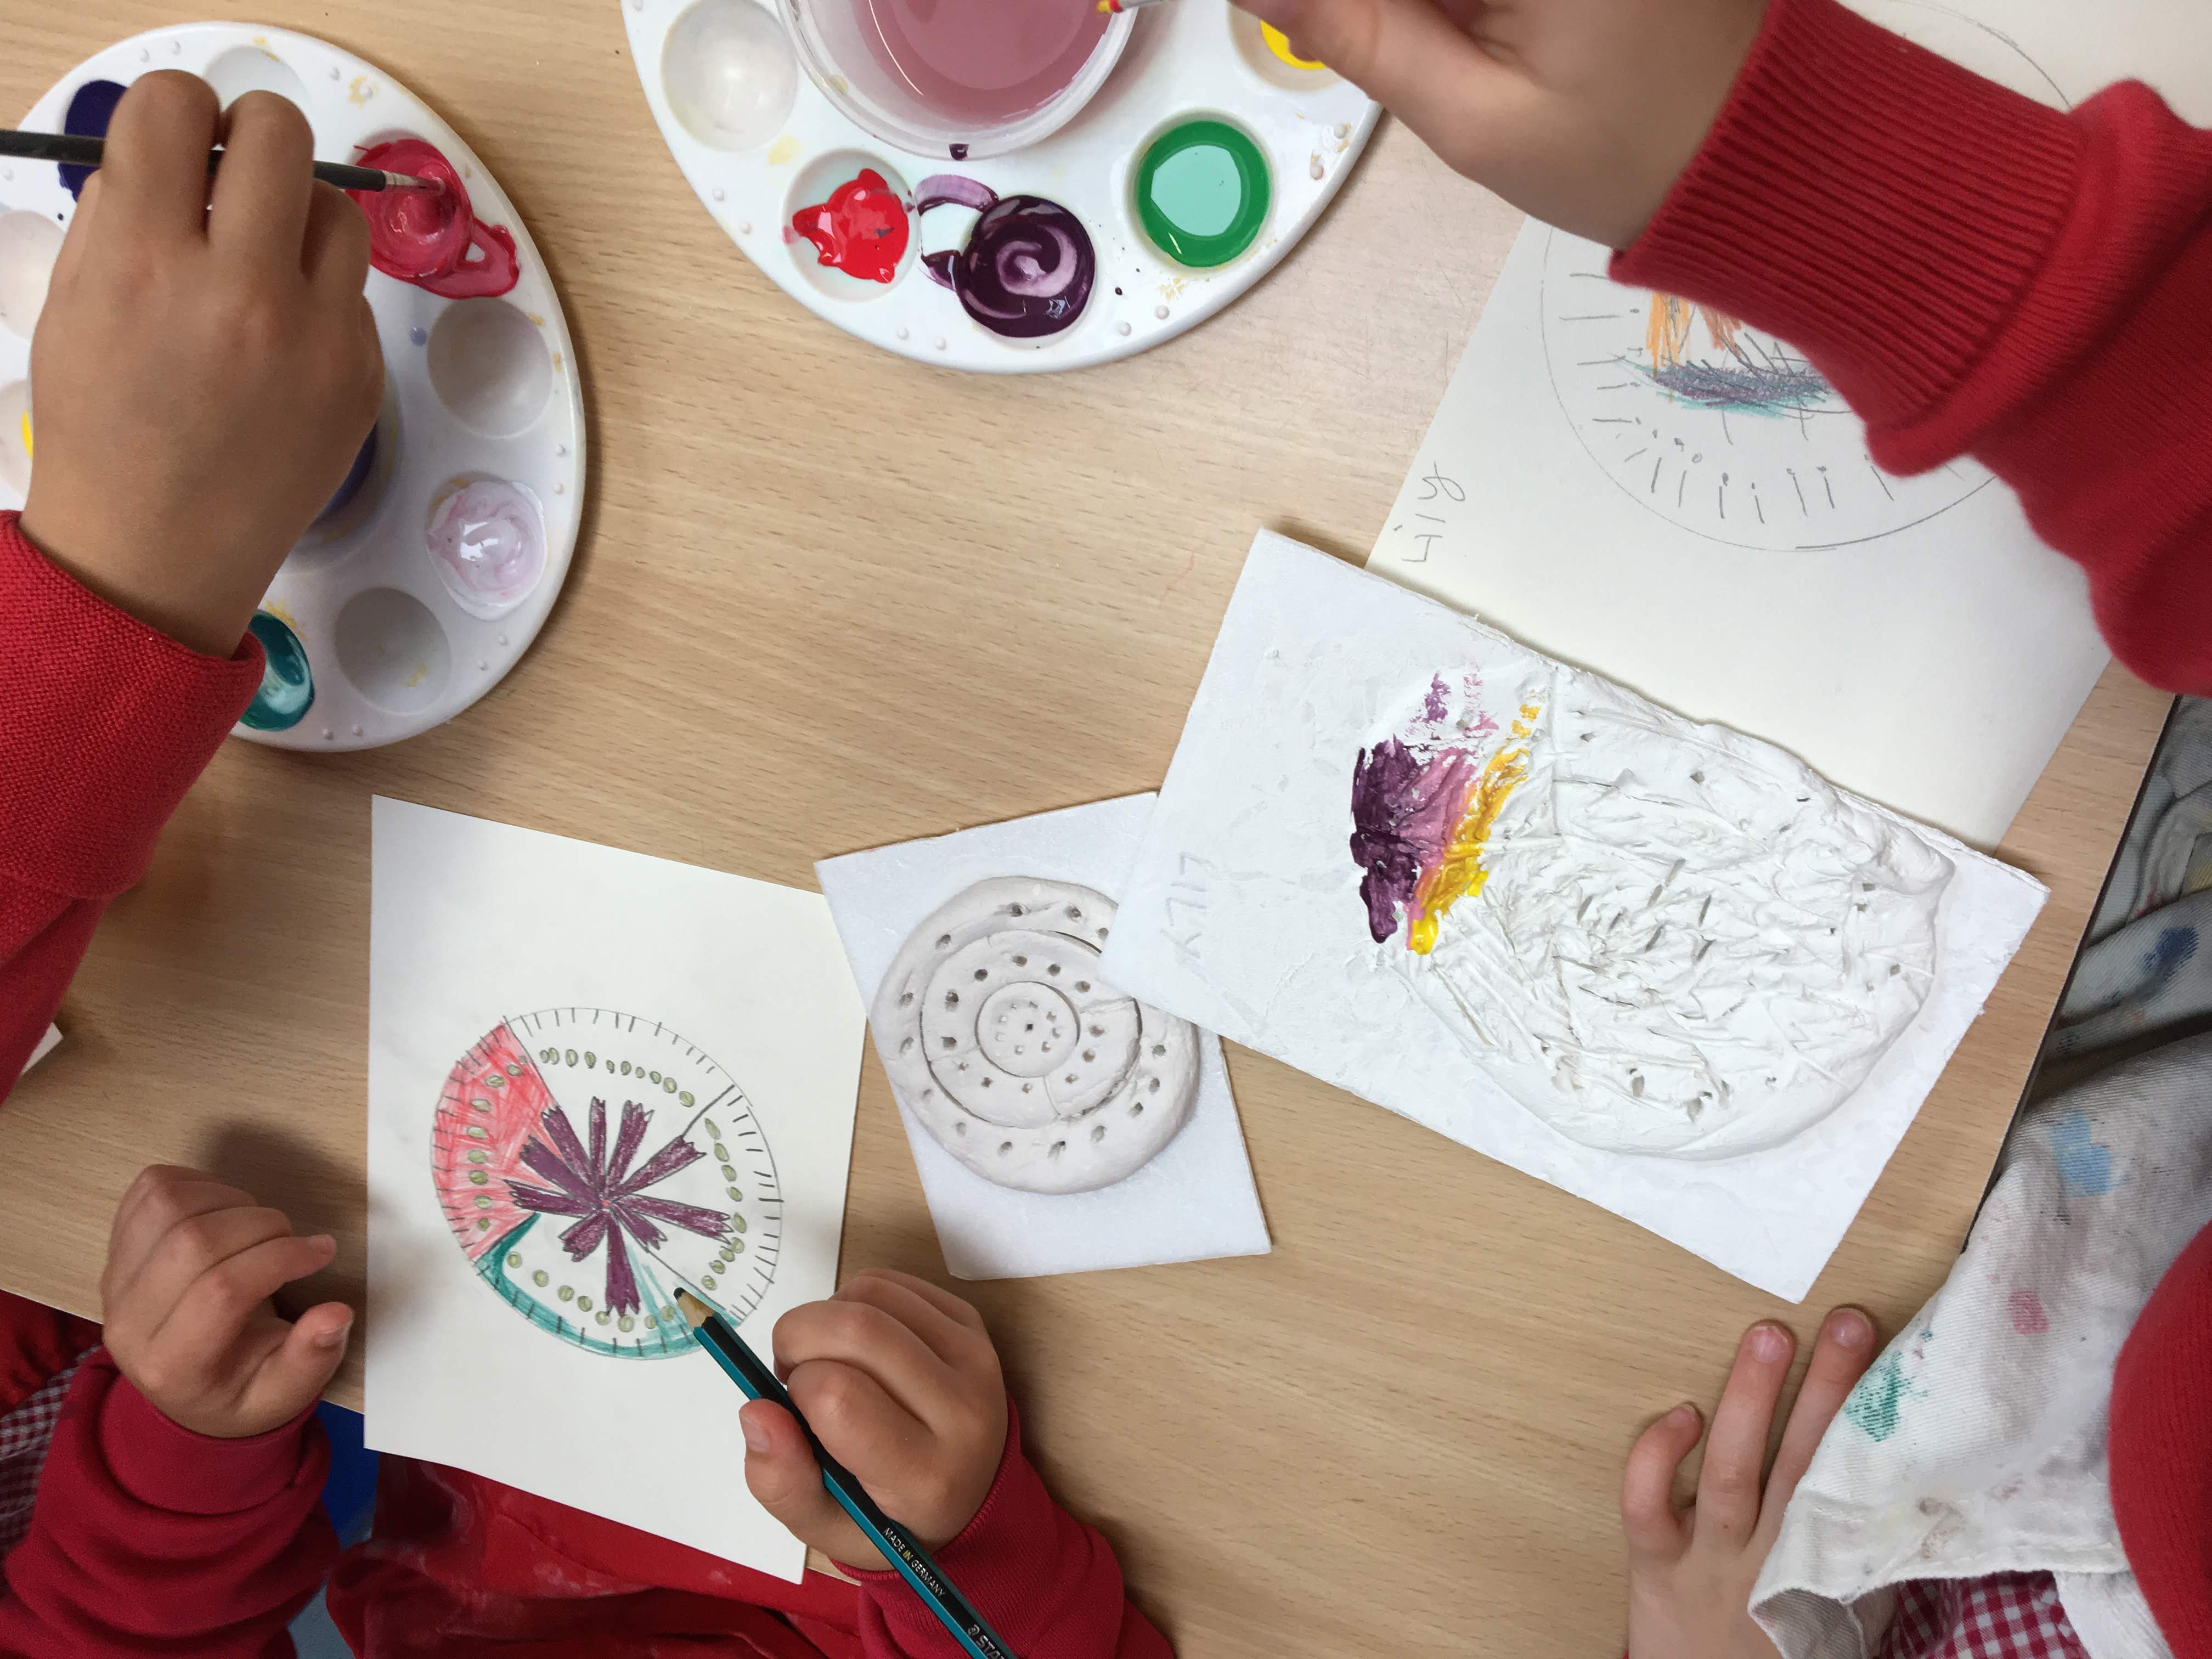
Whilst our pots were drying, we continued to experiment with modelling test discs of air dry clay. Using different shapes and repeat patterns, we explored the textures we could make using modelling tools.
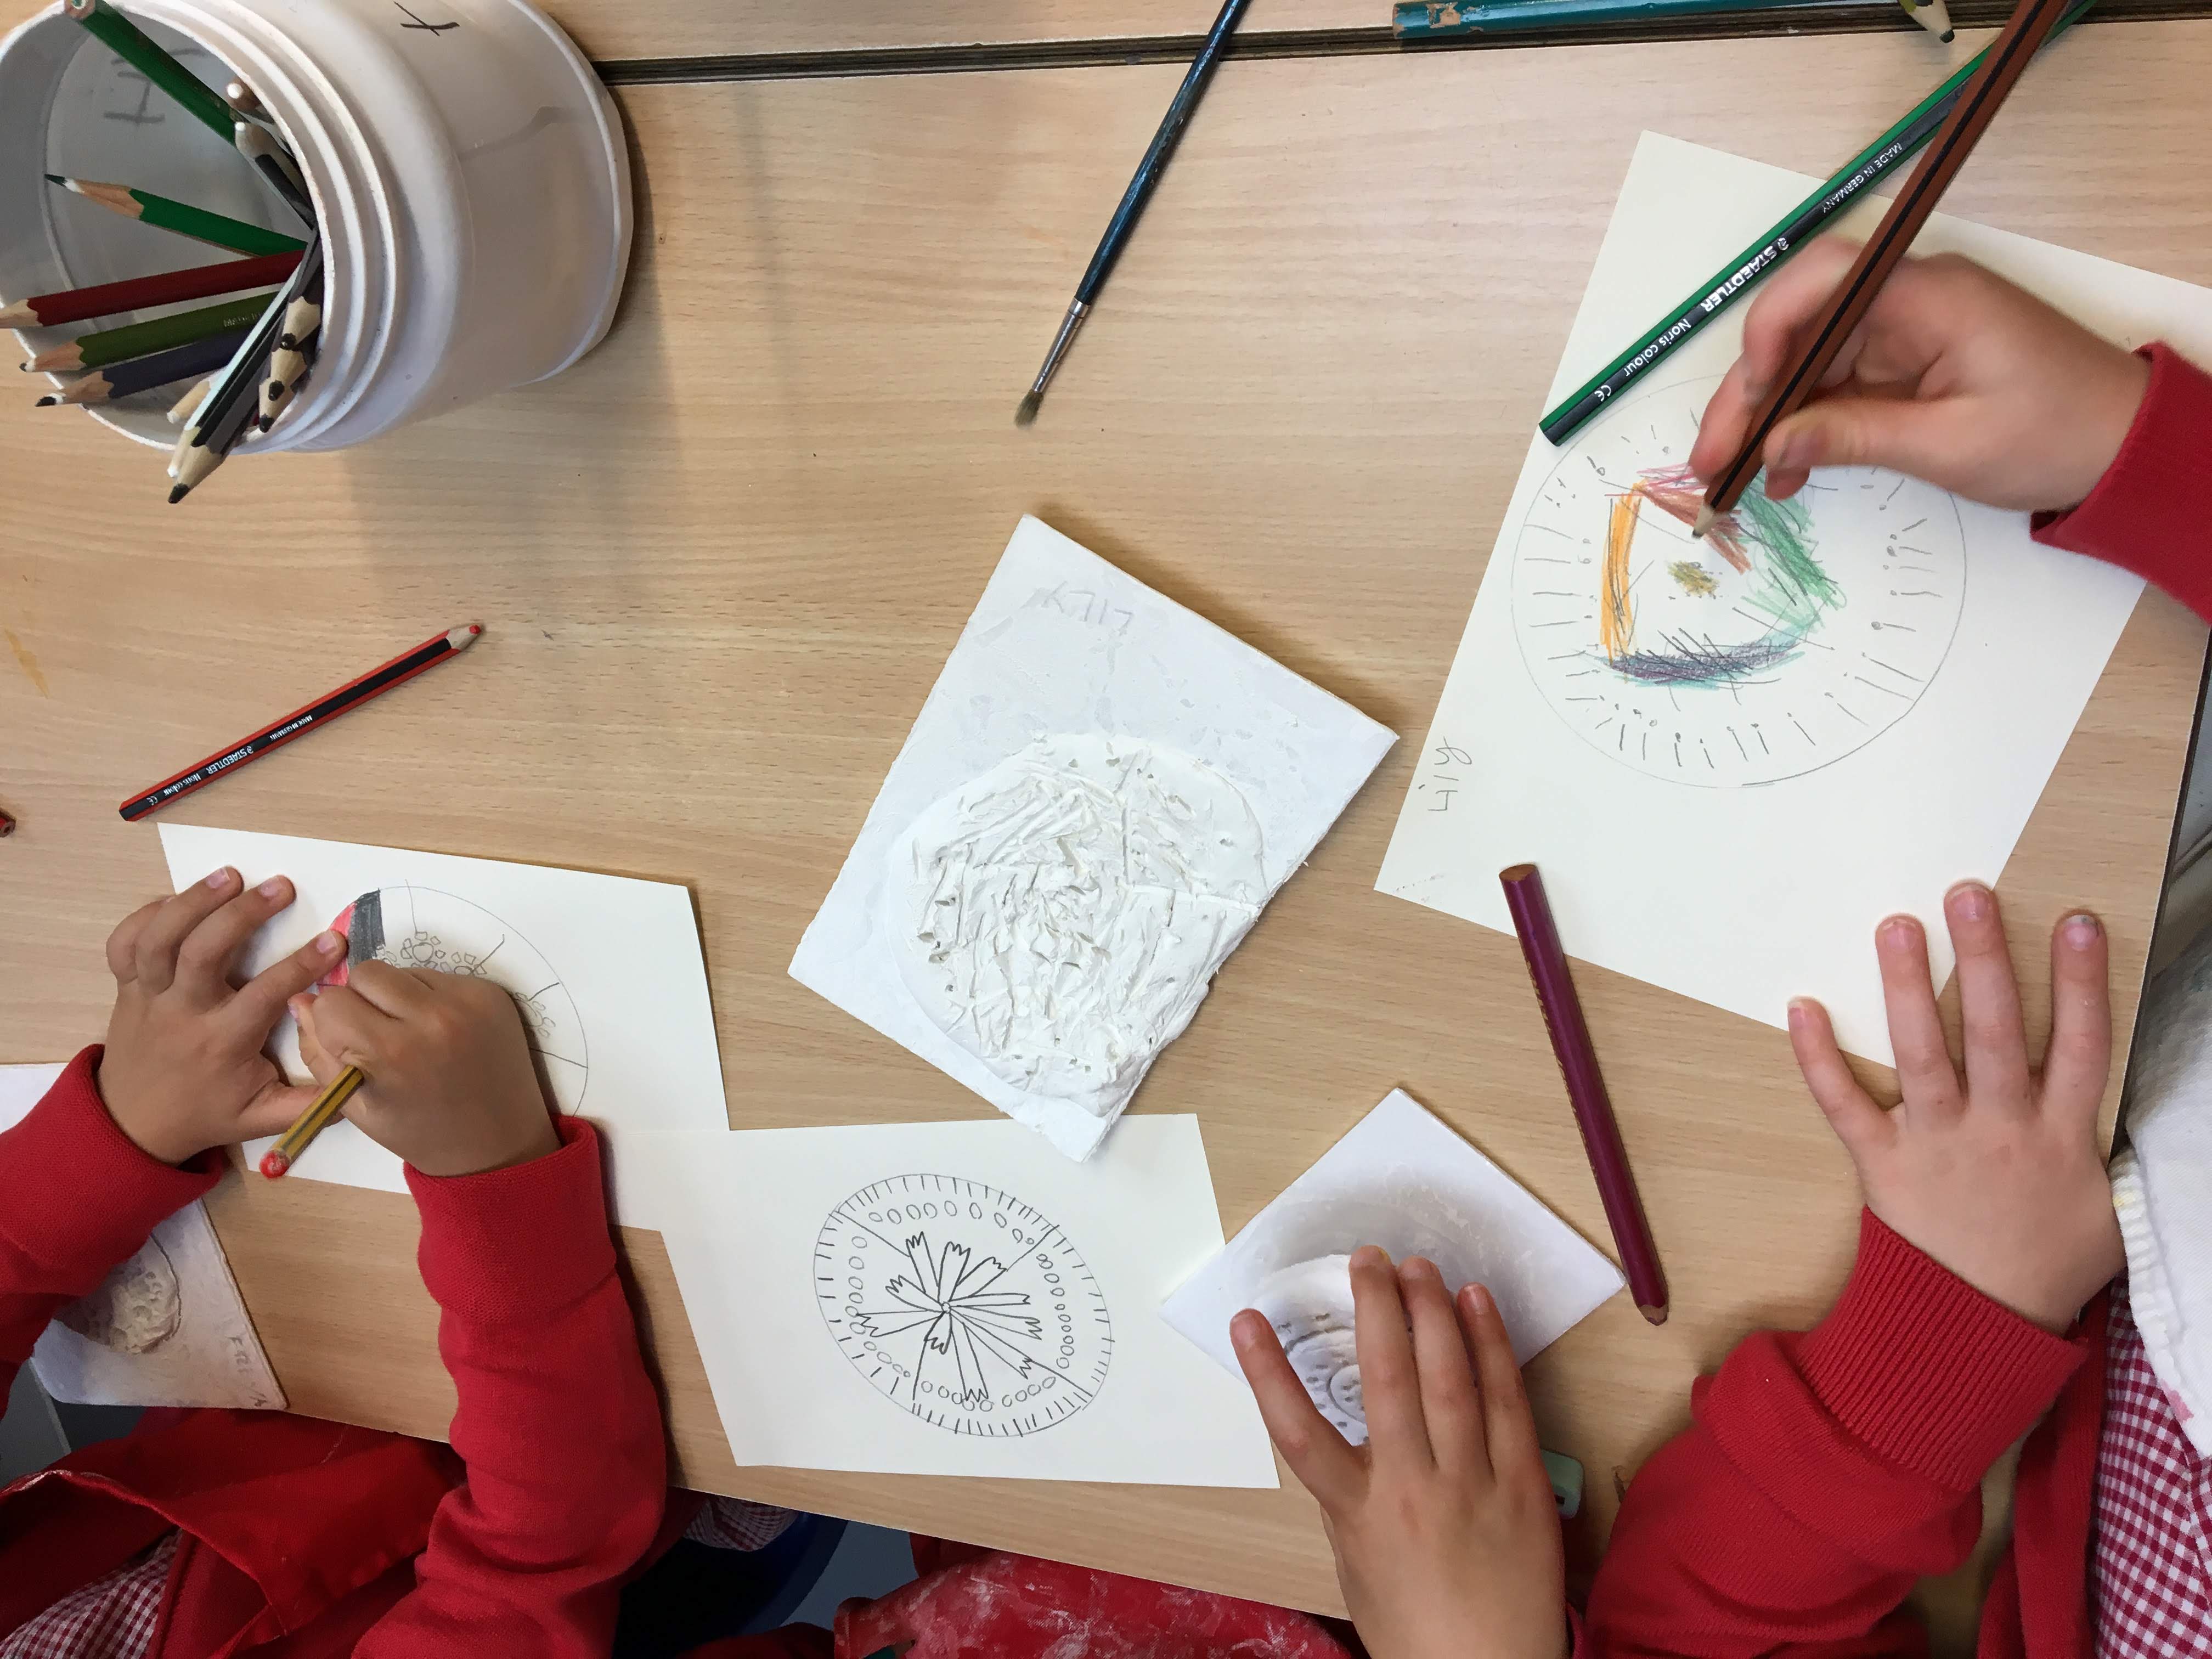
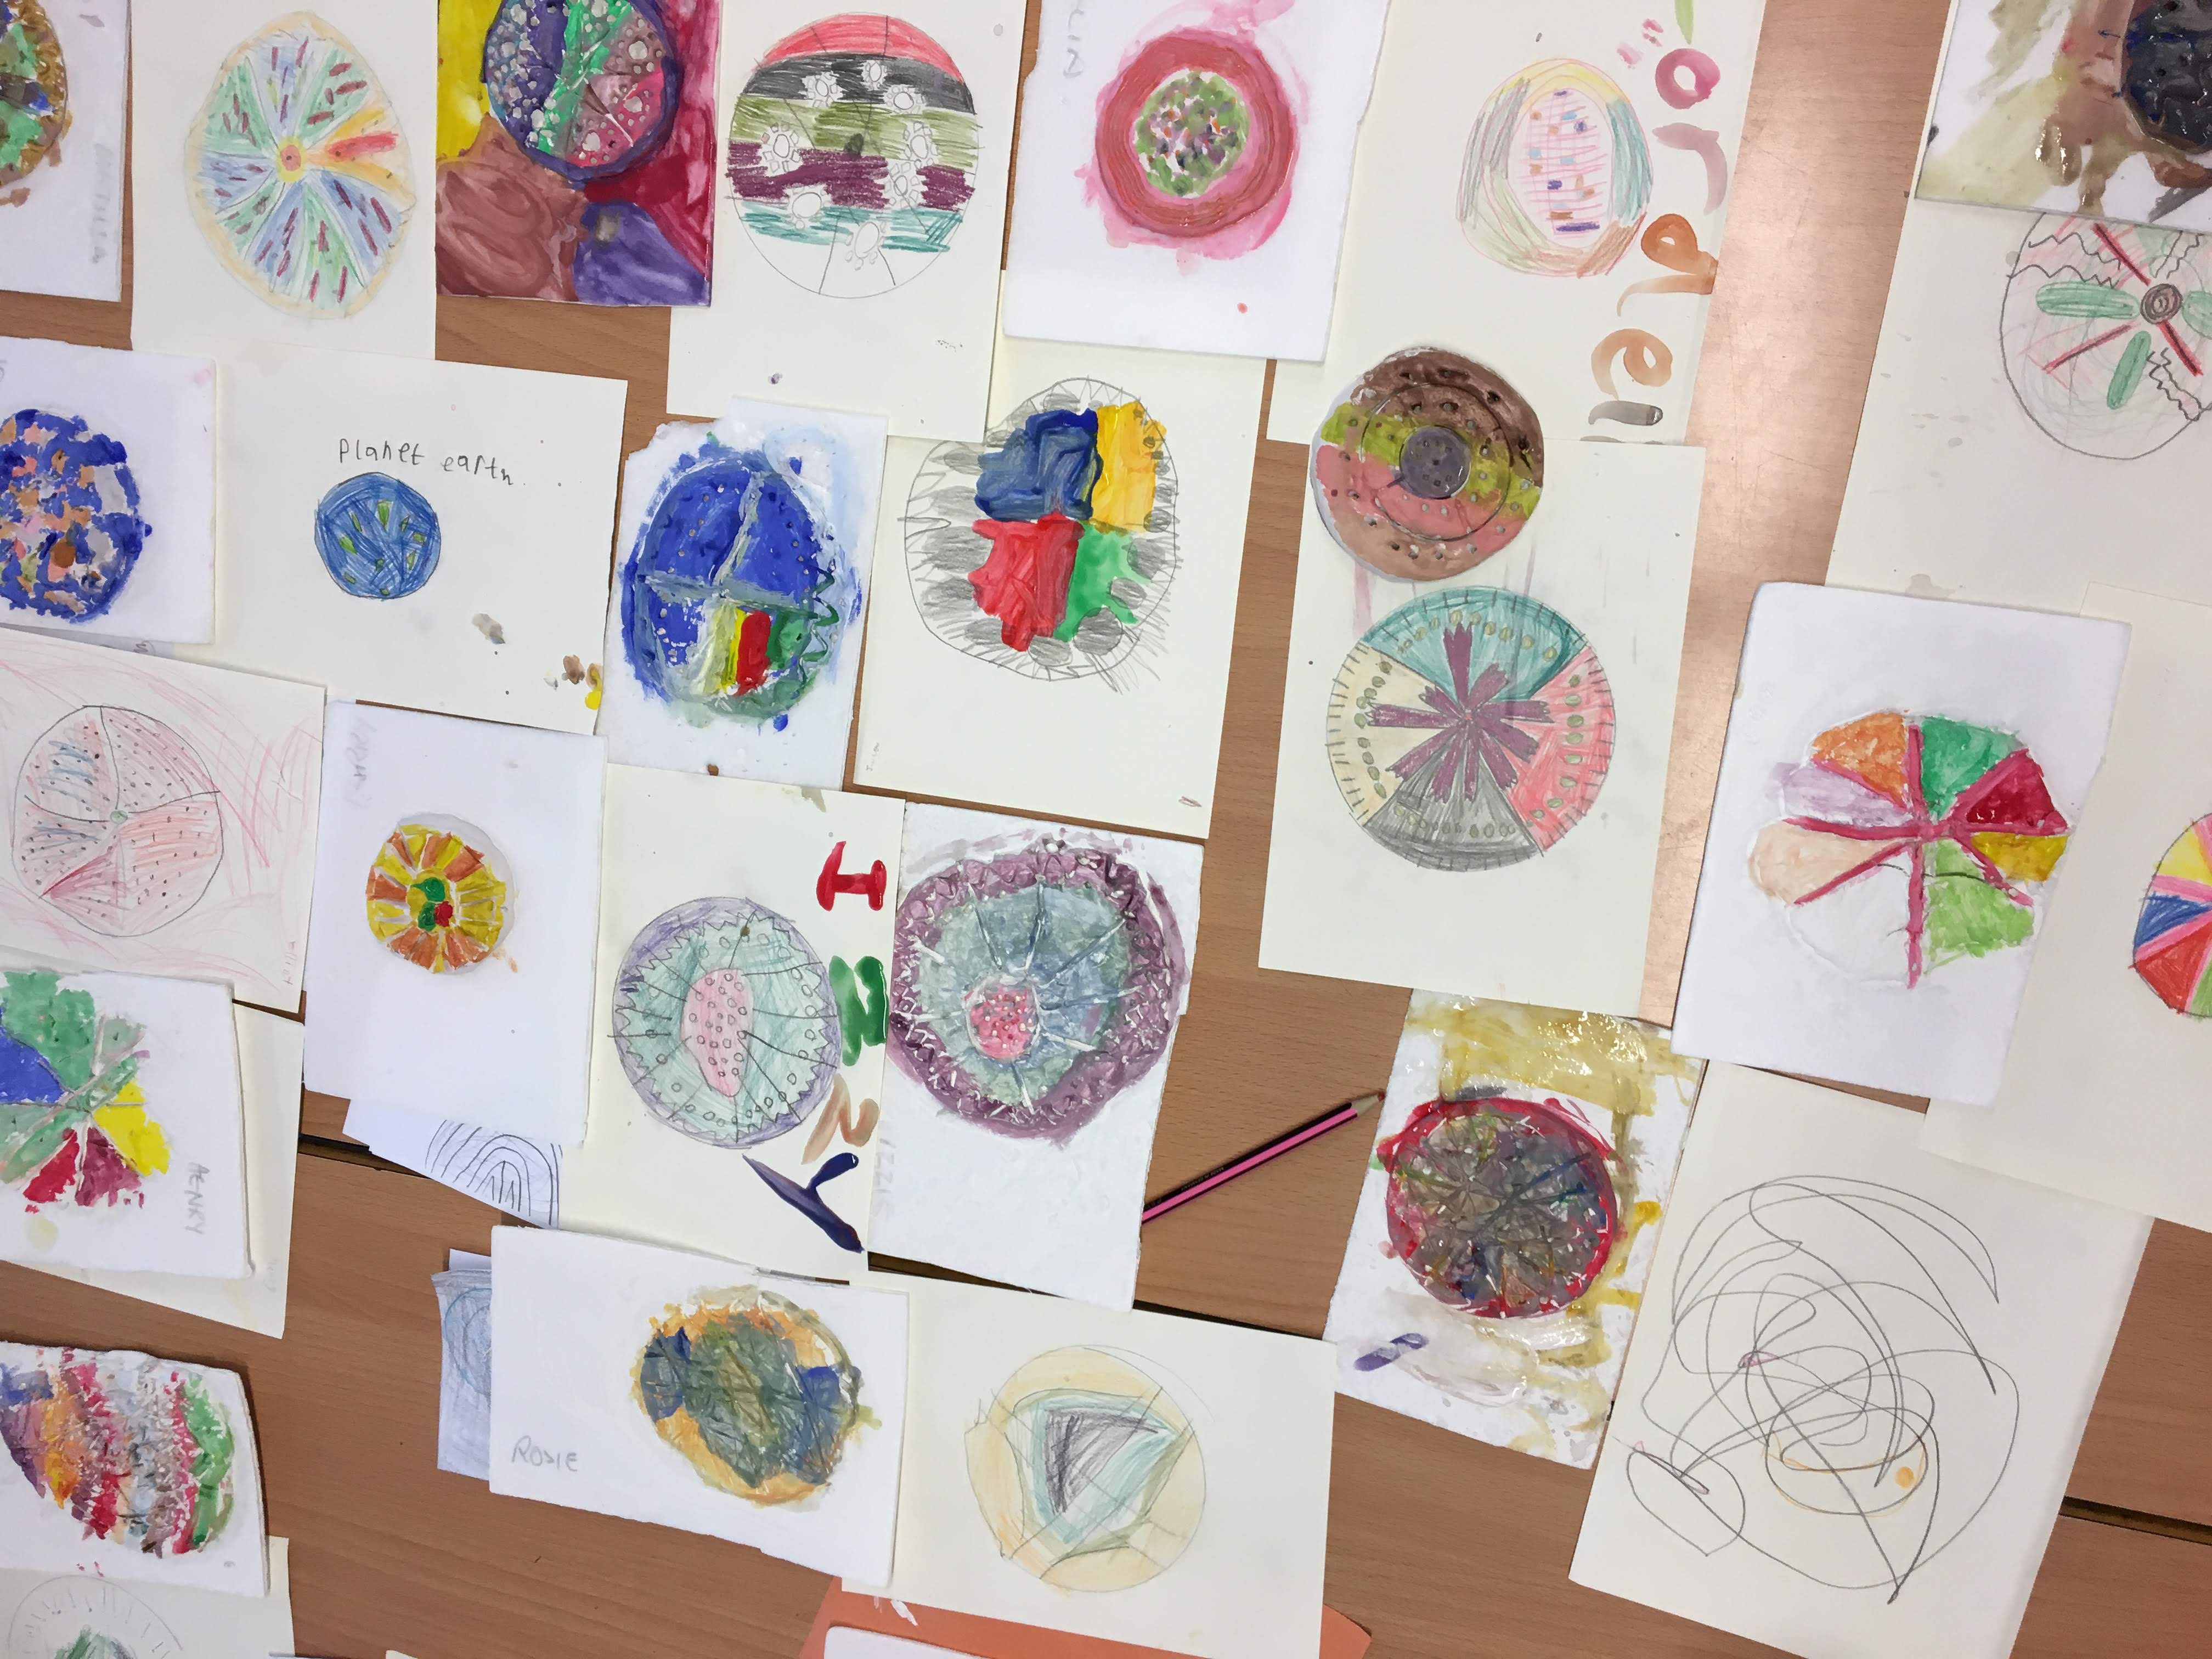
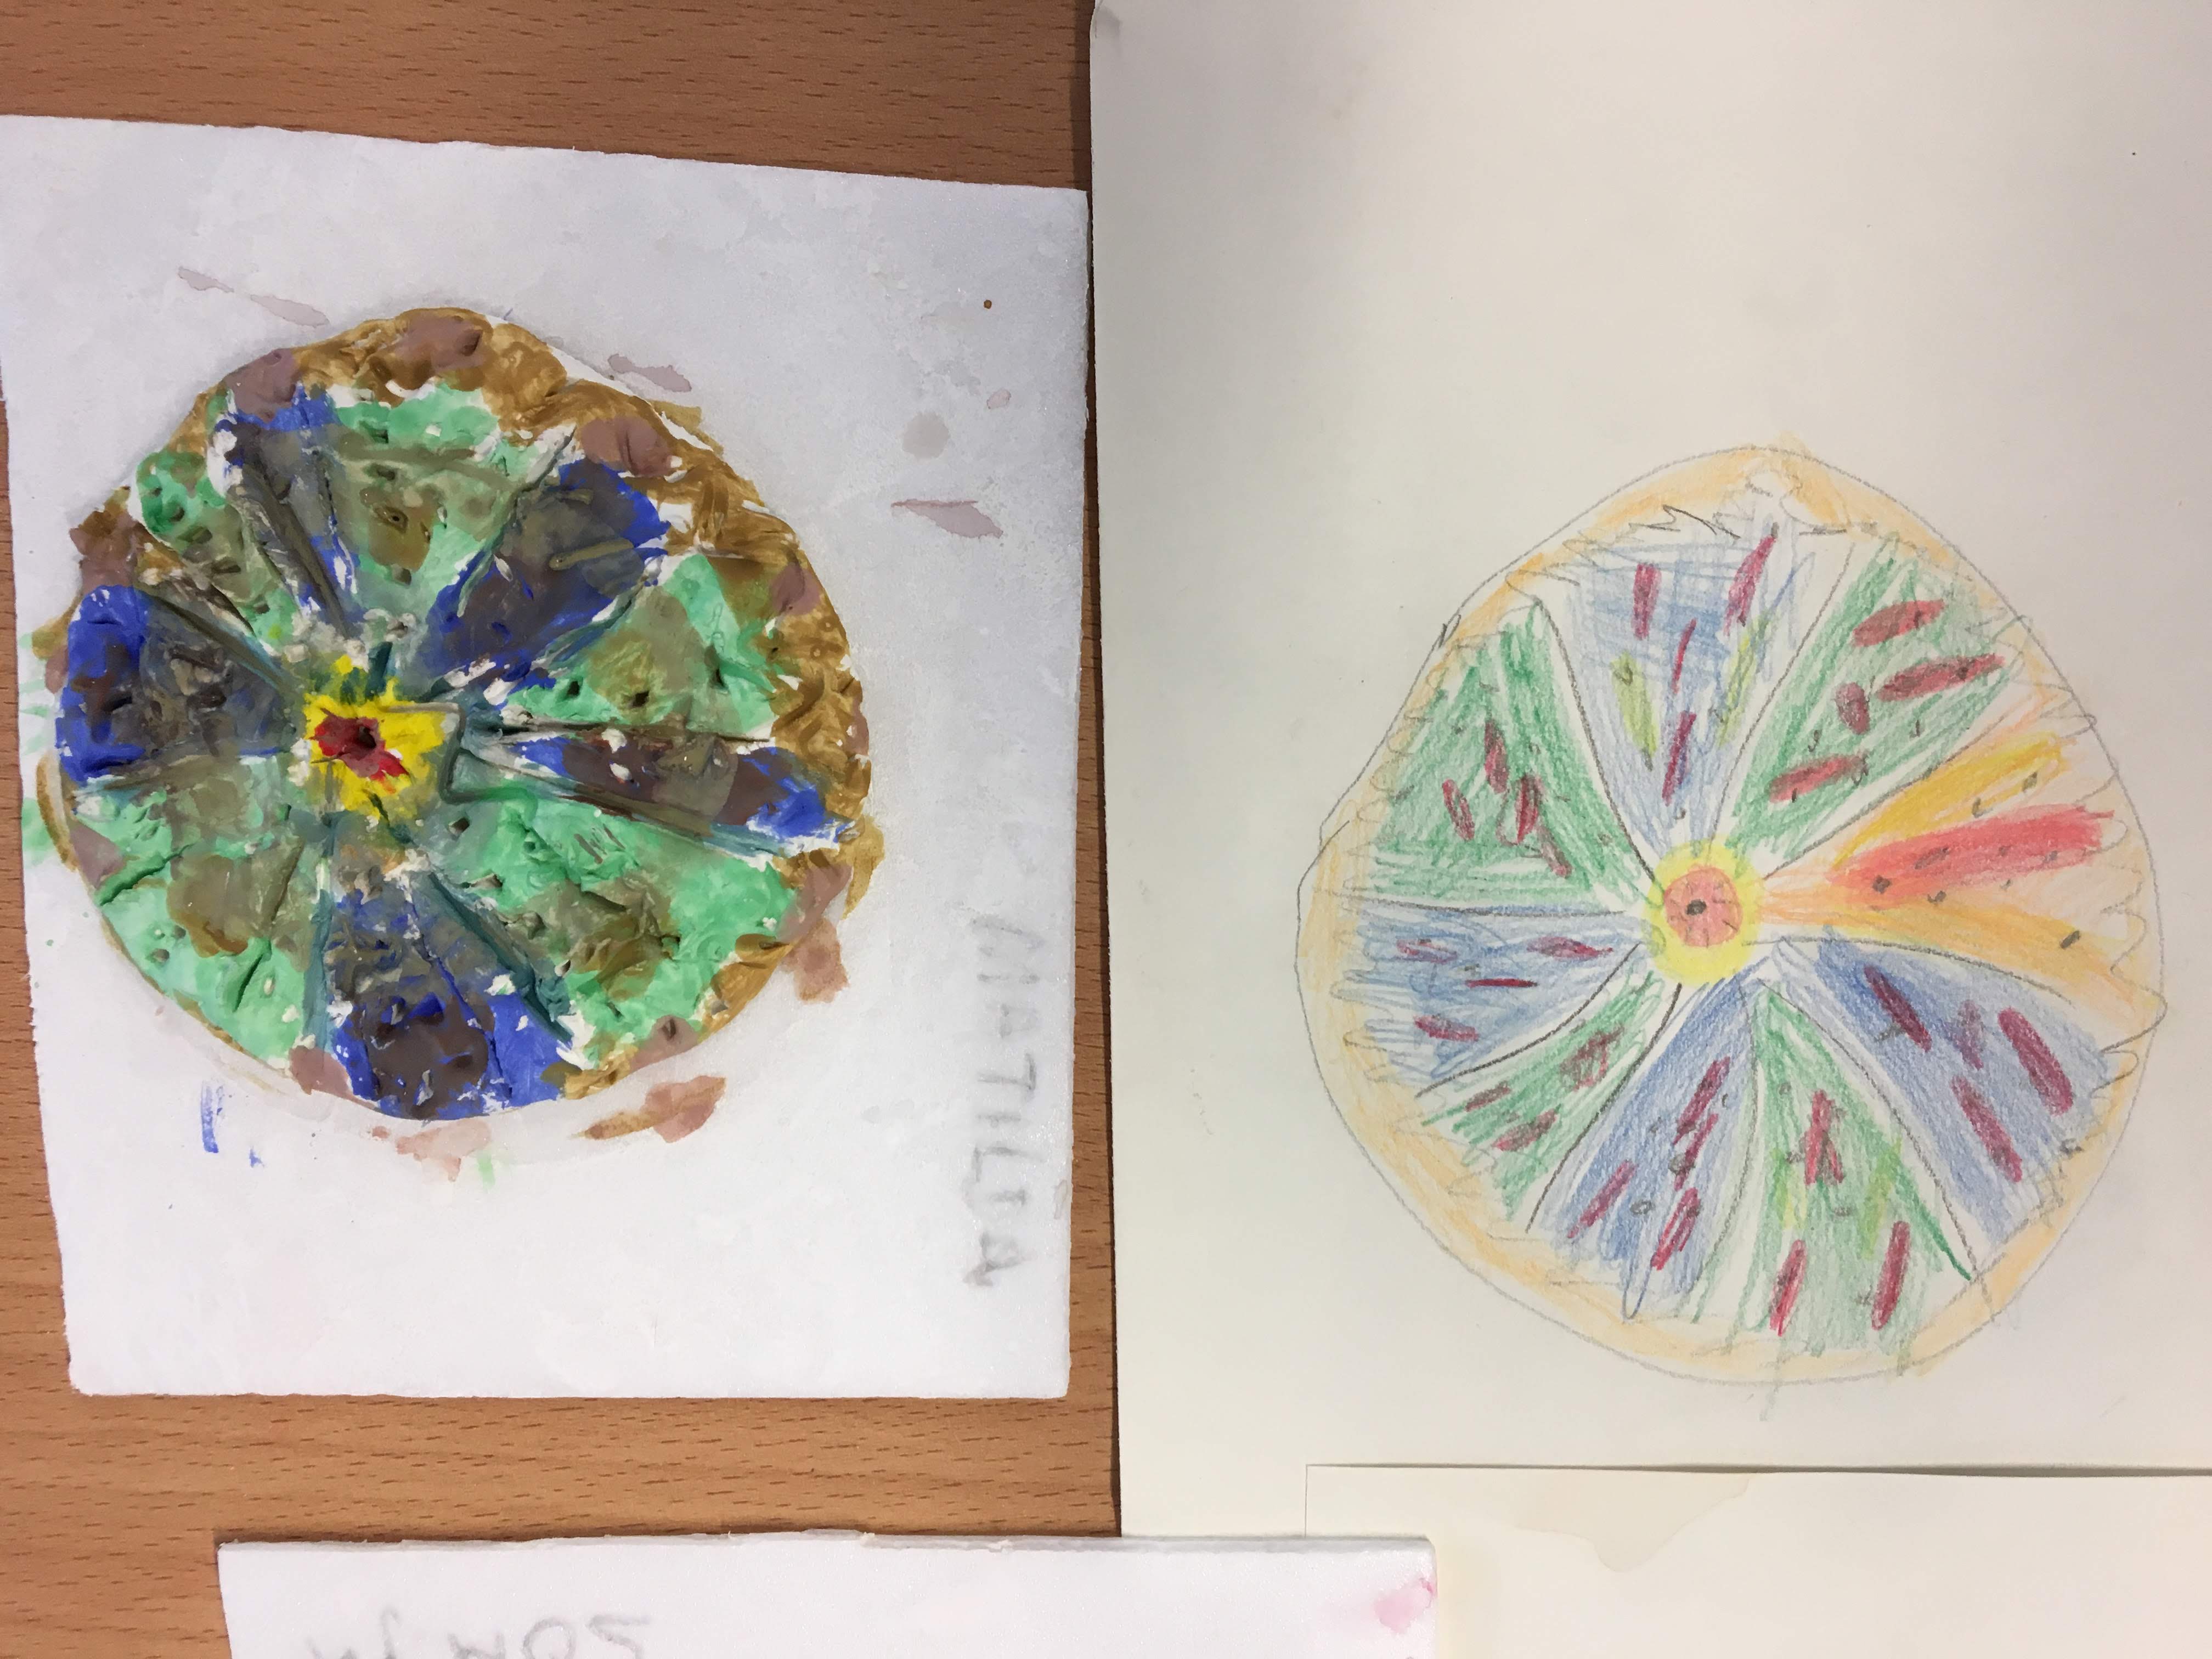
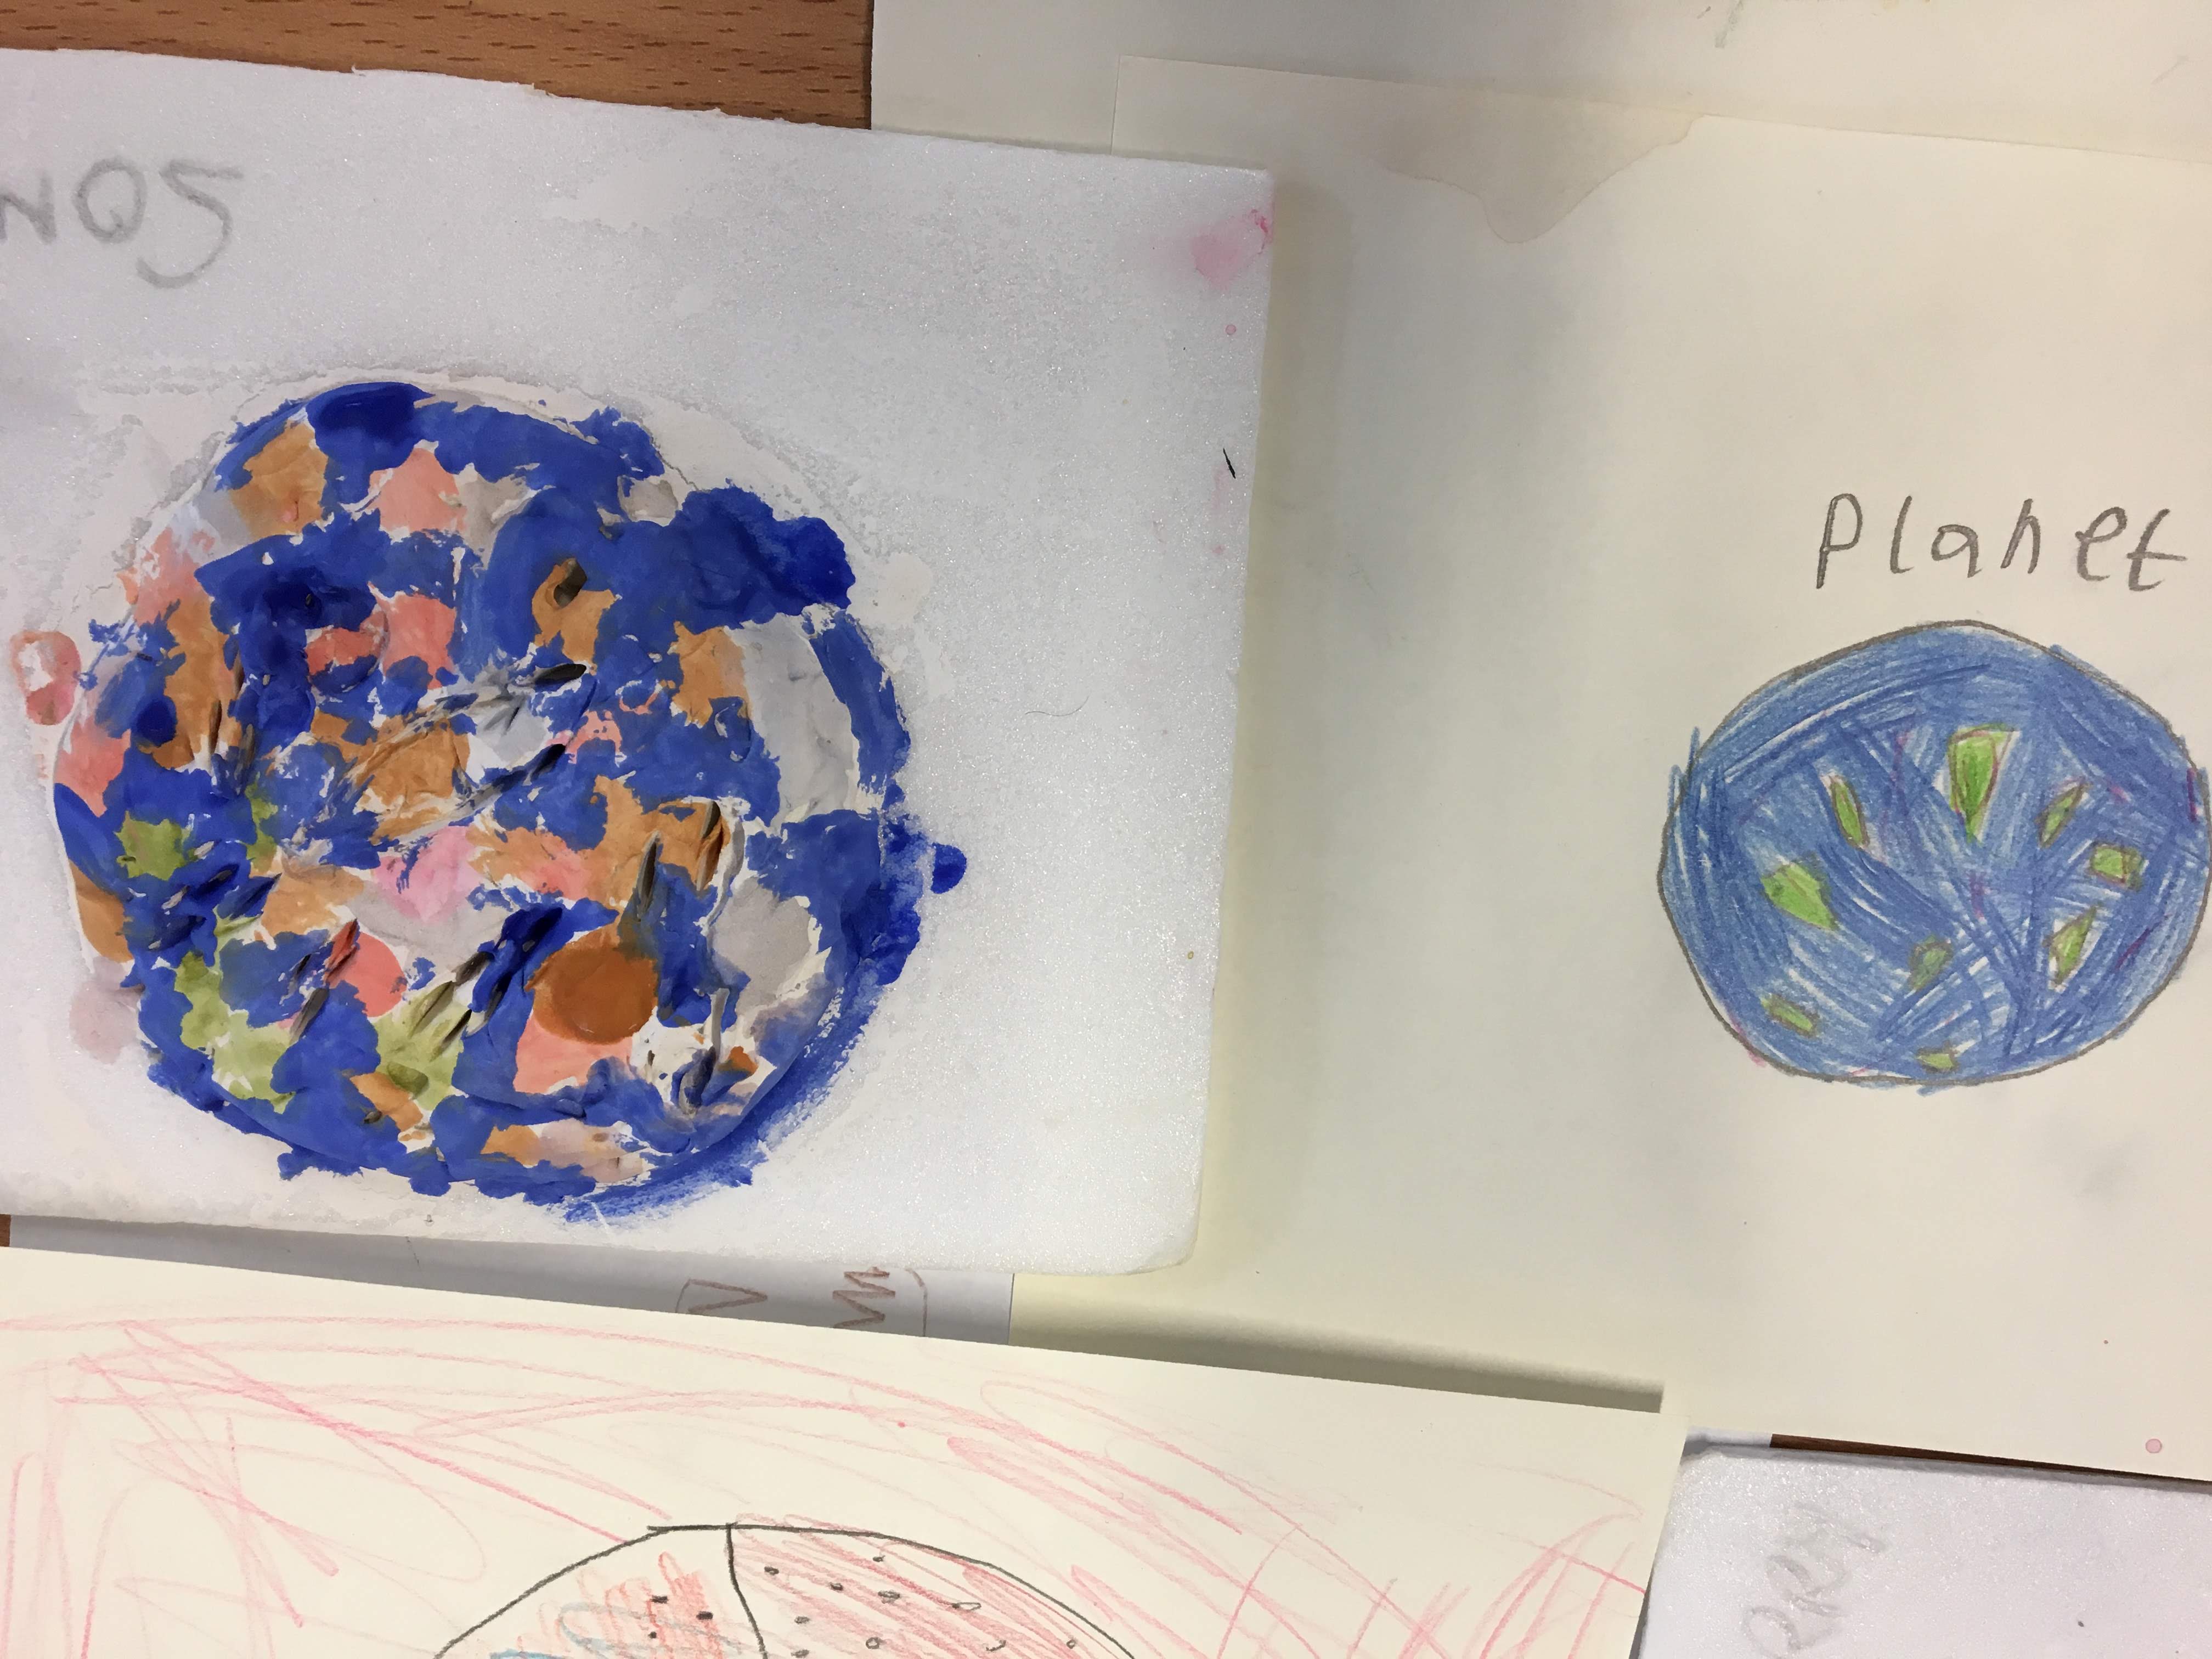
 When our experimental clay pieces were try, we drew them, adding our design in colour, ready to be painted on. We discussed the benefit of keeping the detail simple to allow the textures and patterns to shine through. The designs were almost all abstract, except for a lion, planet earth and a flower.

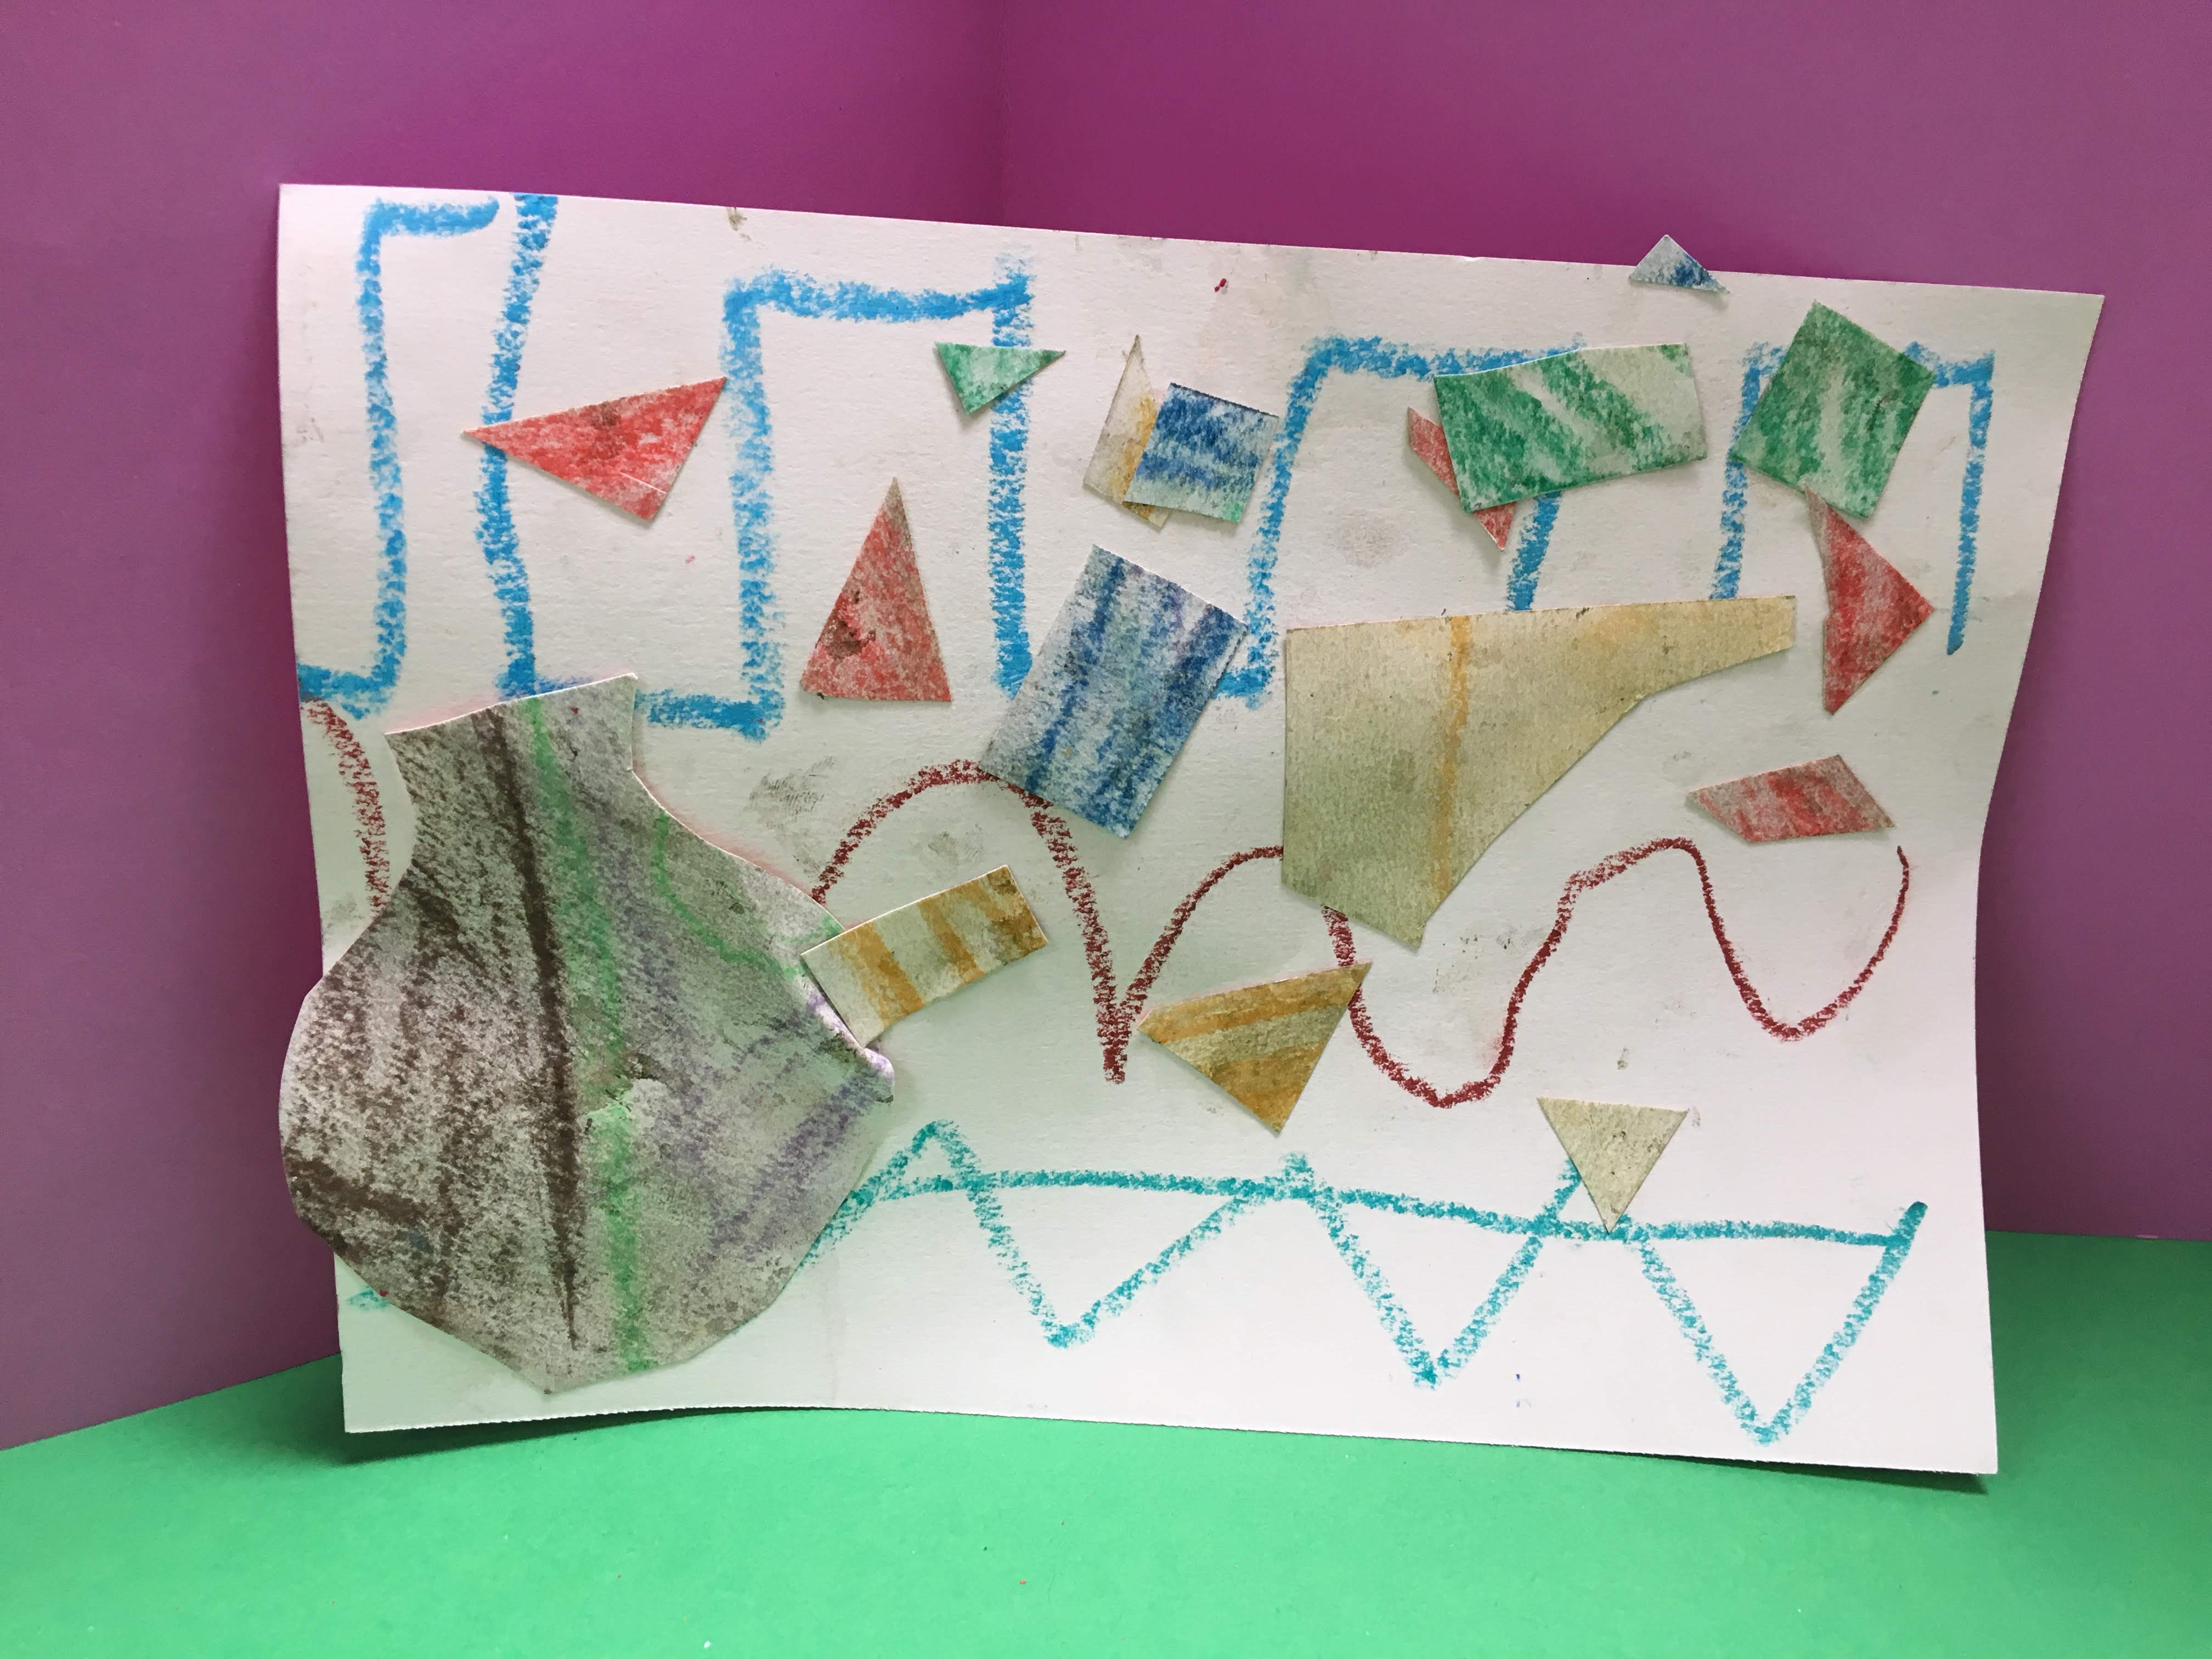
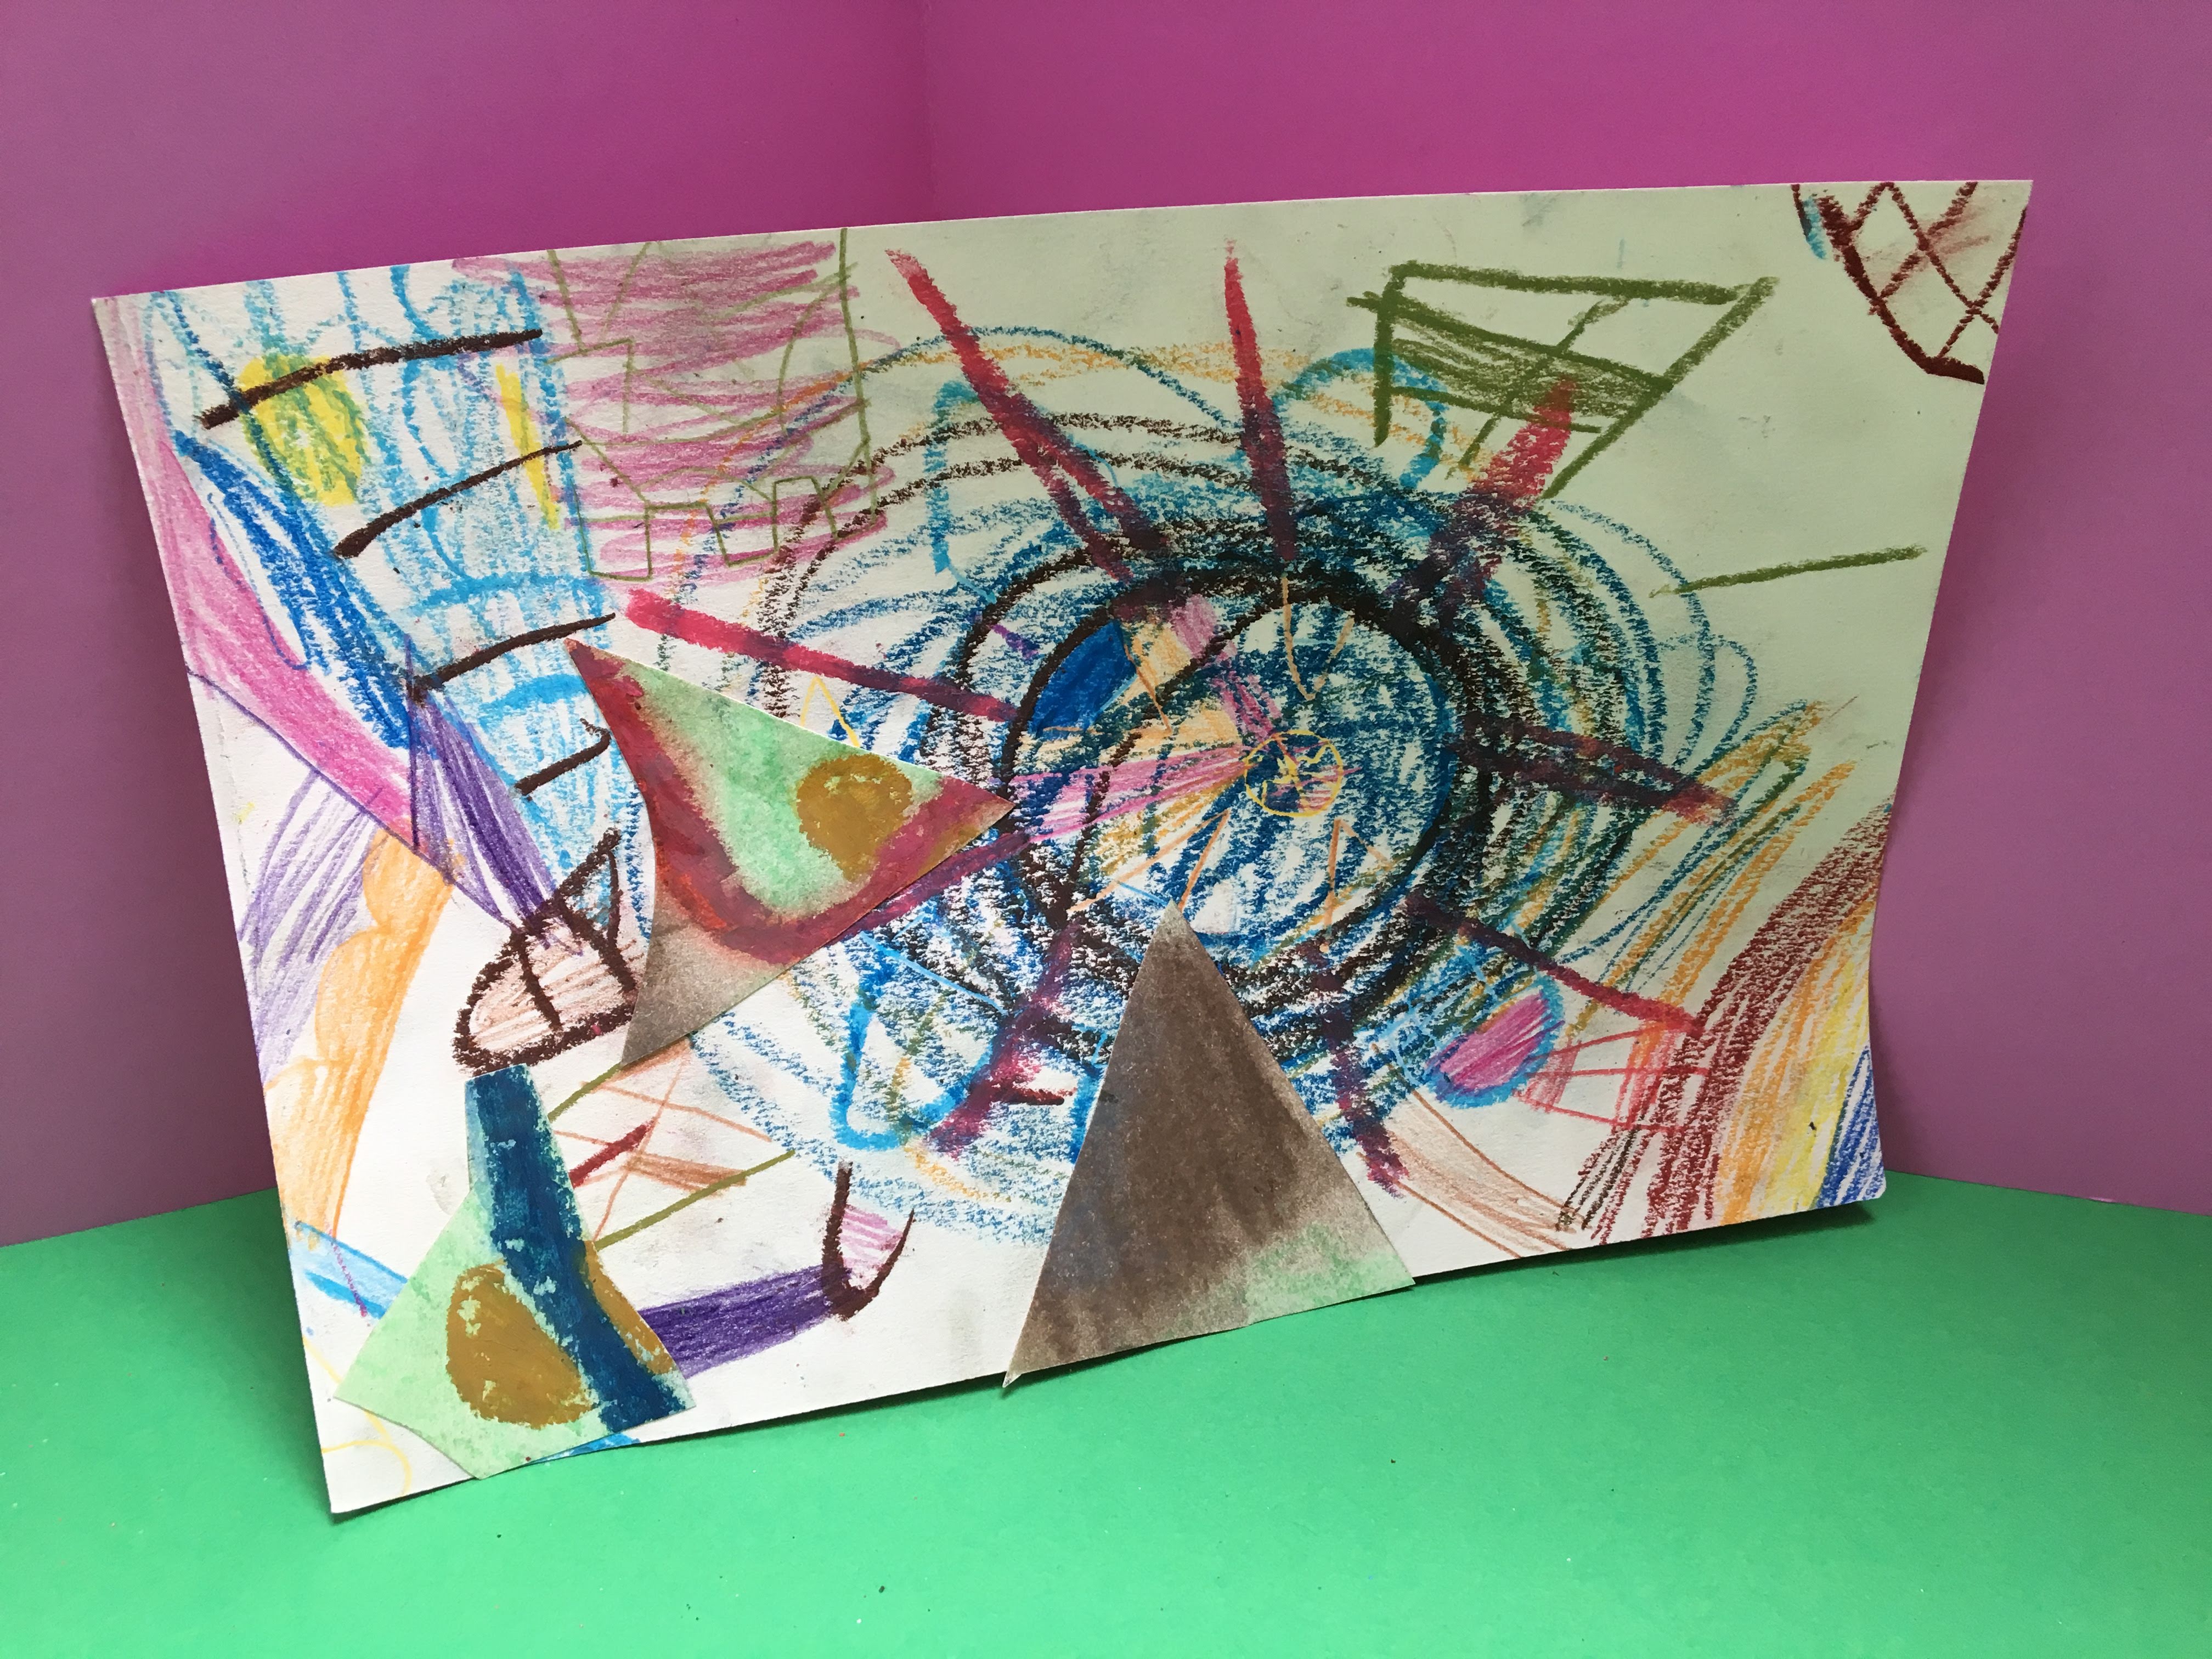
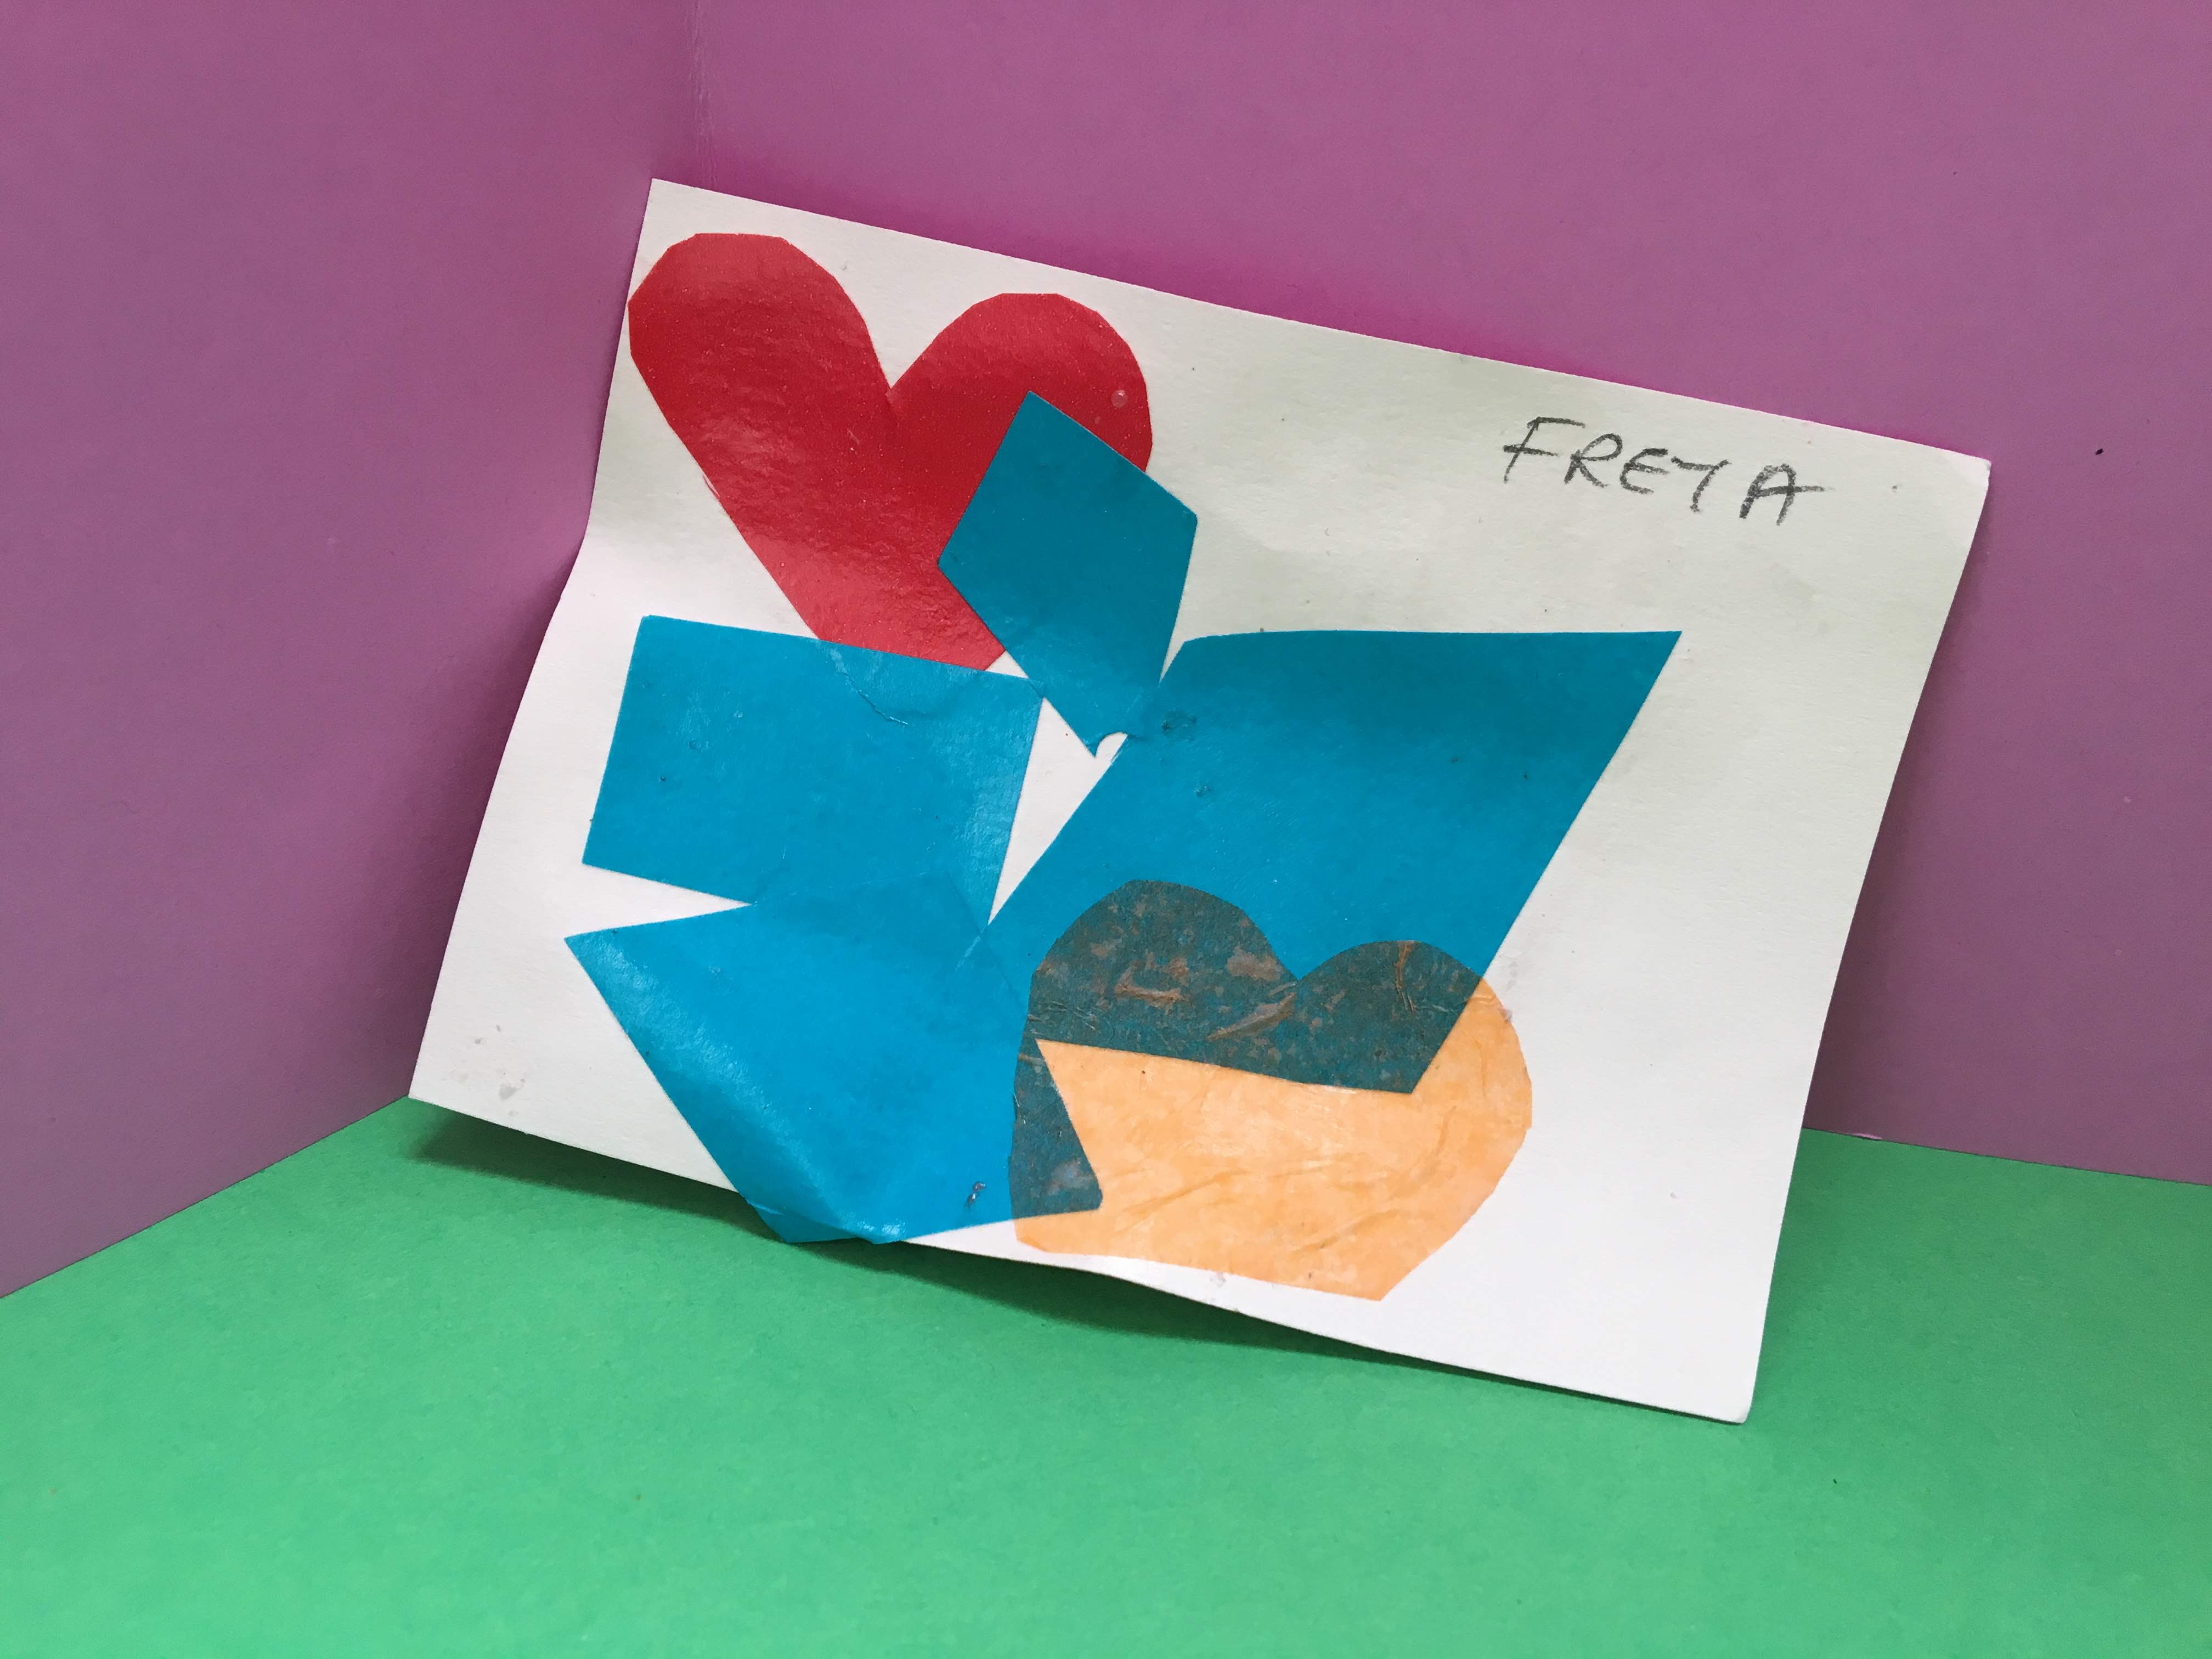
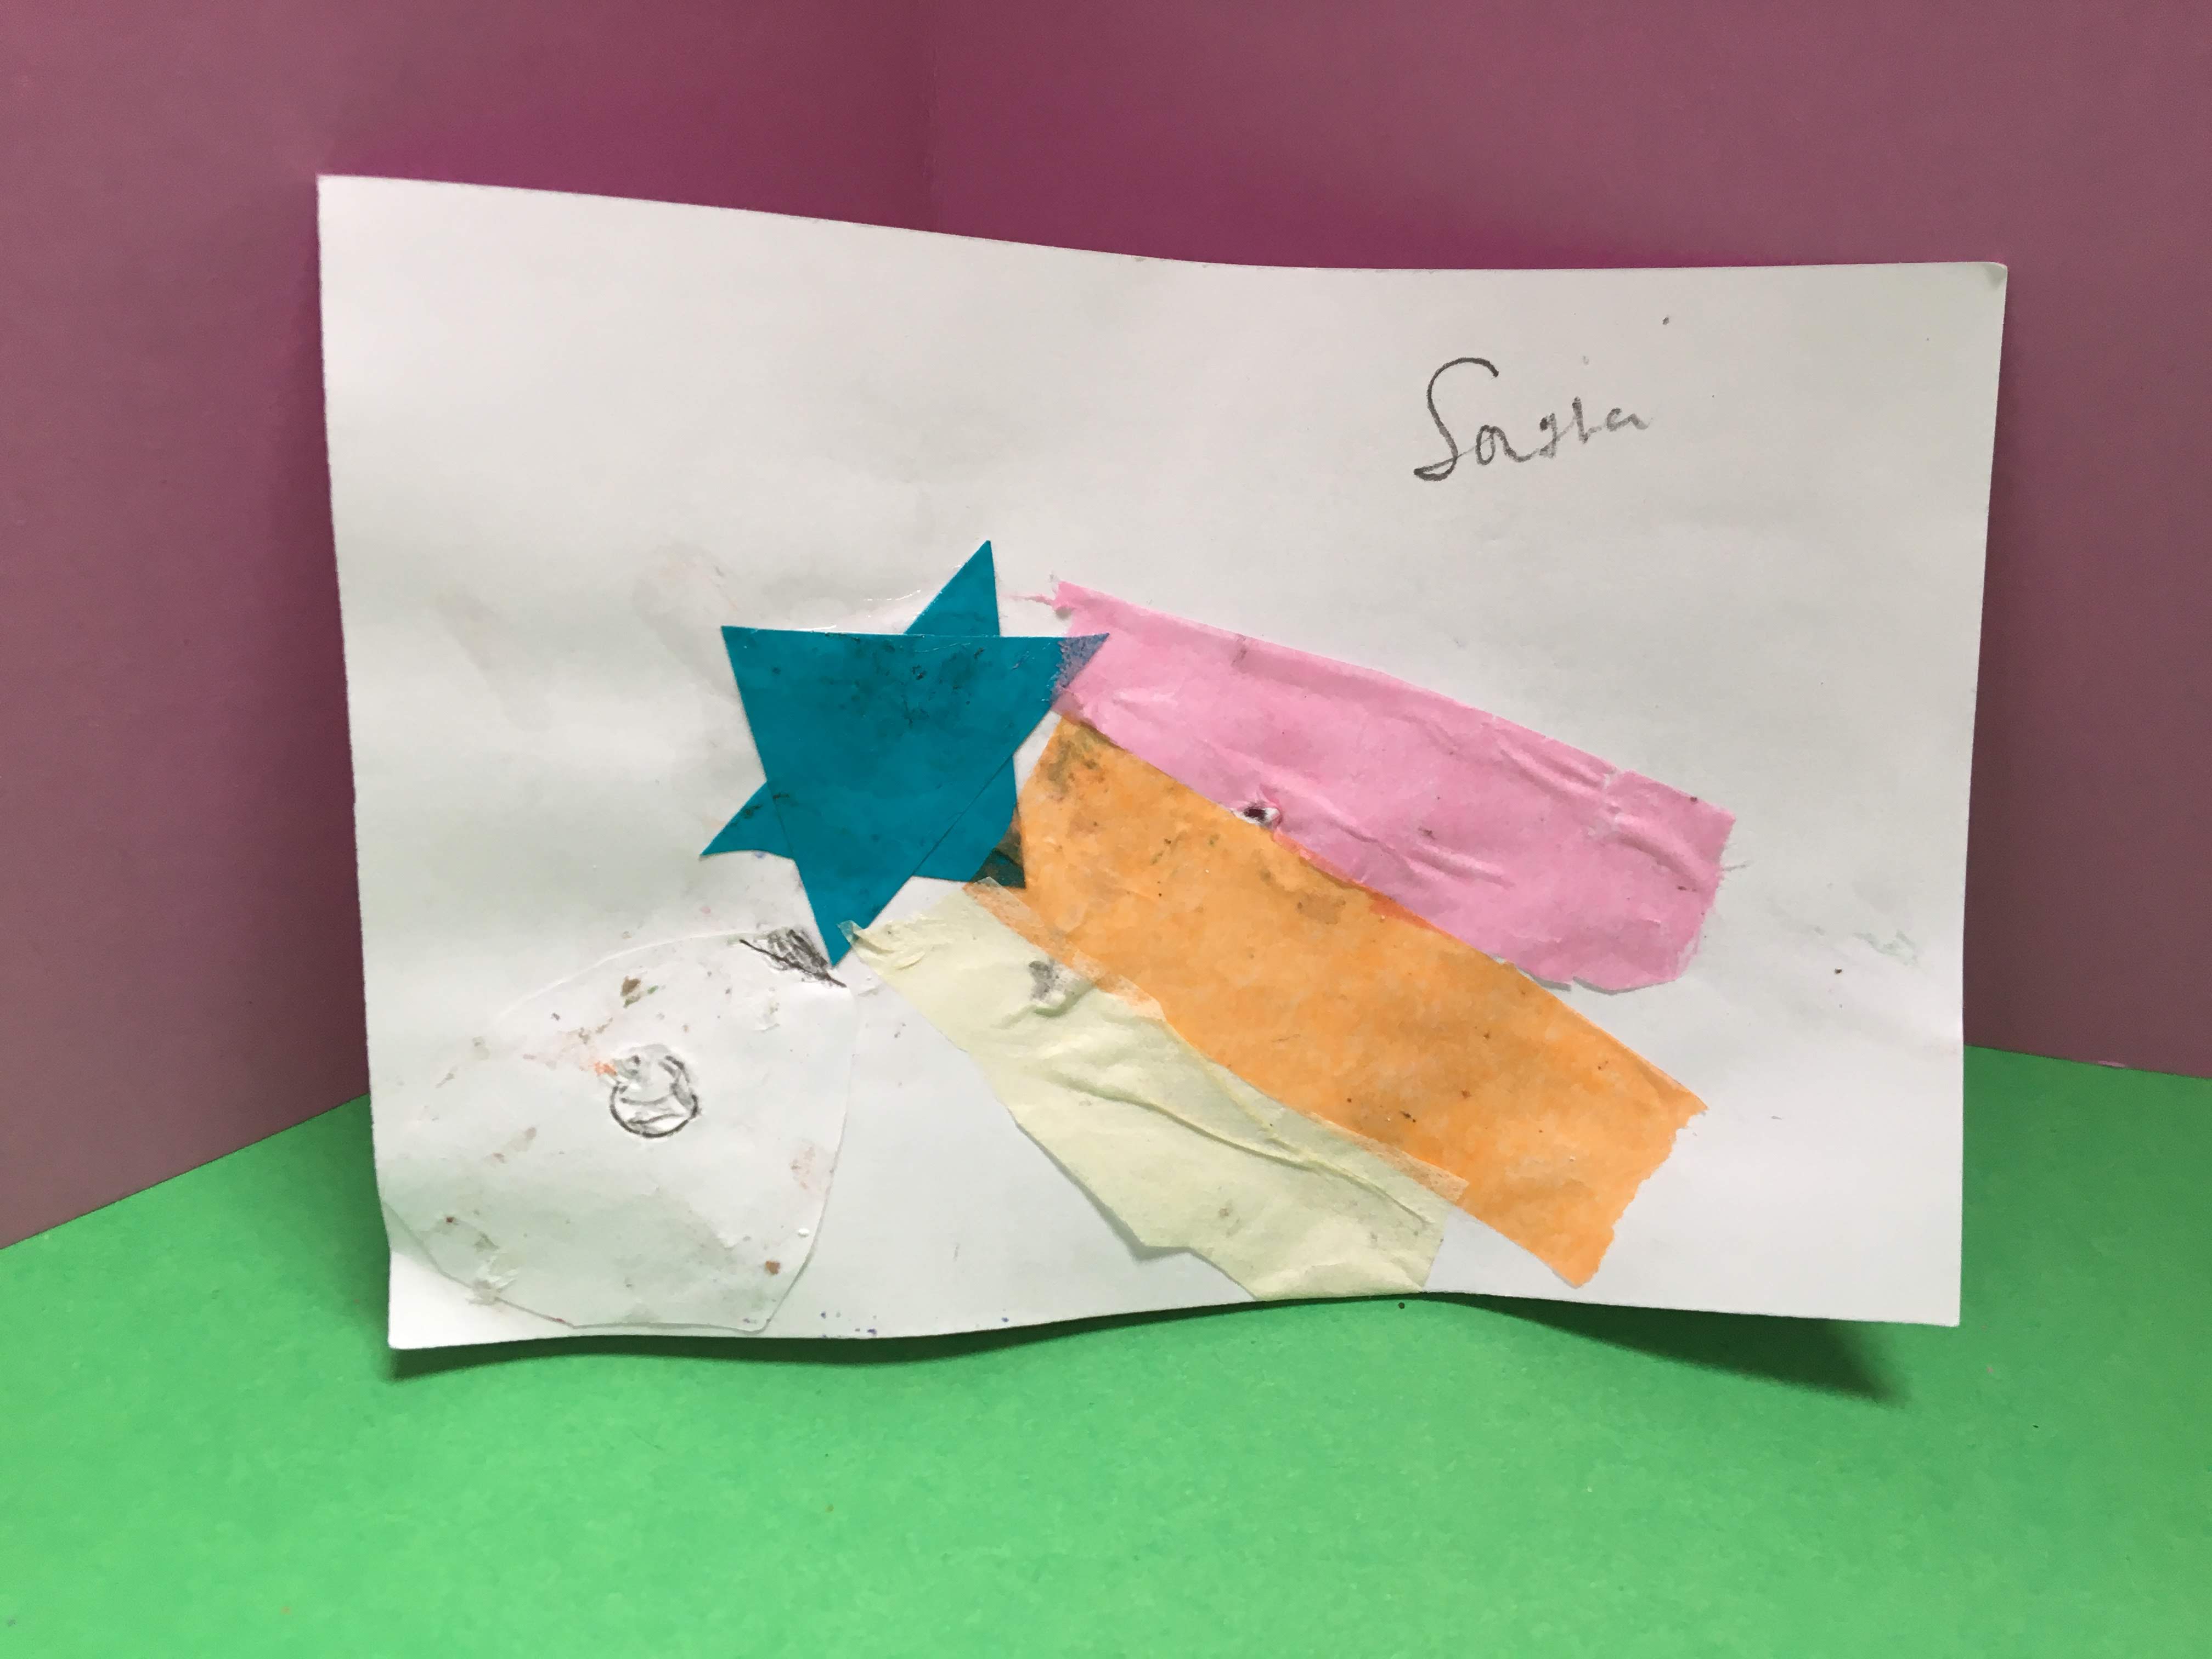
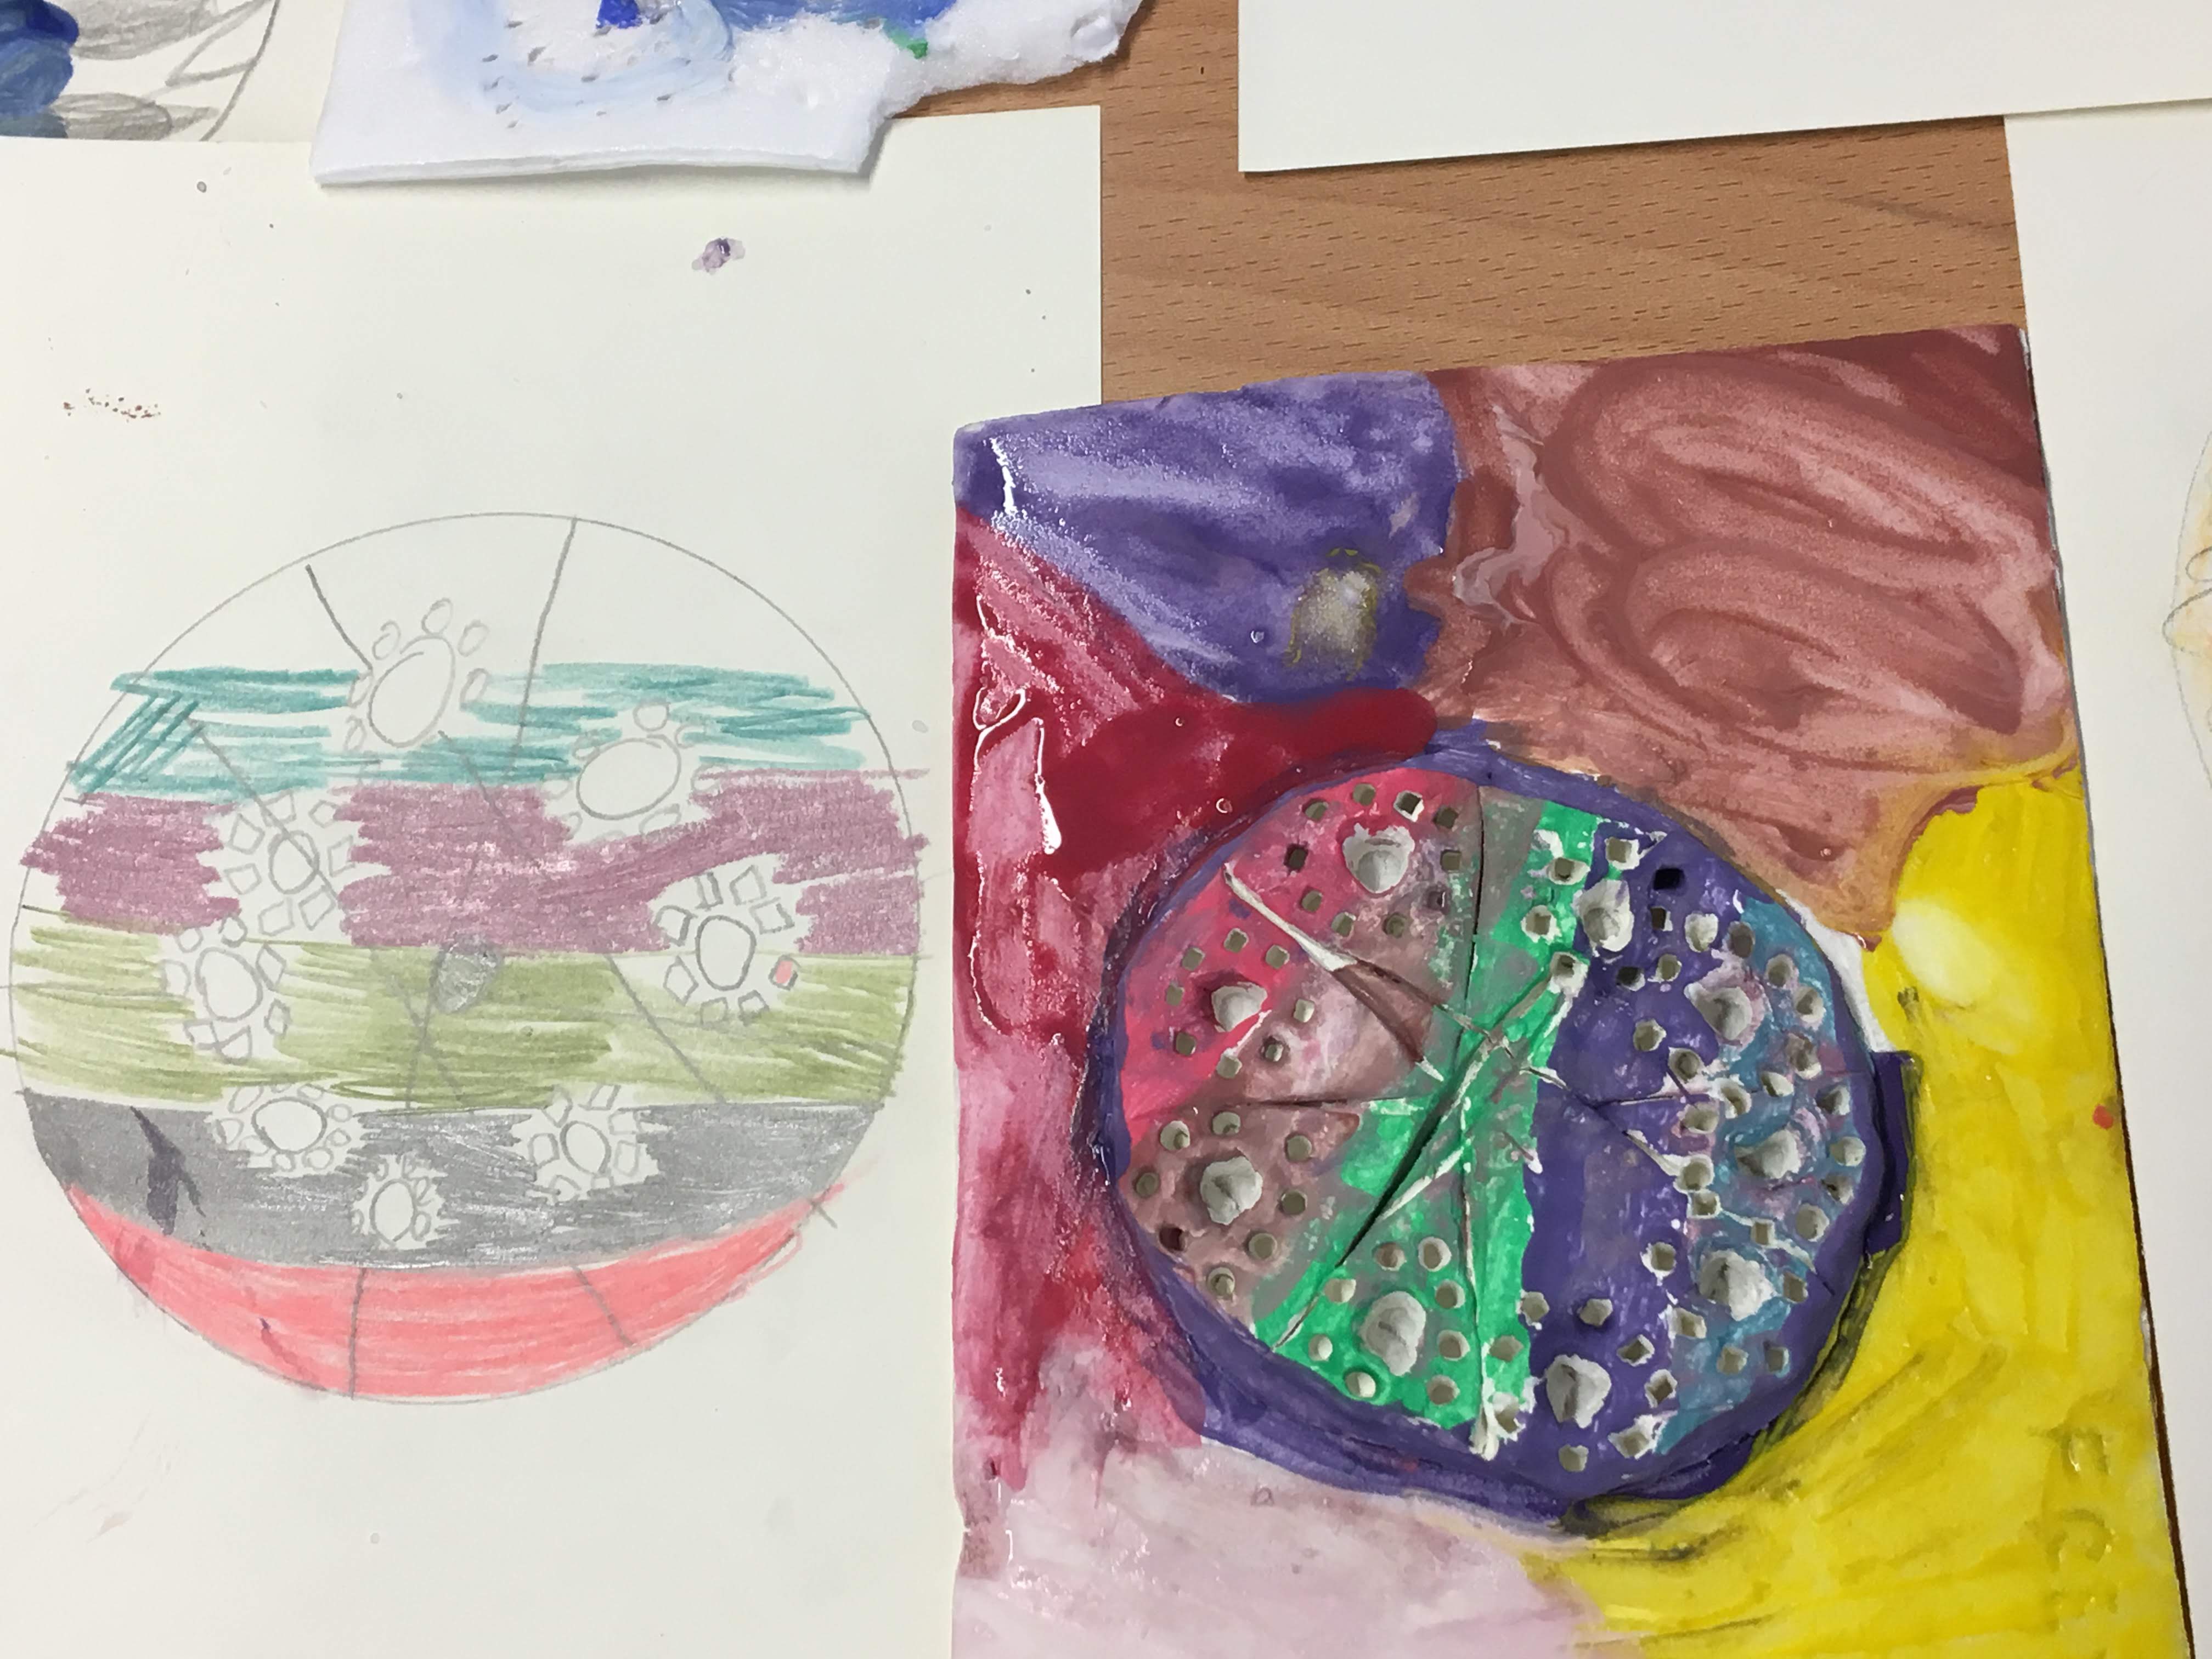 The plaster pots needed a second layer of gauze, to strengthen them, before we could decorate them, so again they were left to dry, whilst we worked on perfecting our pot designs. To do this we used our beautiful hand-decorated paper, cutting our vases and gluing them into a collage.
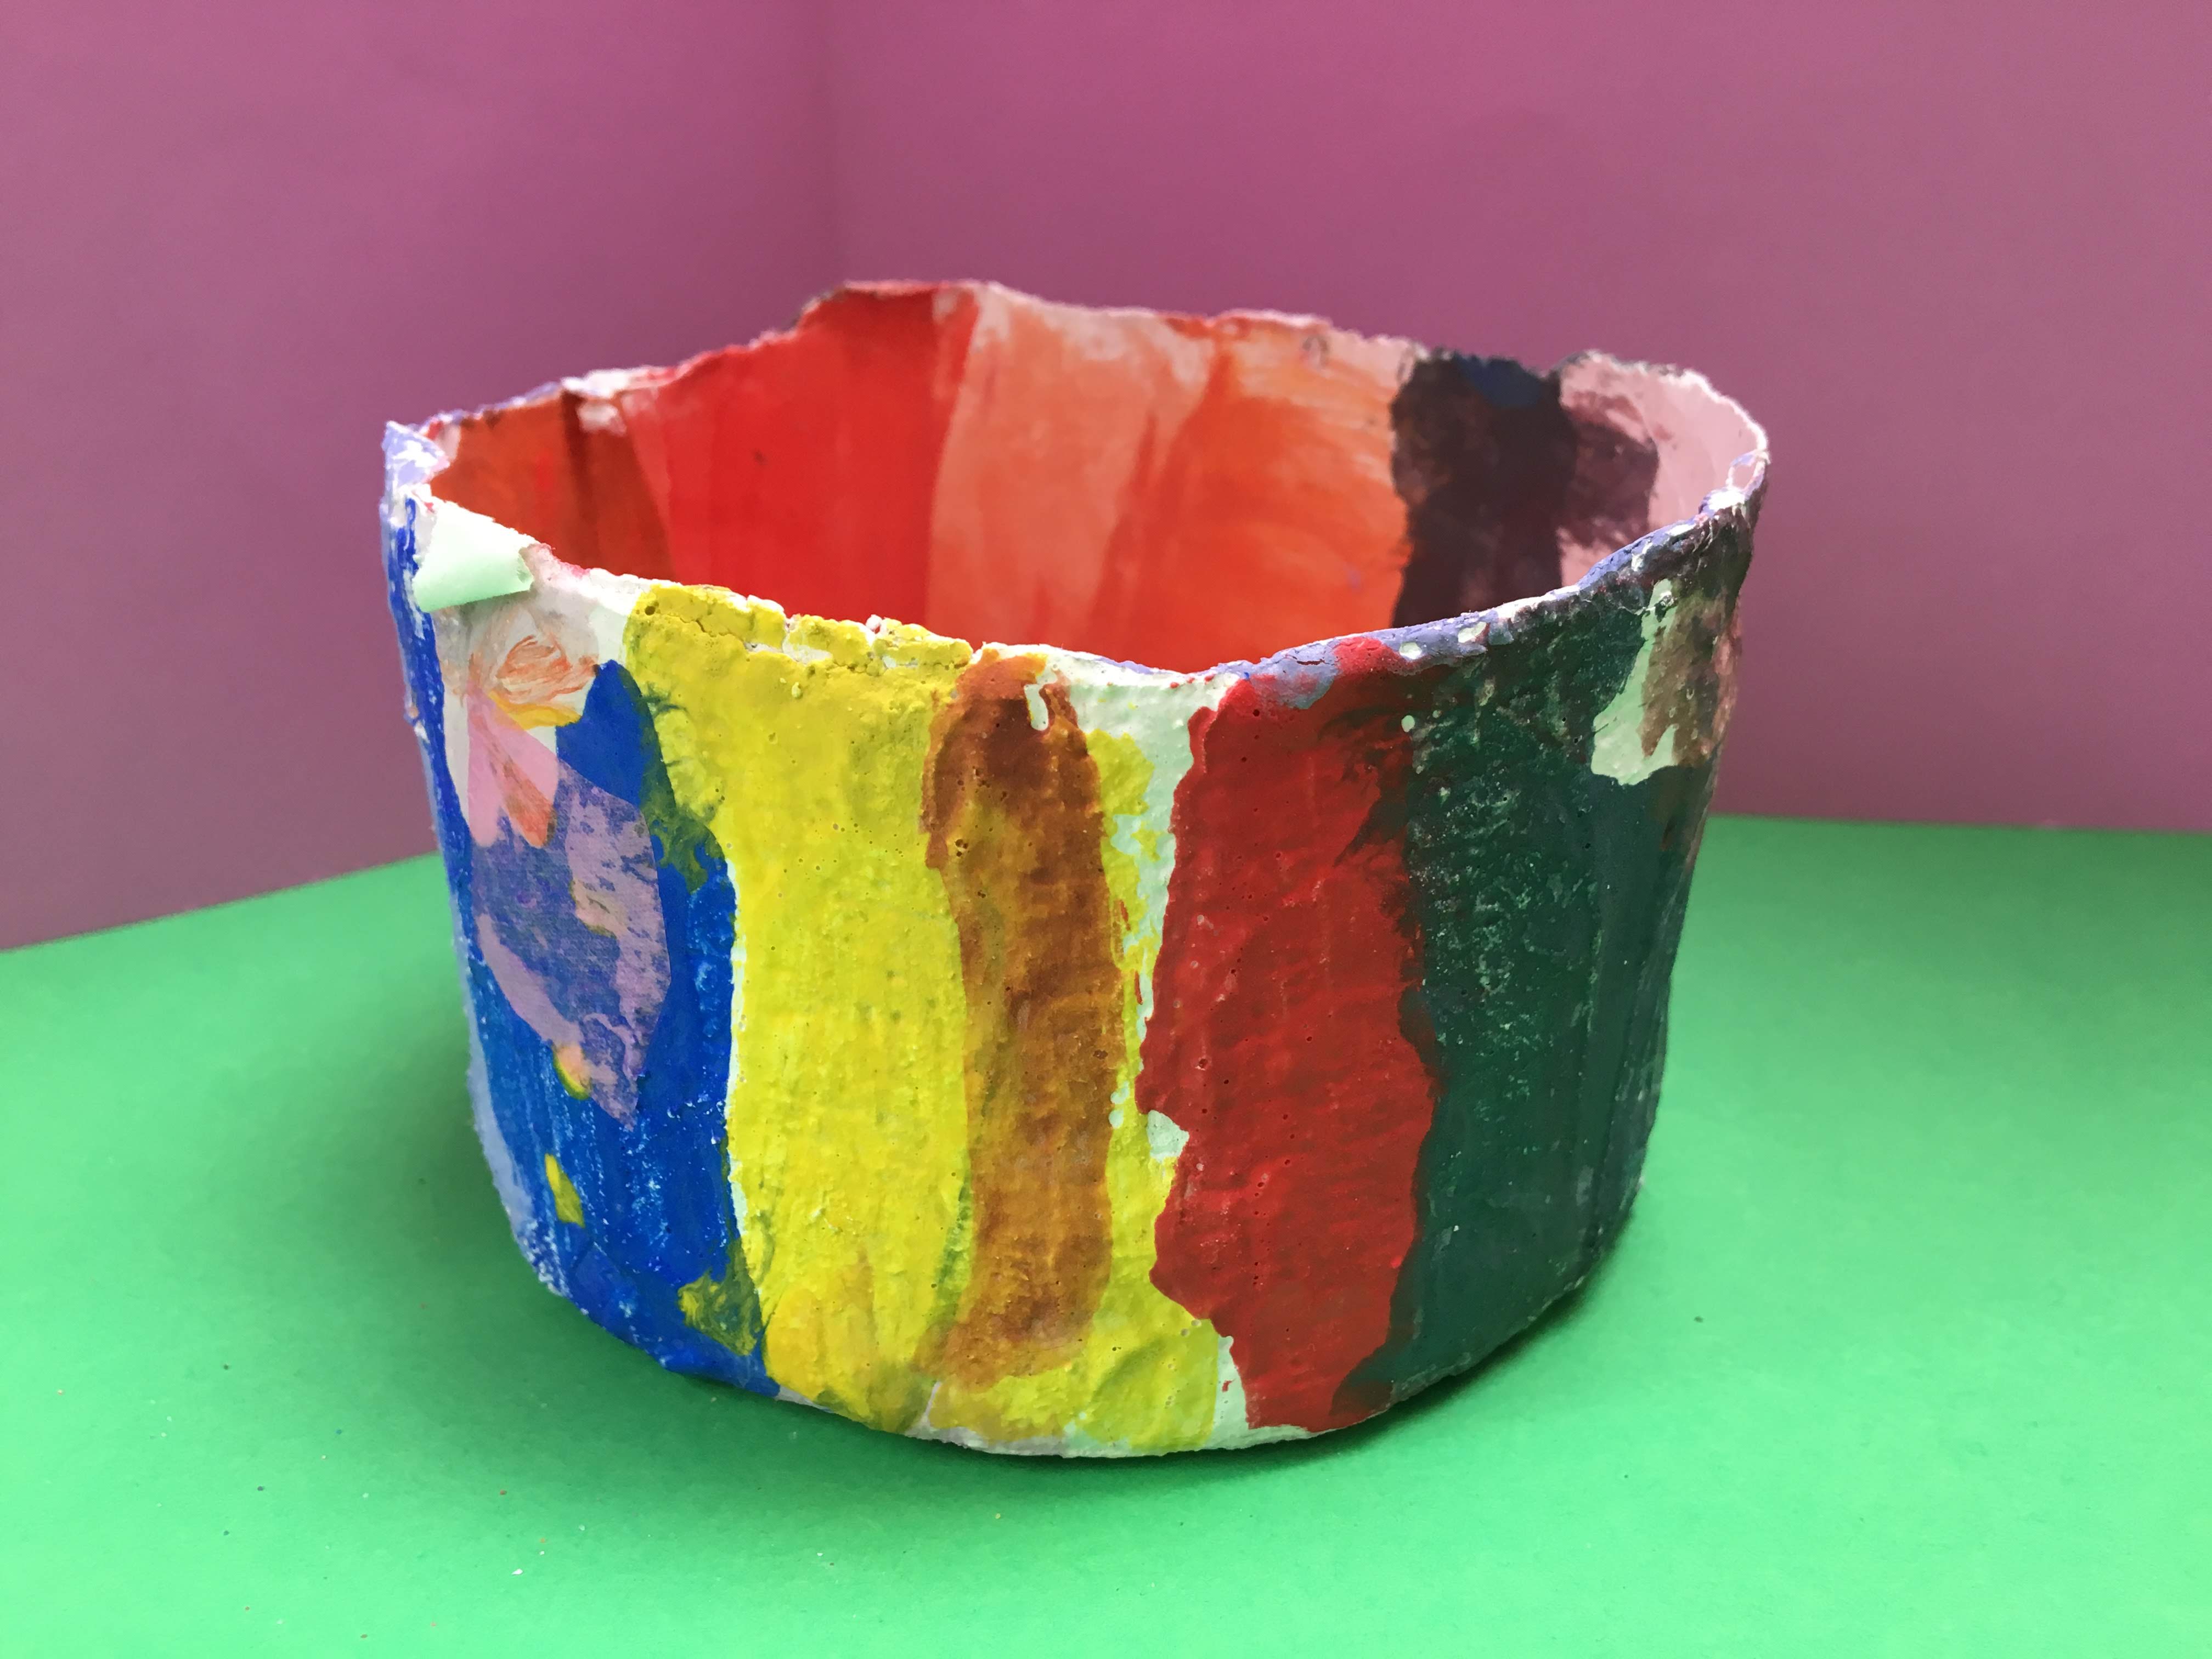
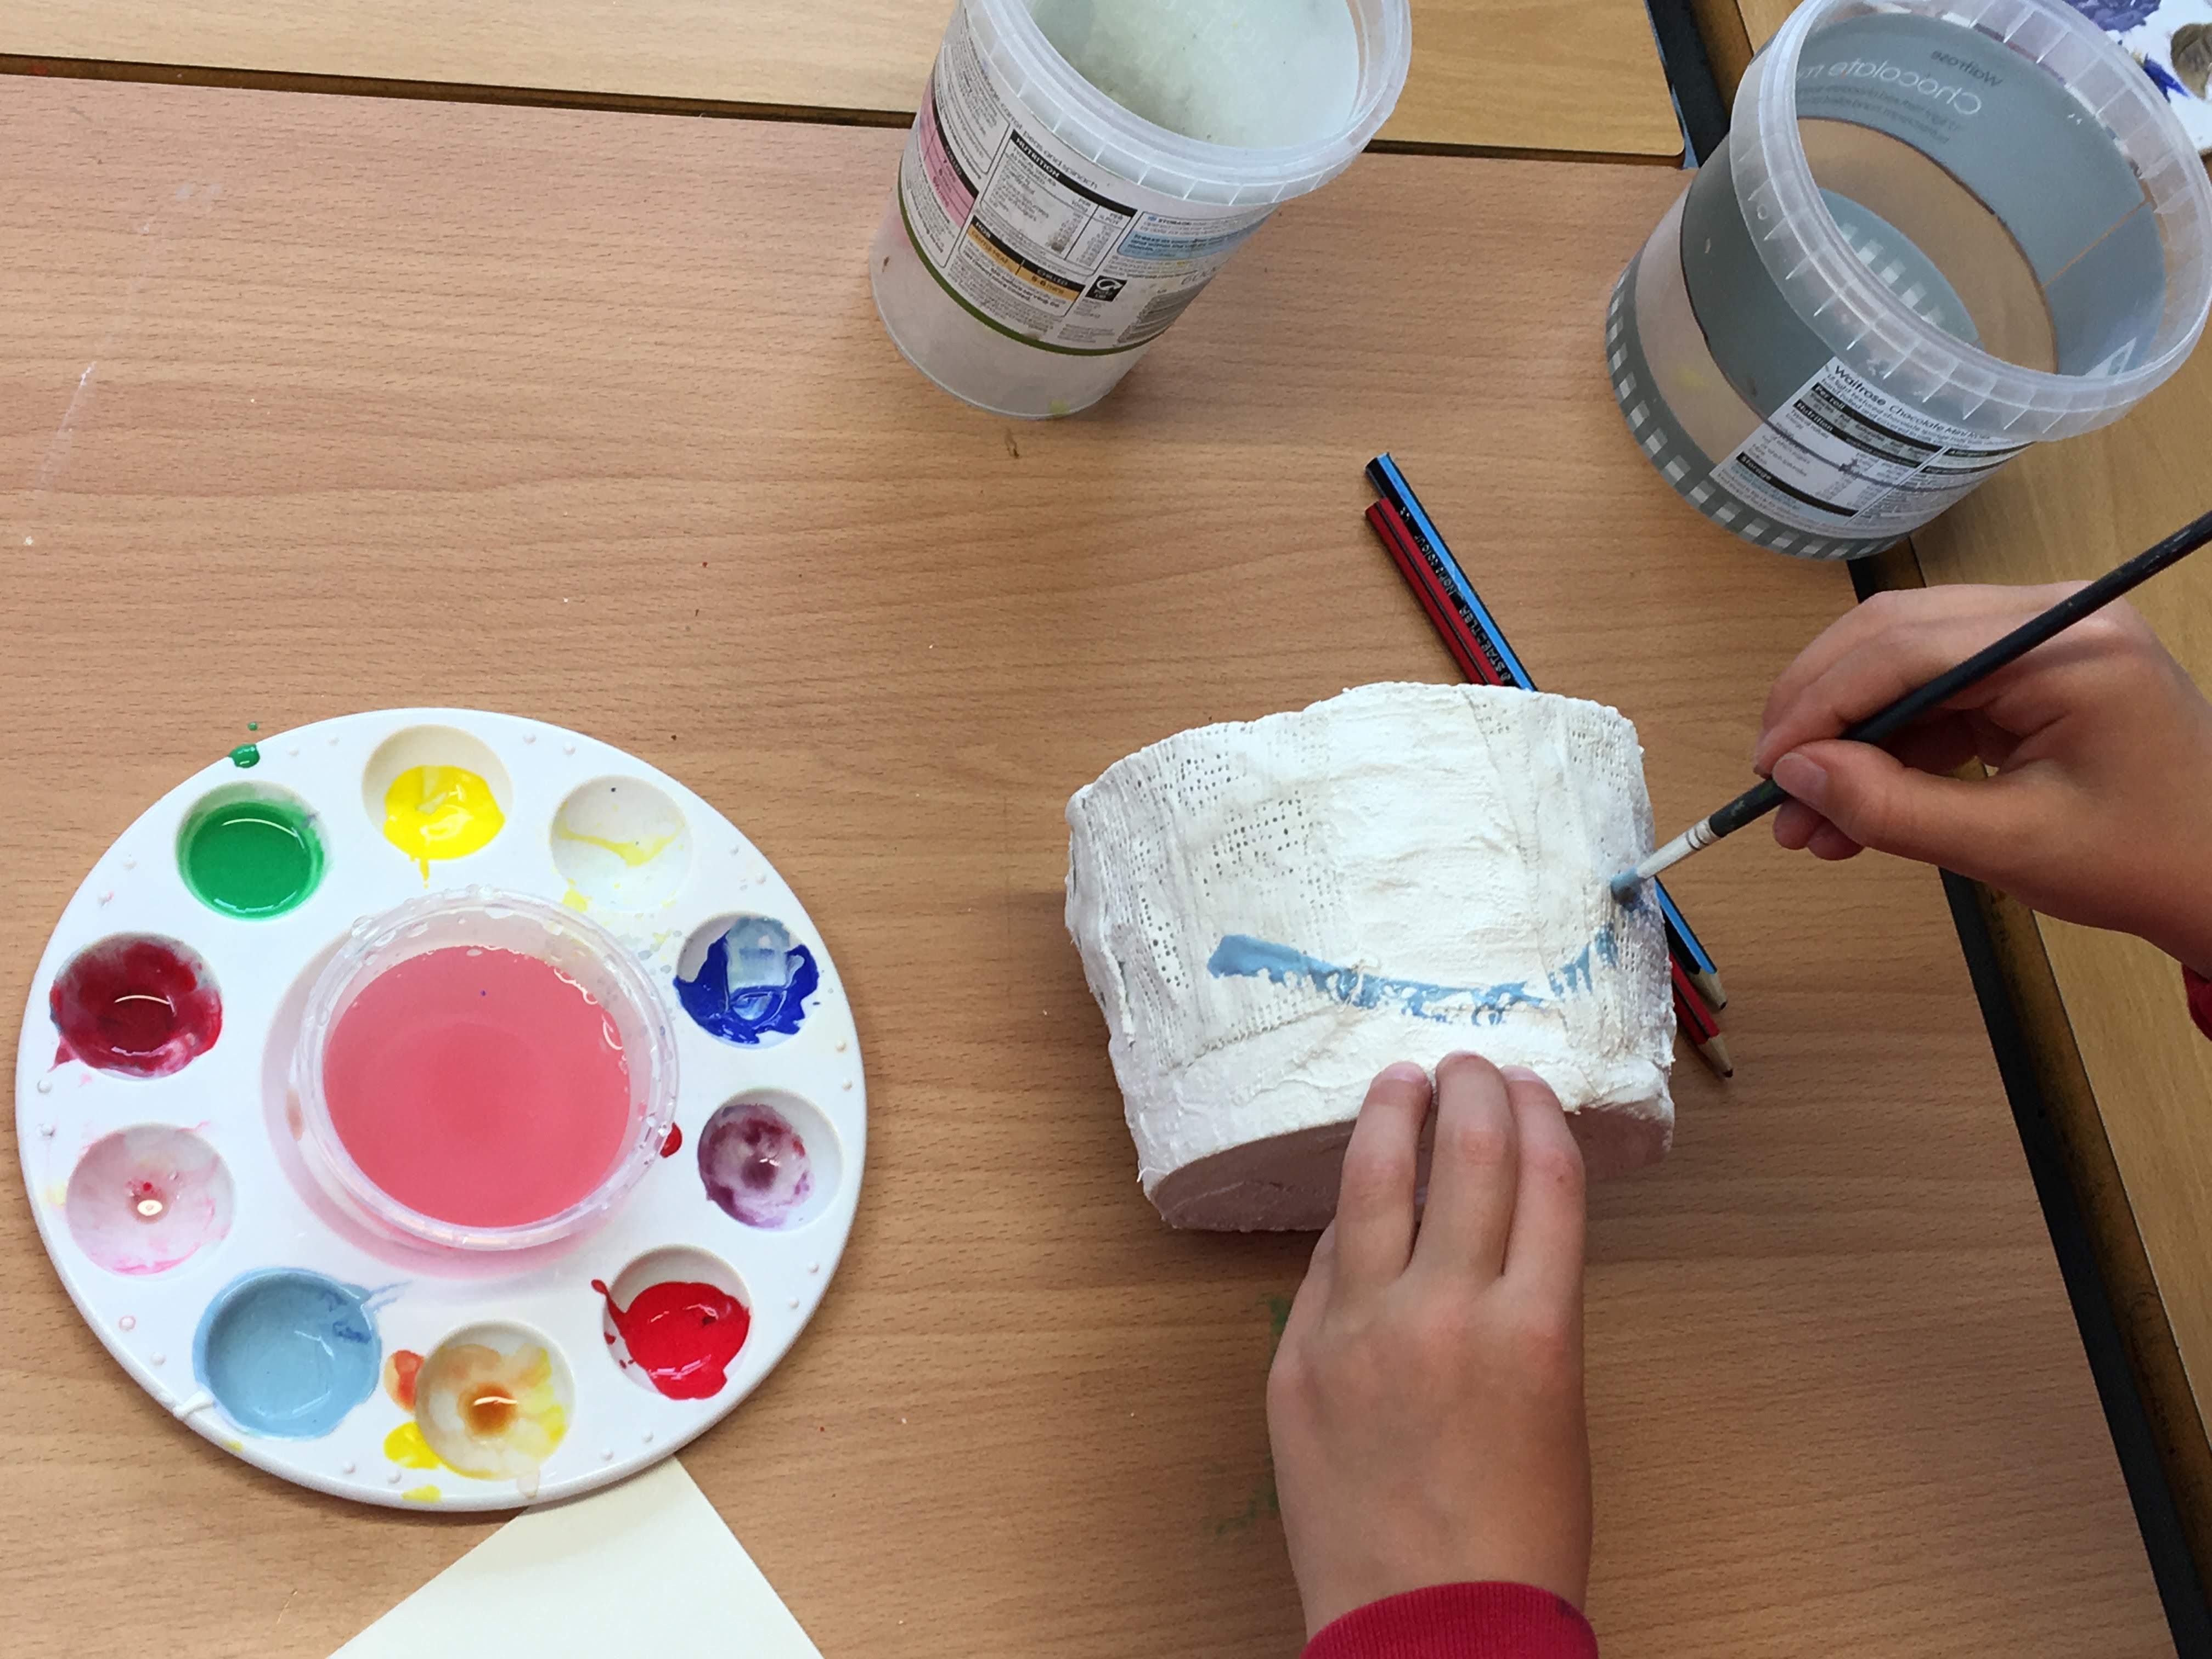
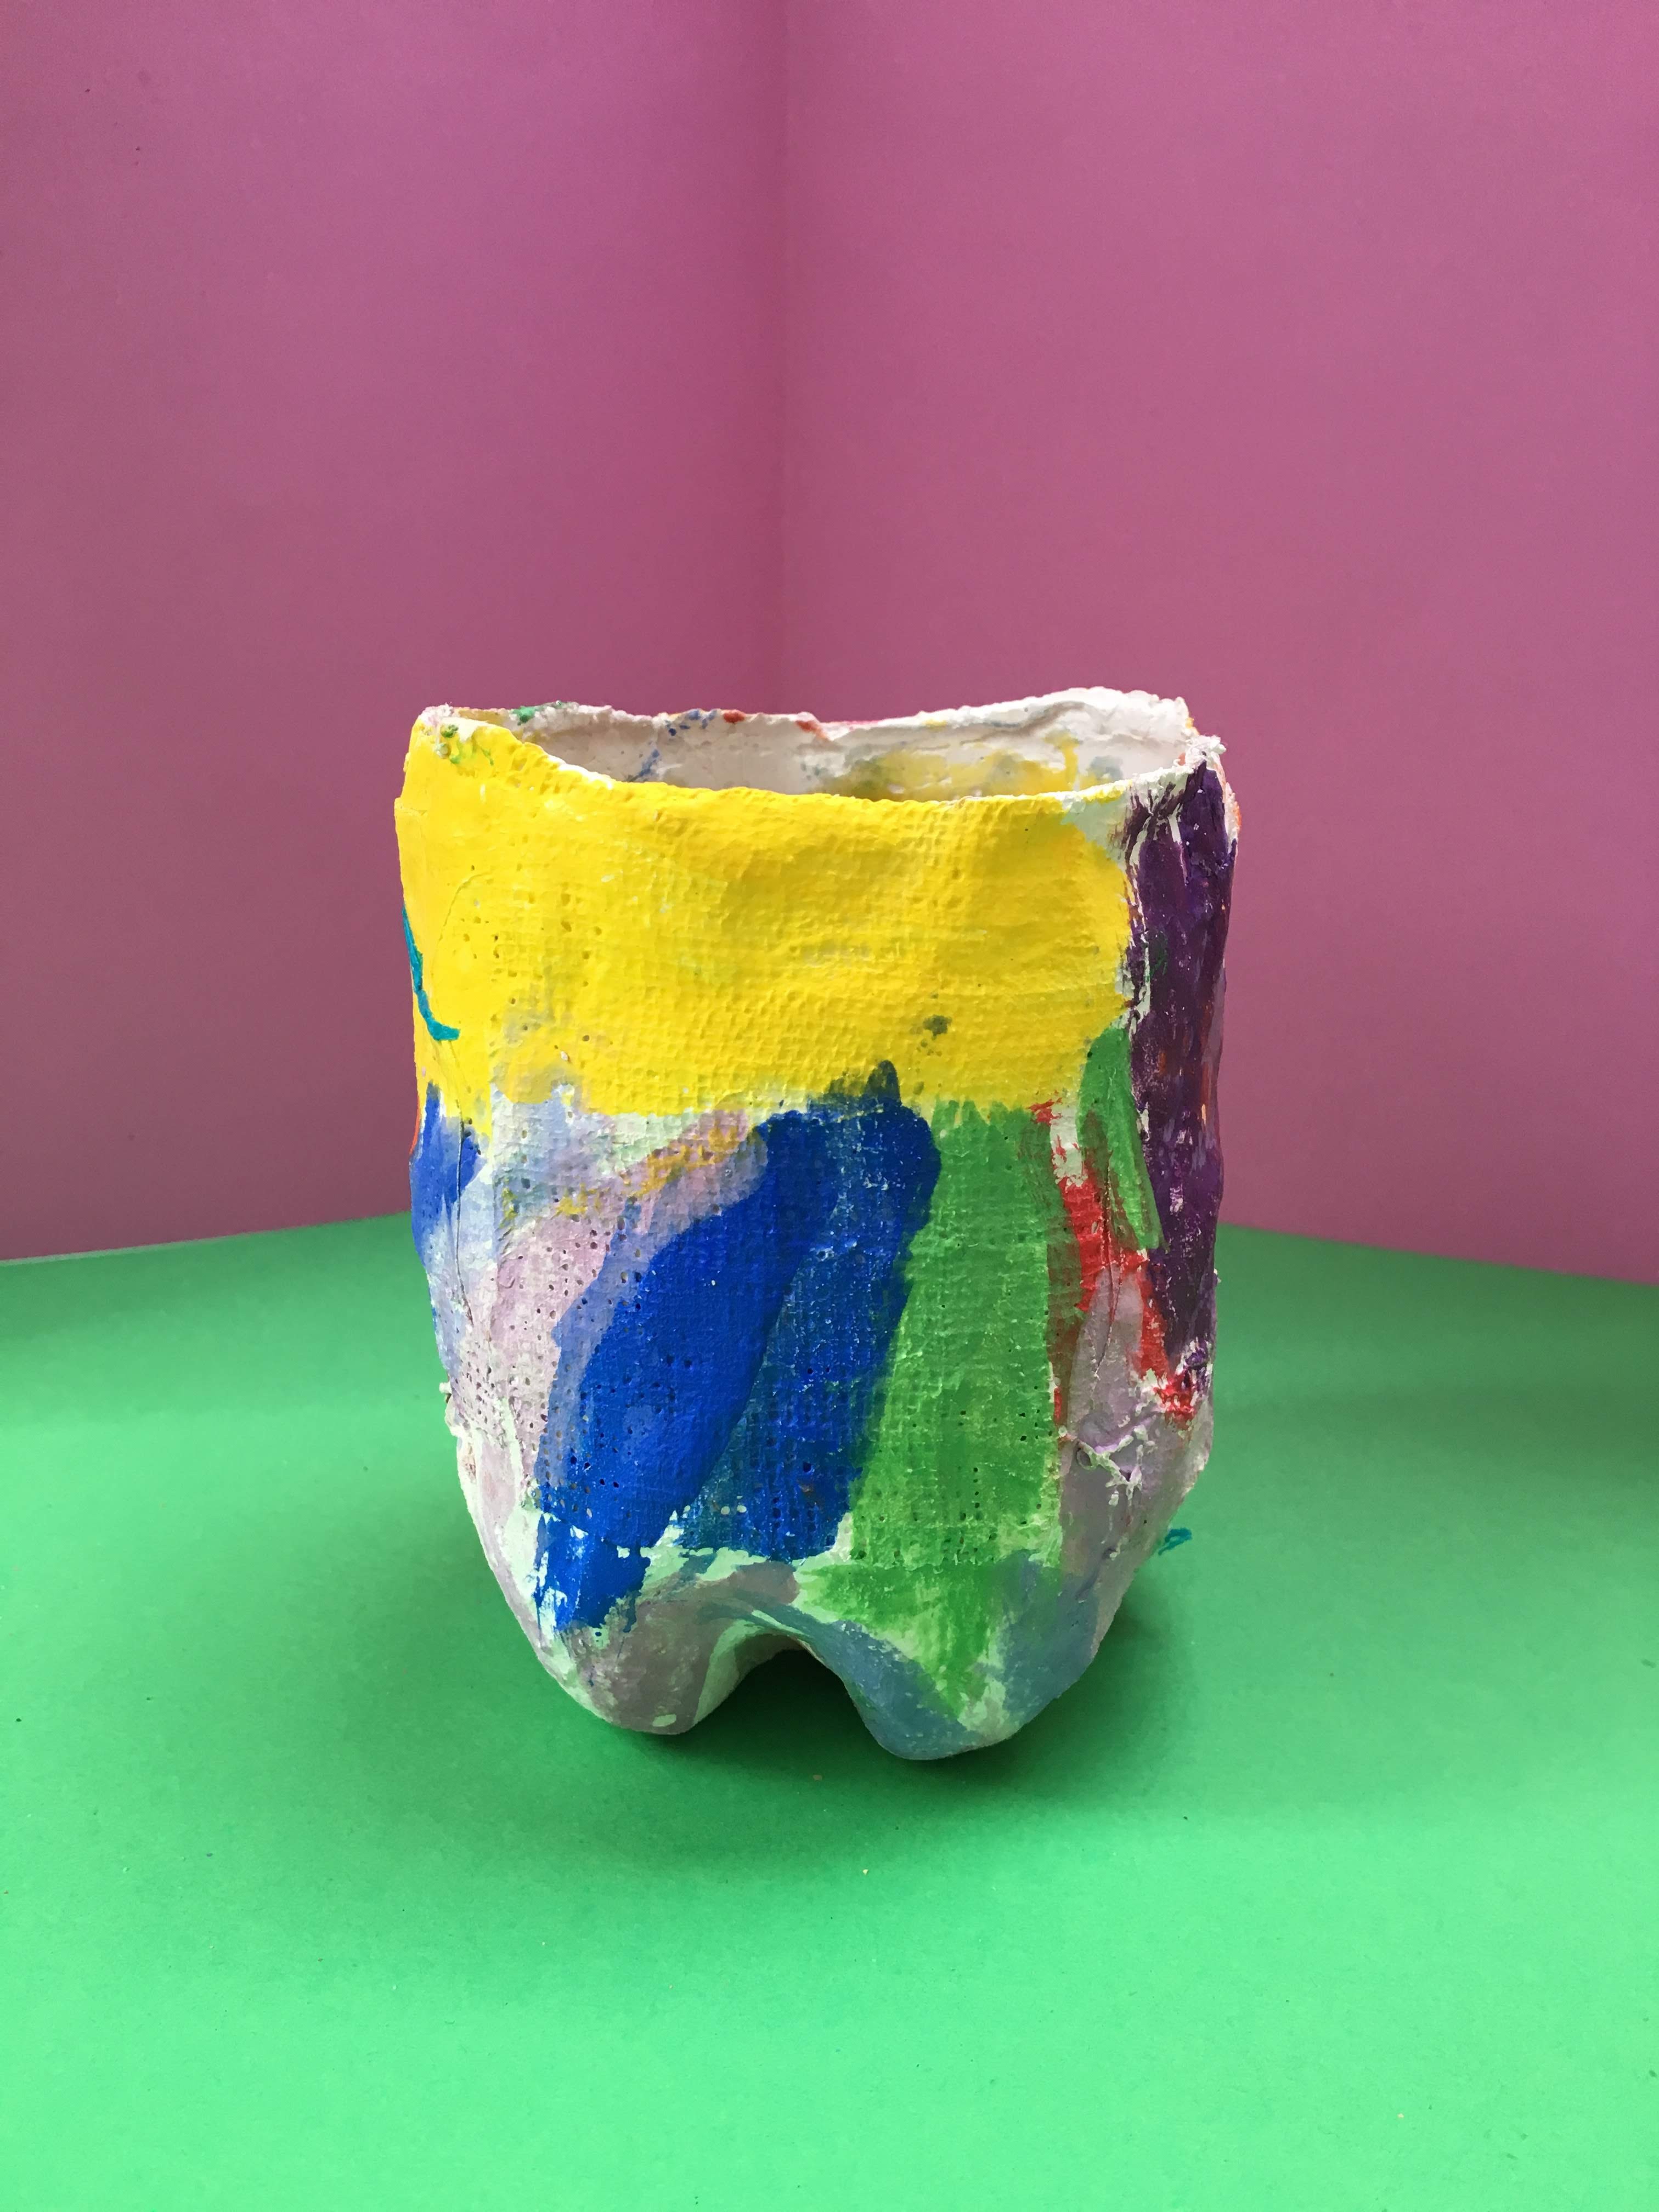
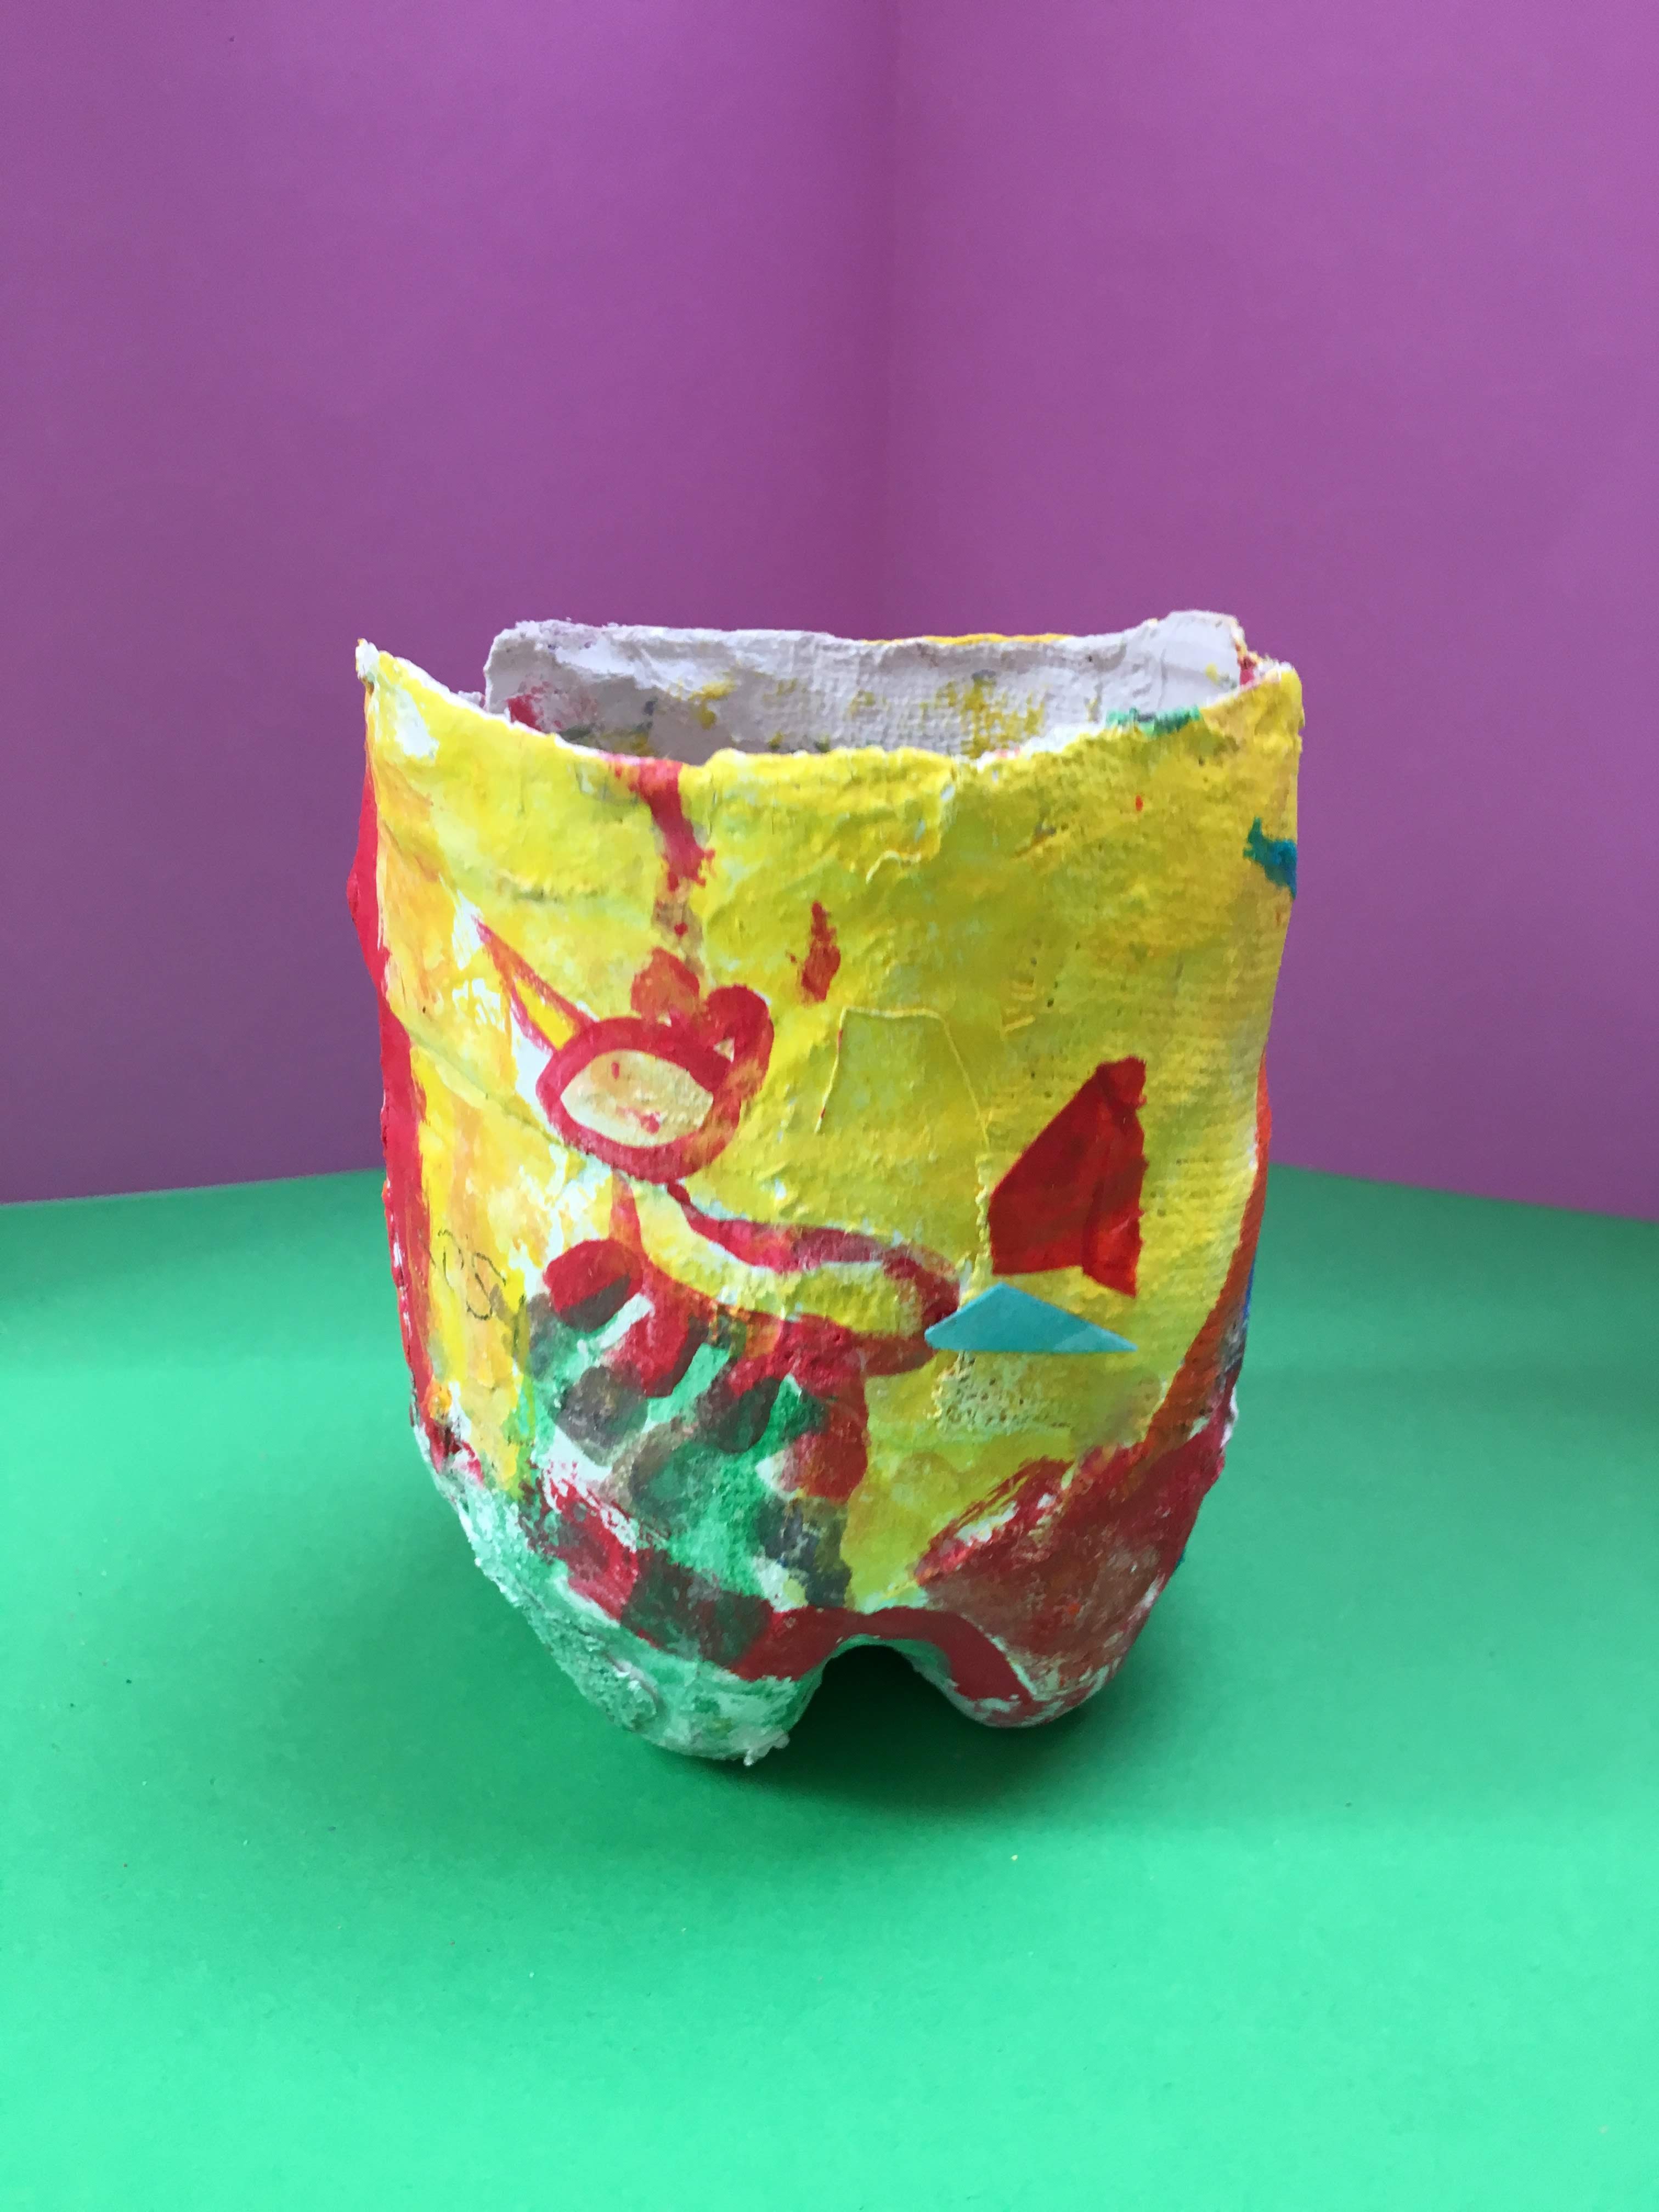
 At last our pots are ready to decorate. Everyone took their own path at this point, some working methodically from their preconceived design, from background to foreground, then finishing with the interior. Others worked painterly, applying a more spontaneous approach, responding to their intuitive self-expression. However the method, the results were amazing, diverse and individual.
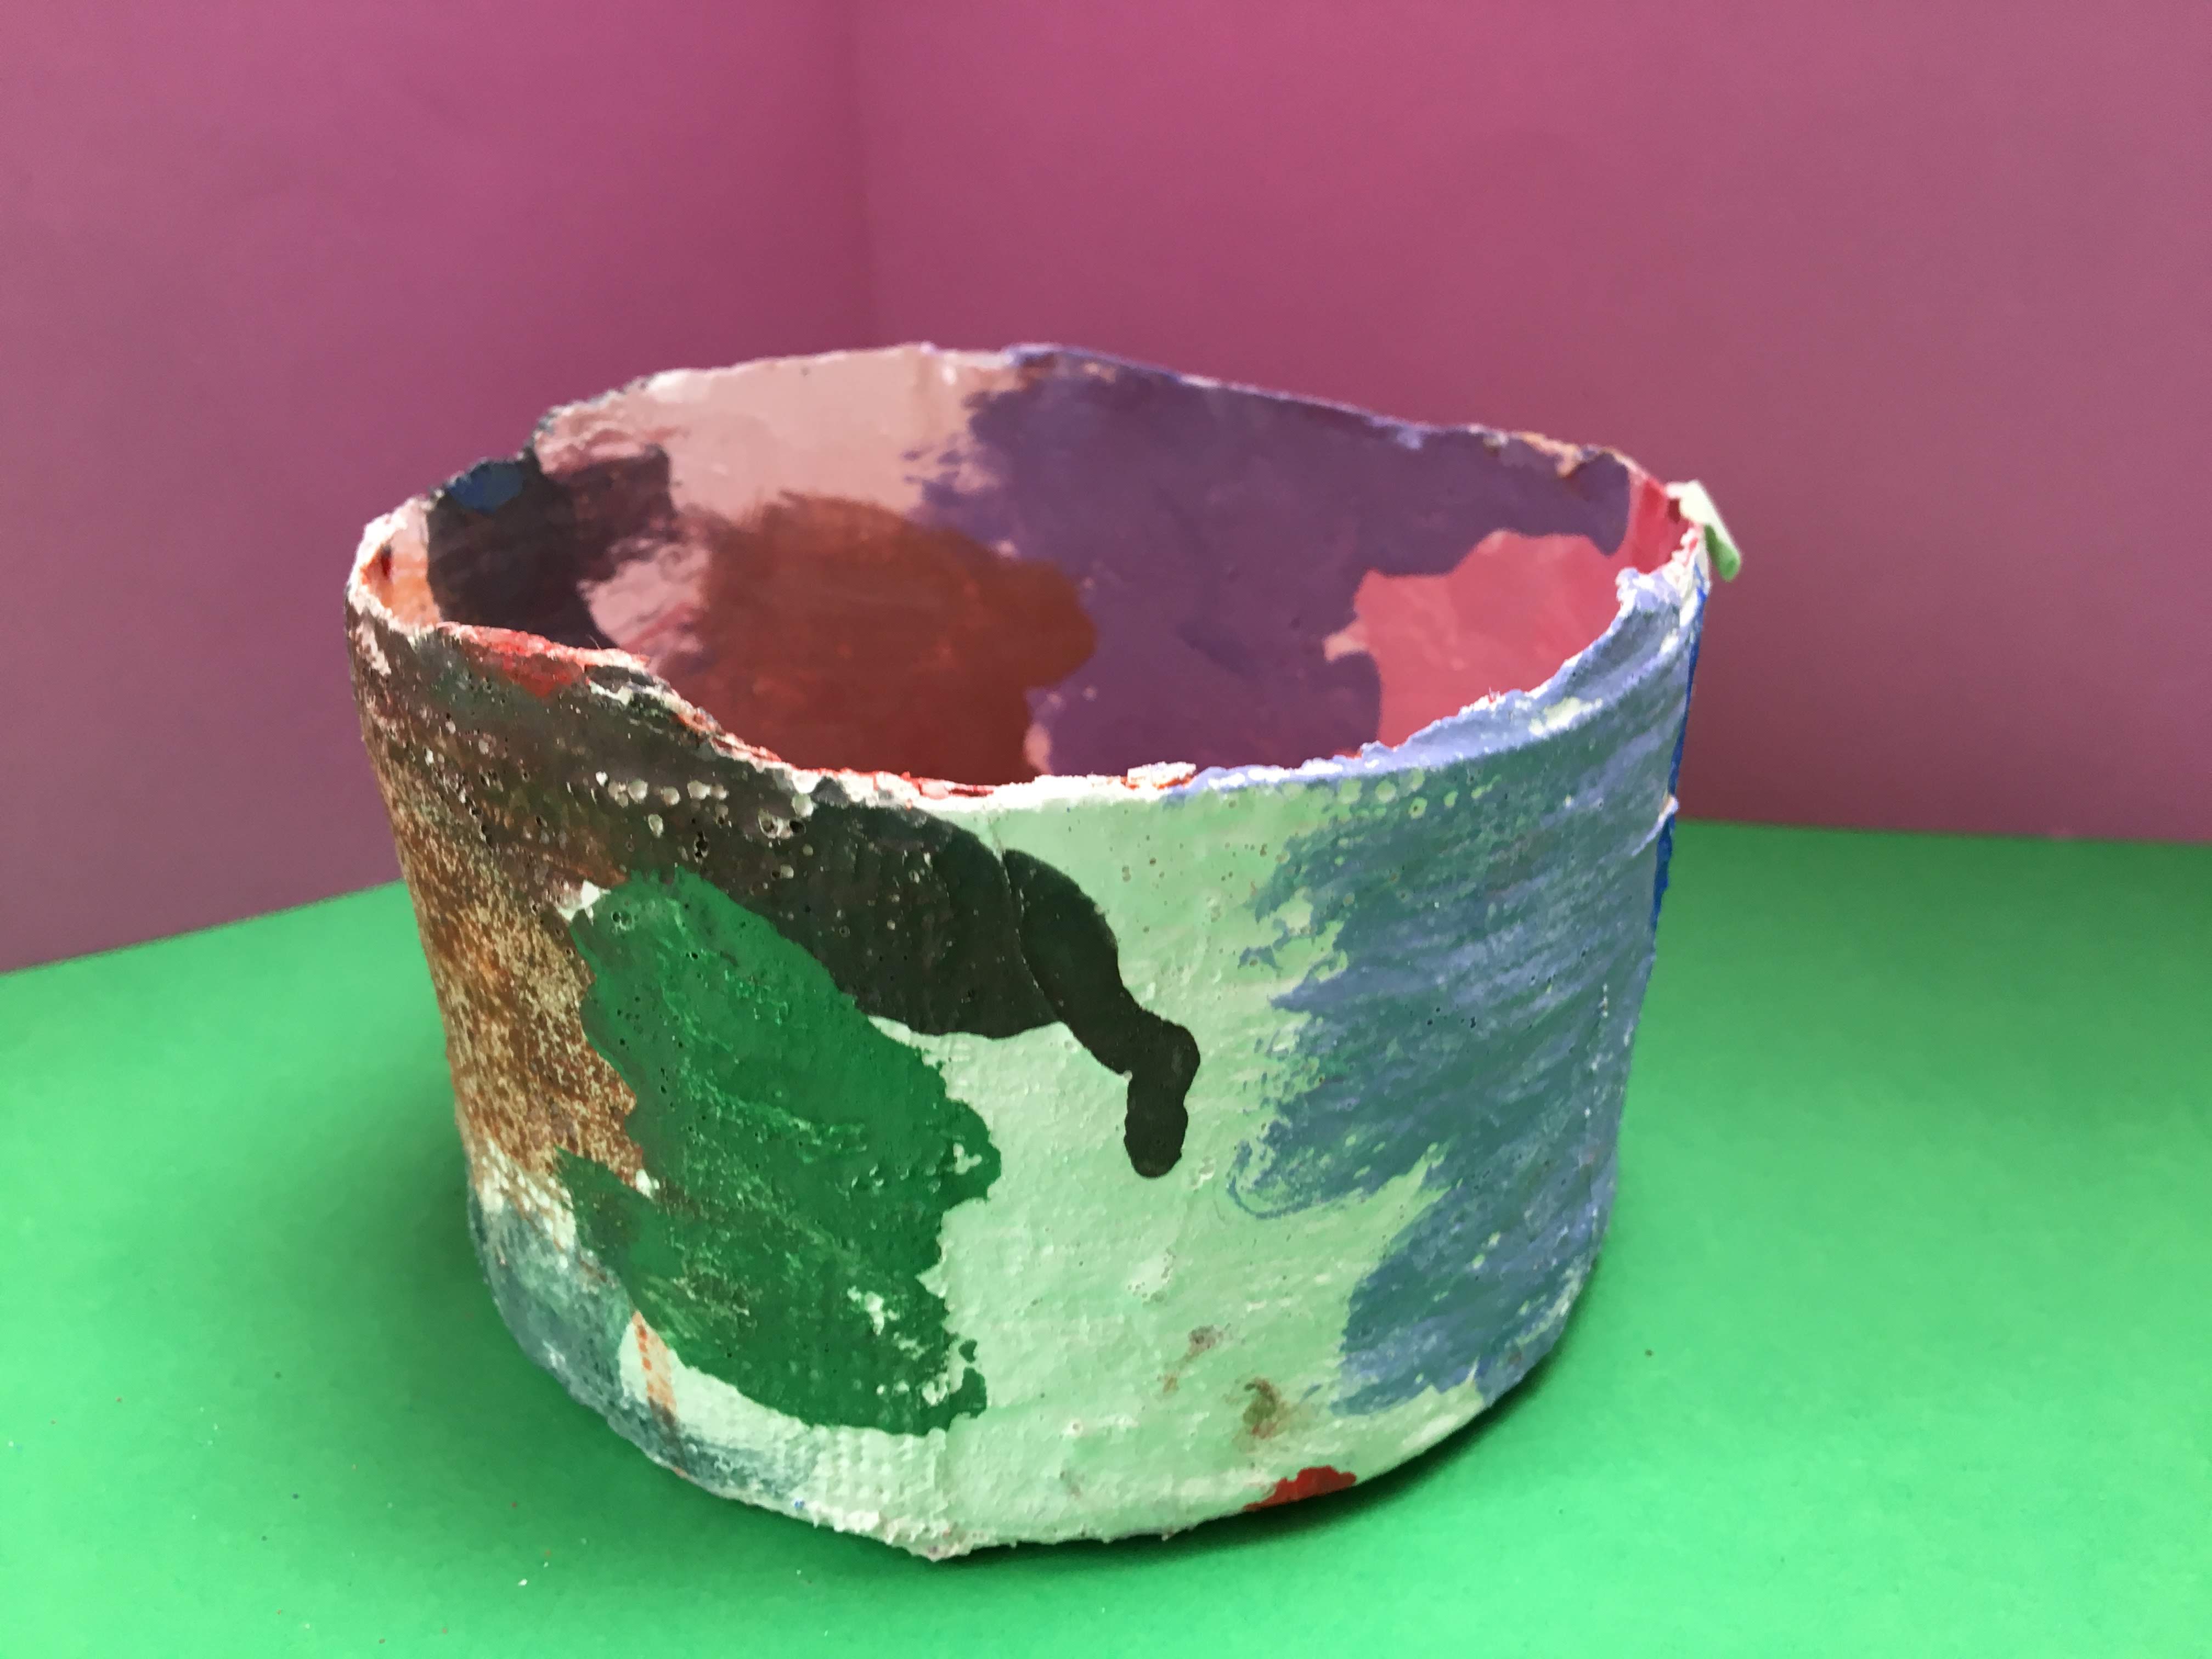
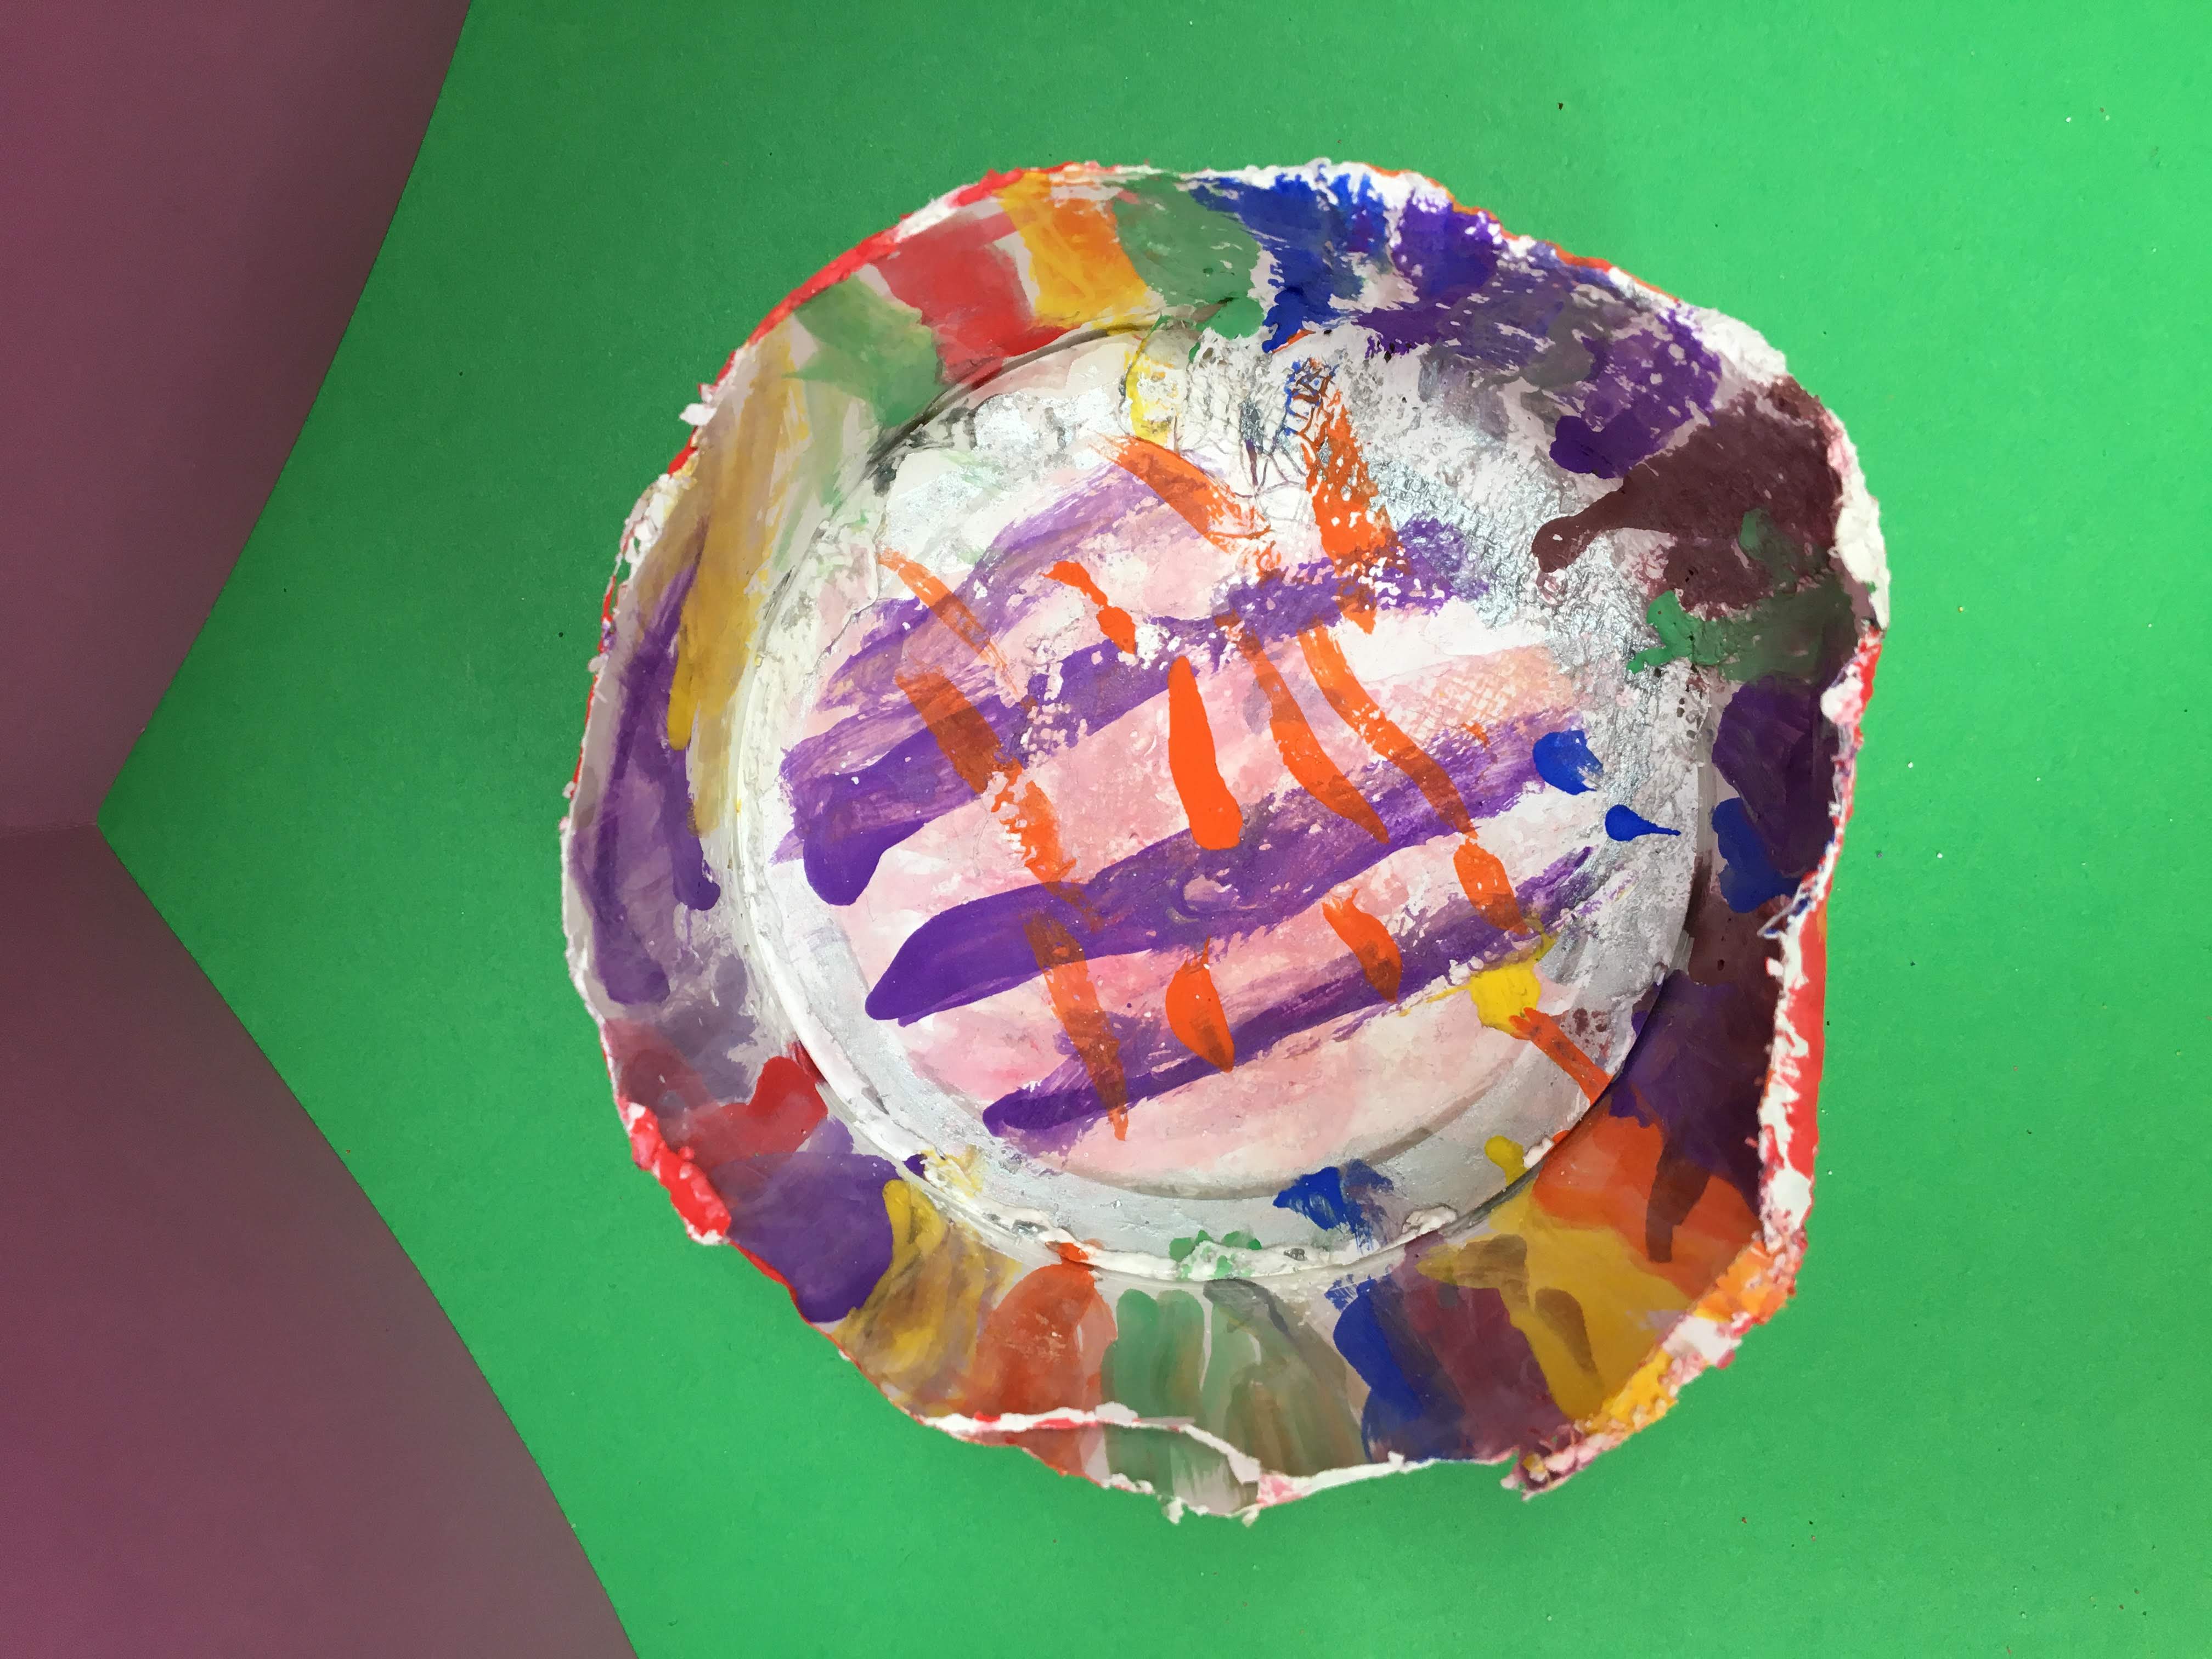
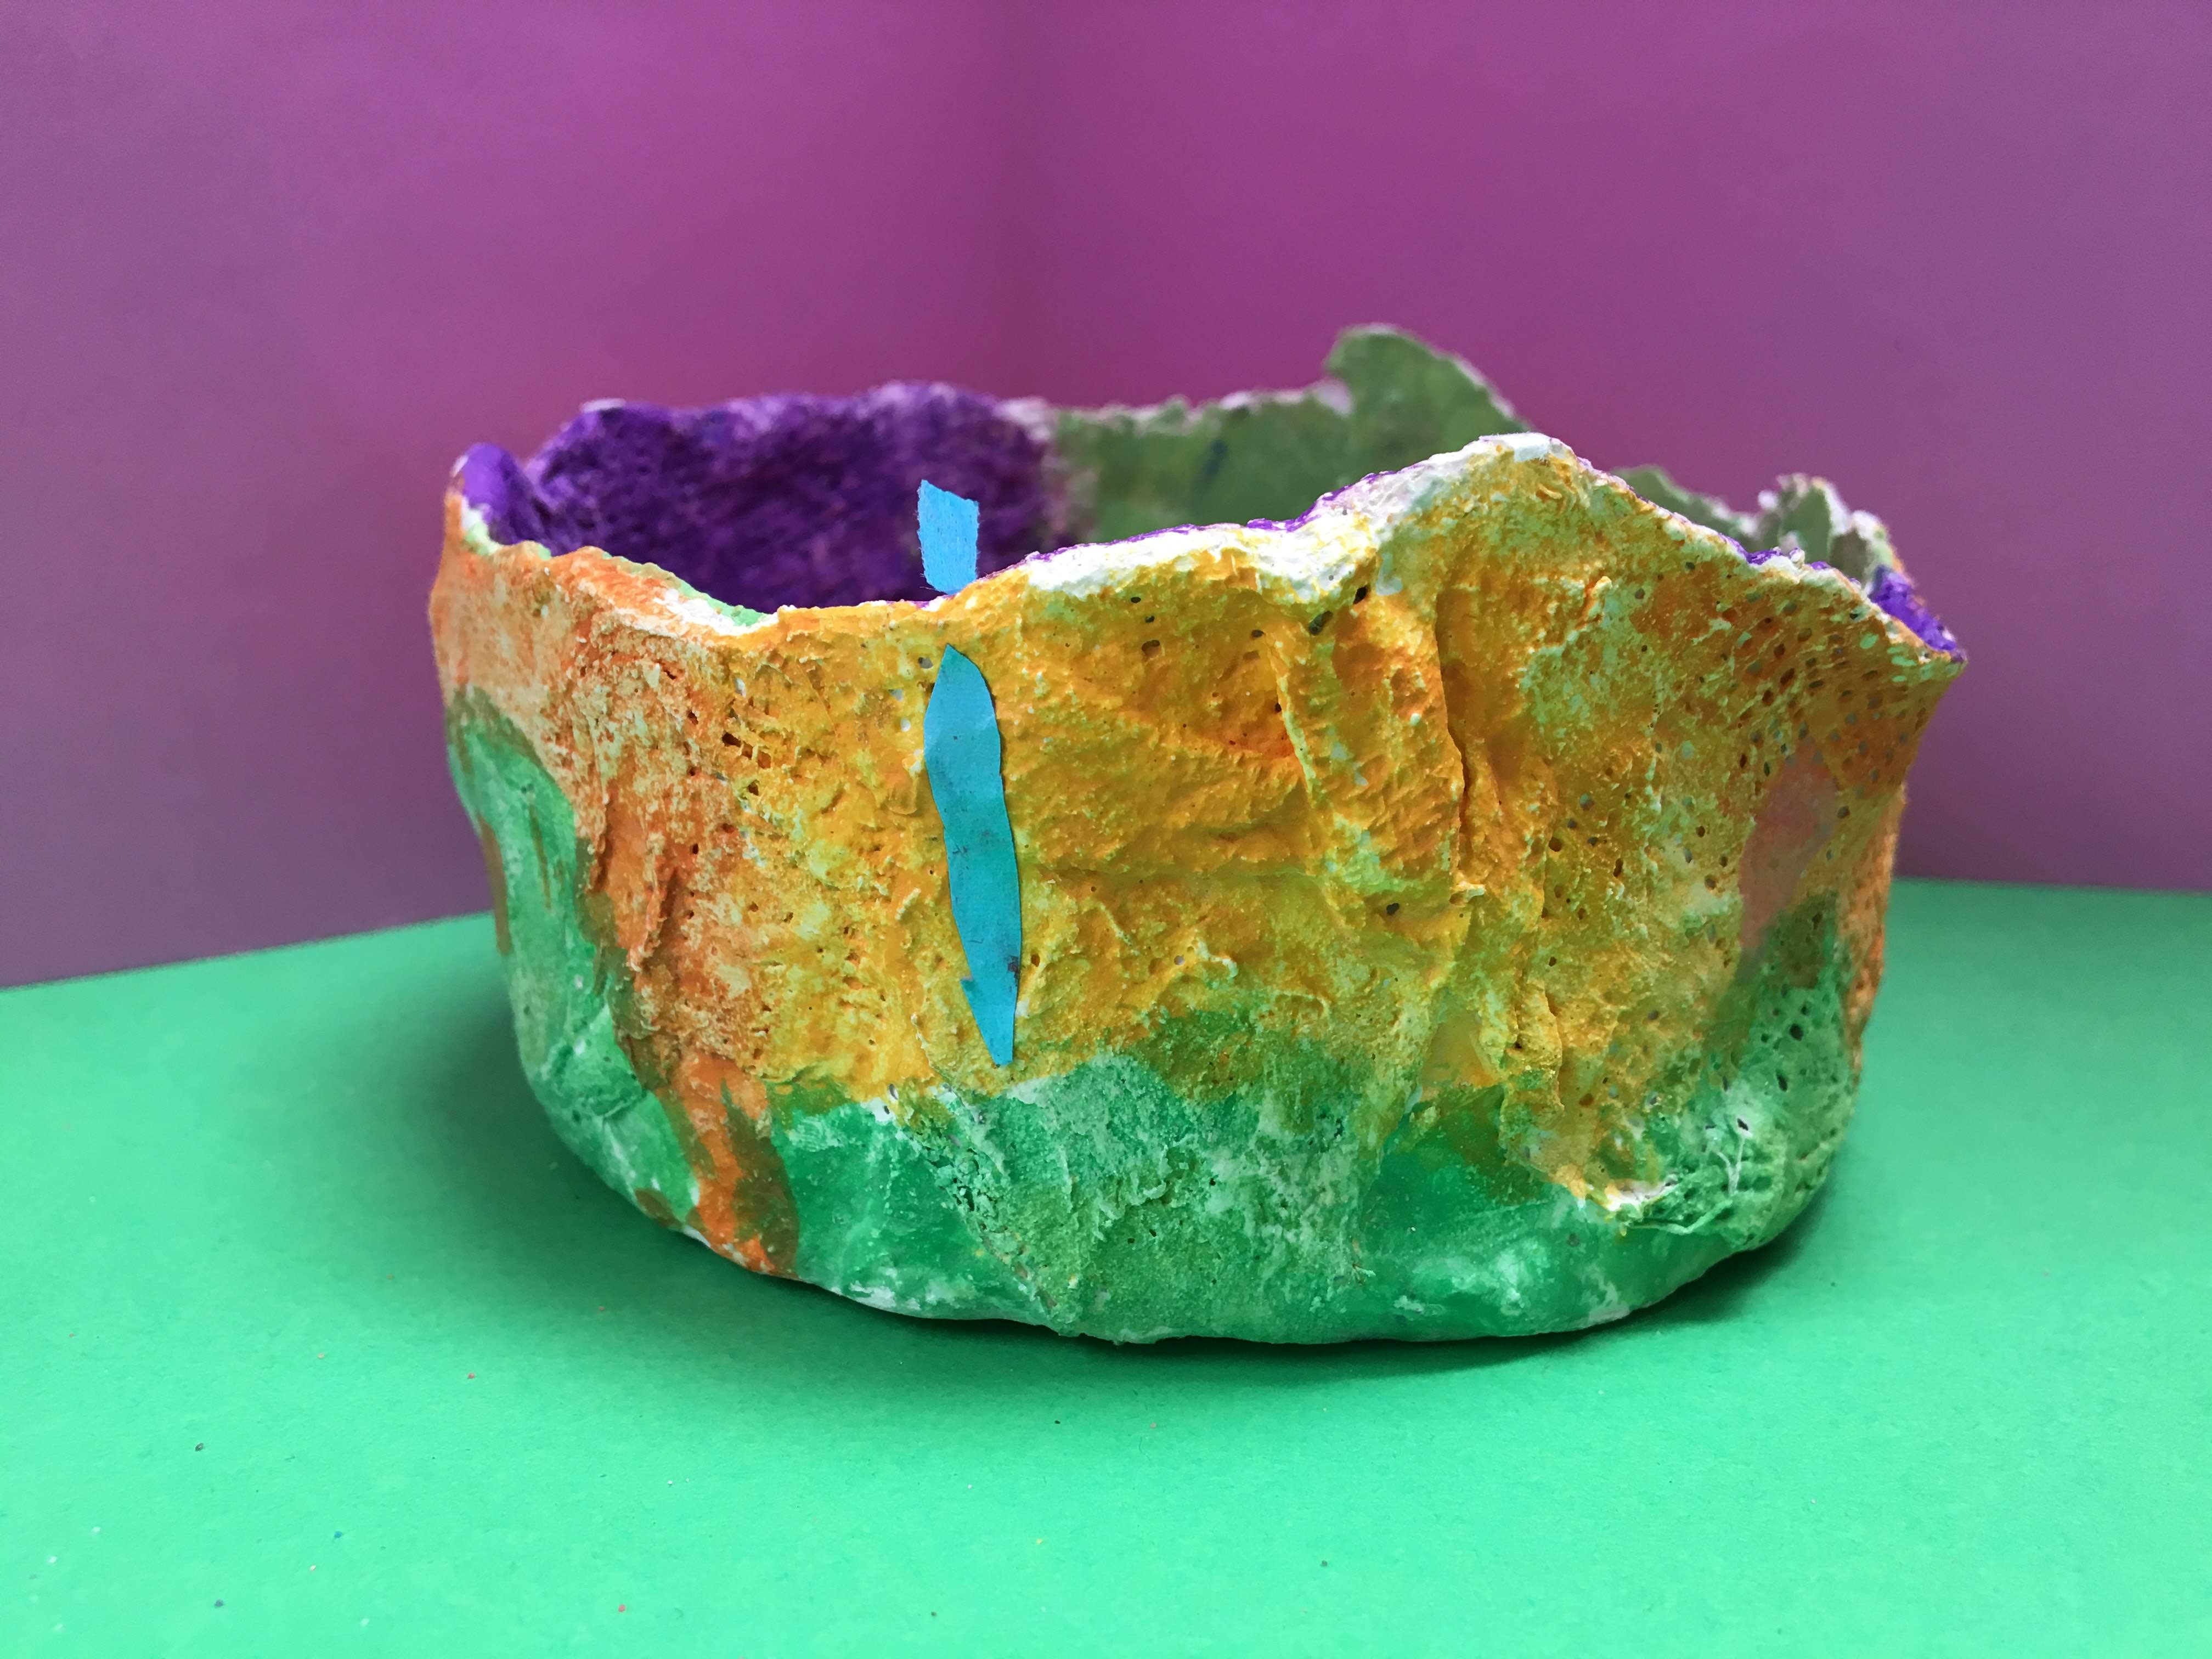
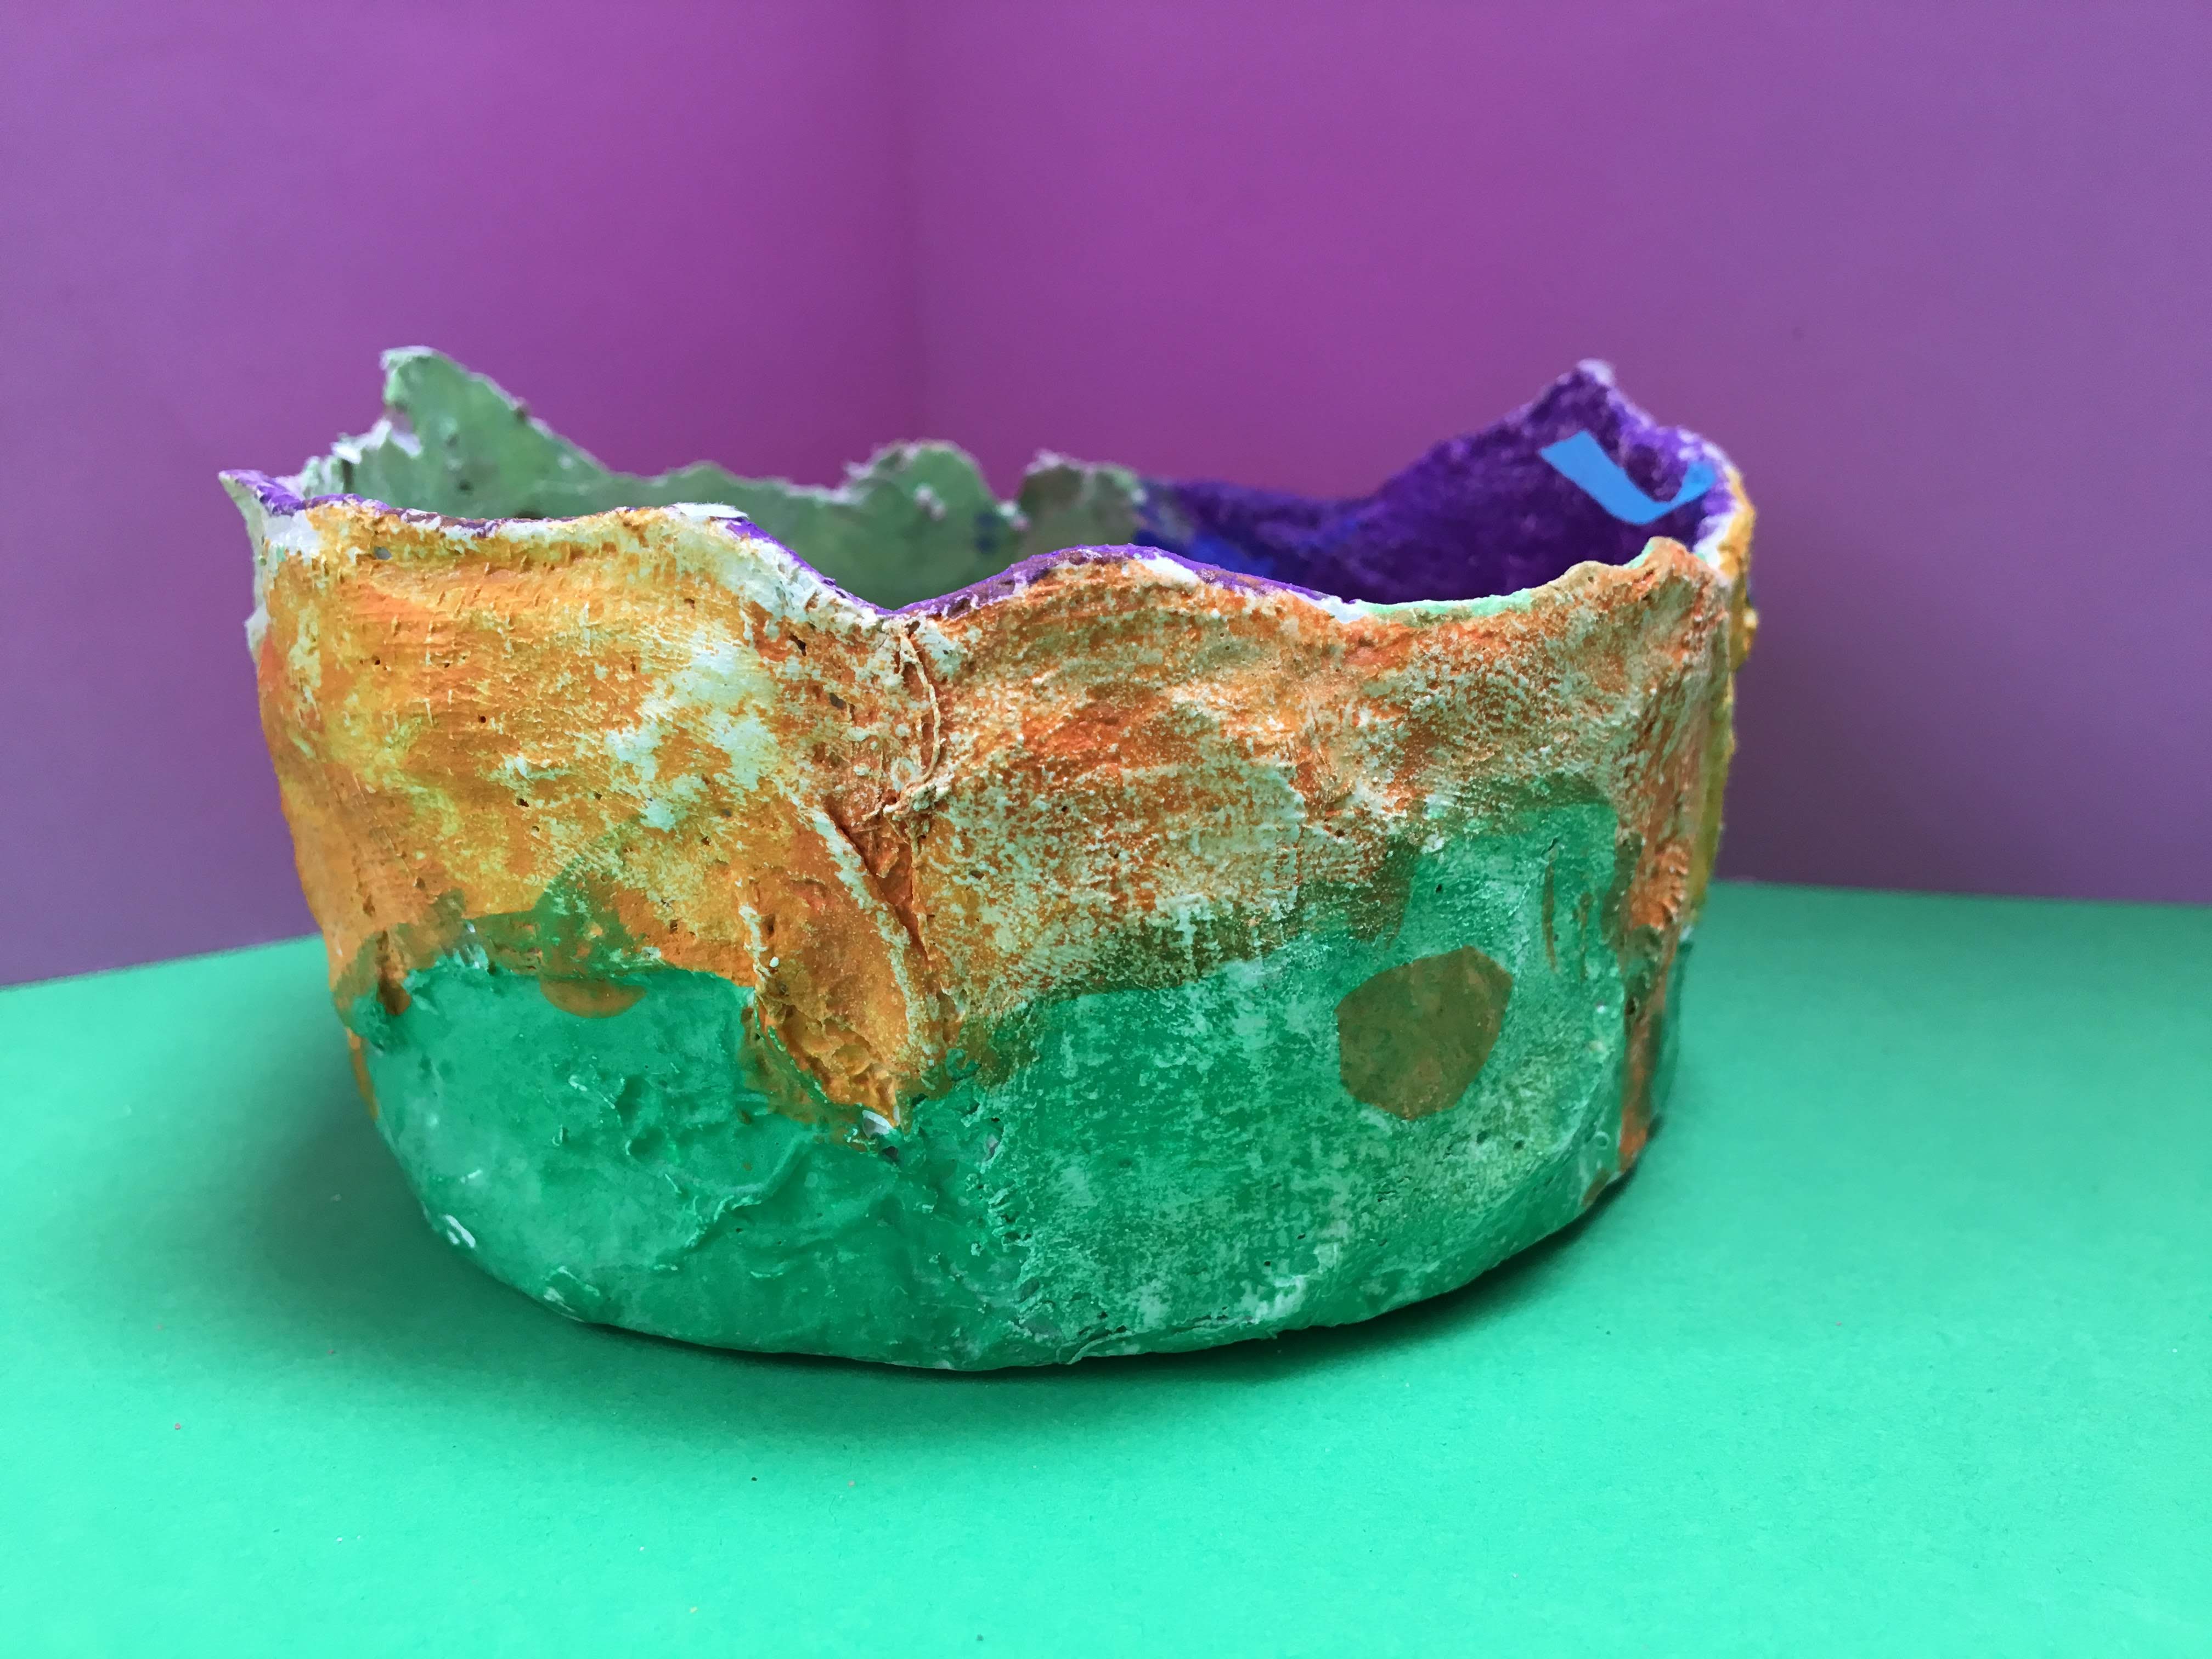

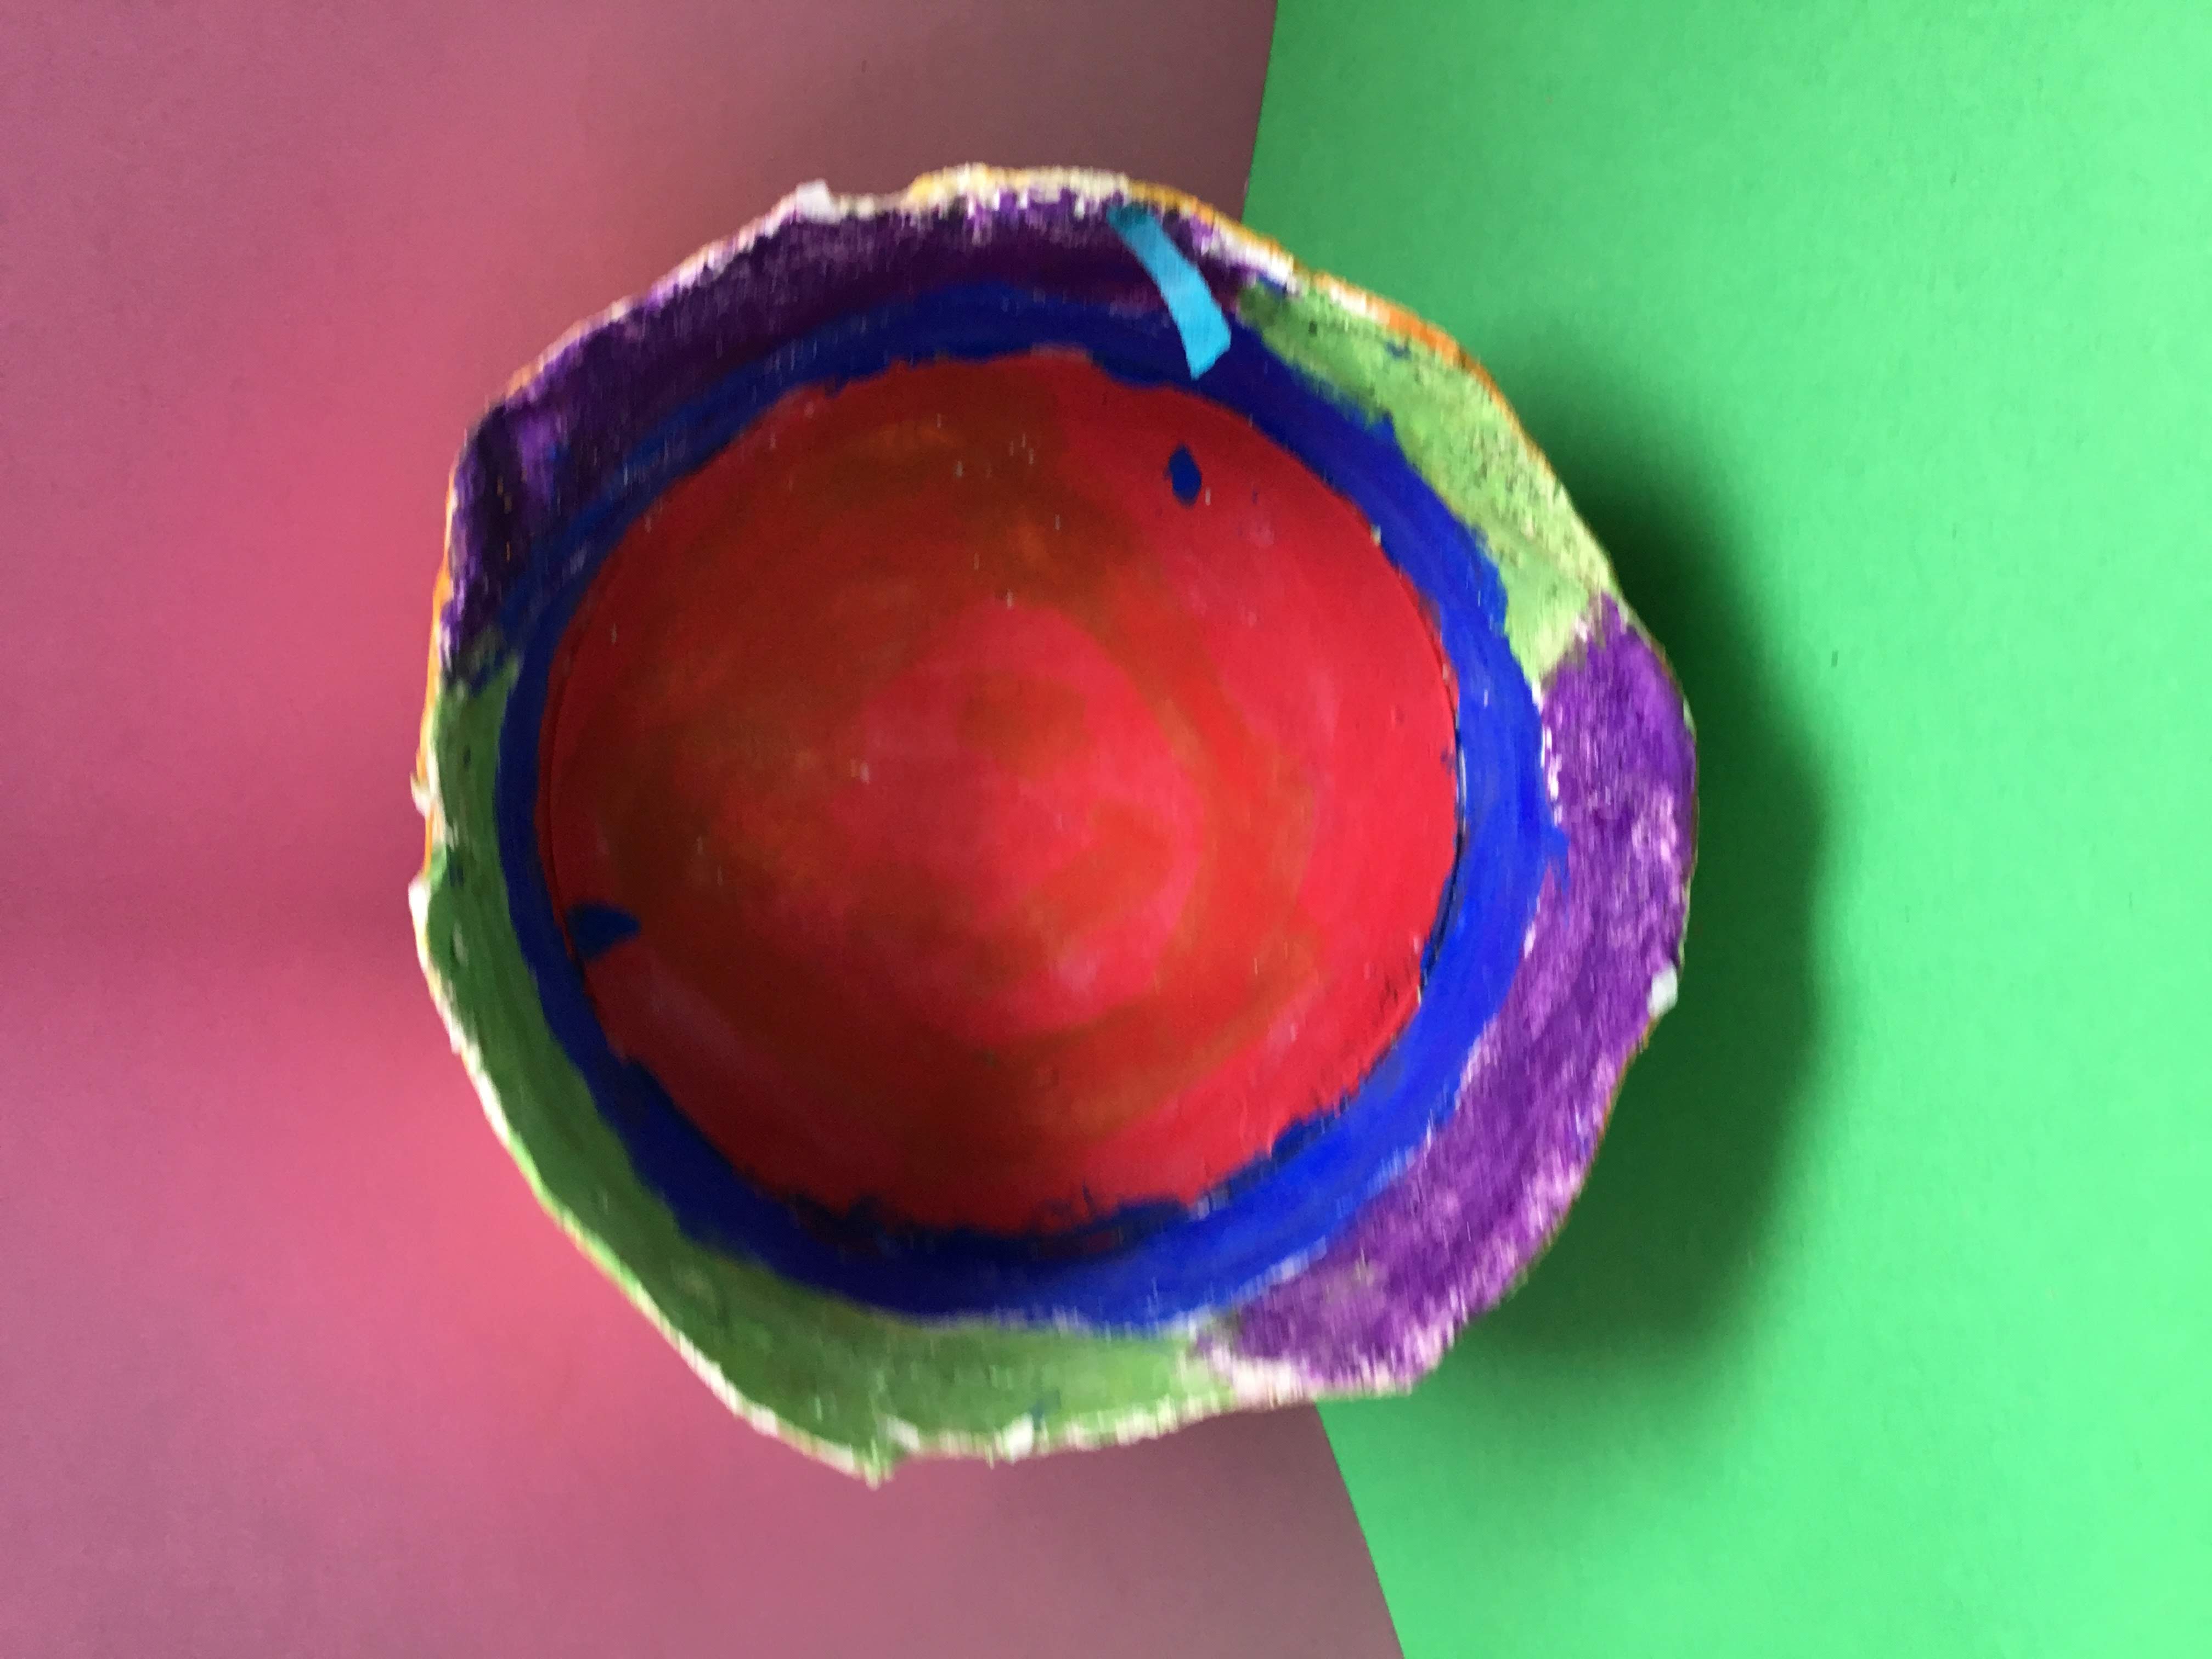
ModRoc is quite sensitive to water, so the children had to balance the liquidity of the paint with the robustness of the bowl. If it started to get soft, they needed to stop working on it, to give it time to dry.
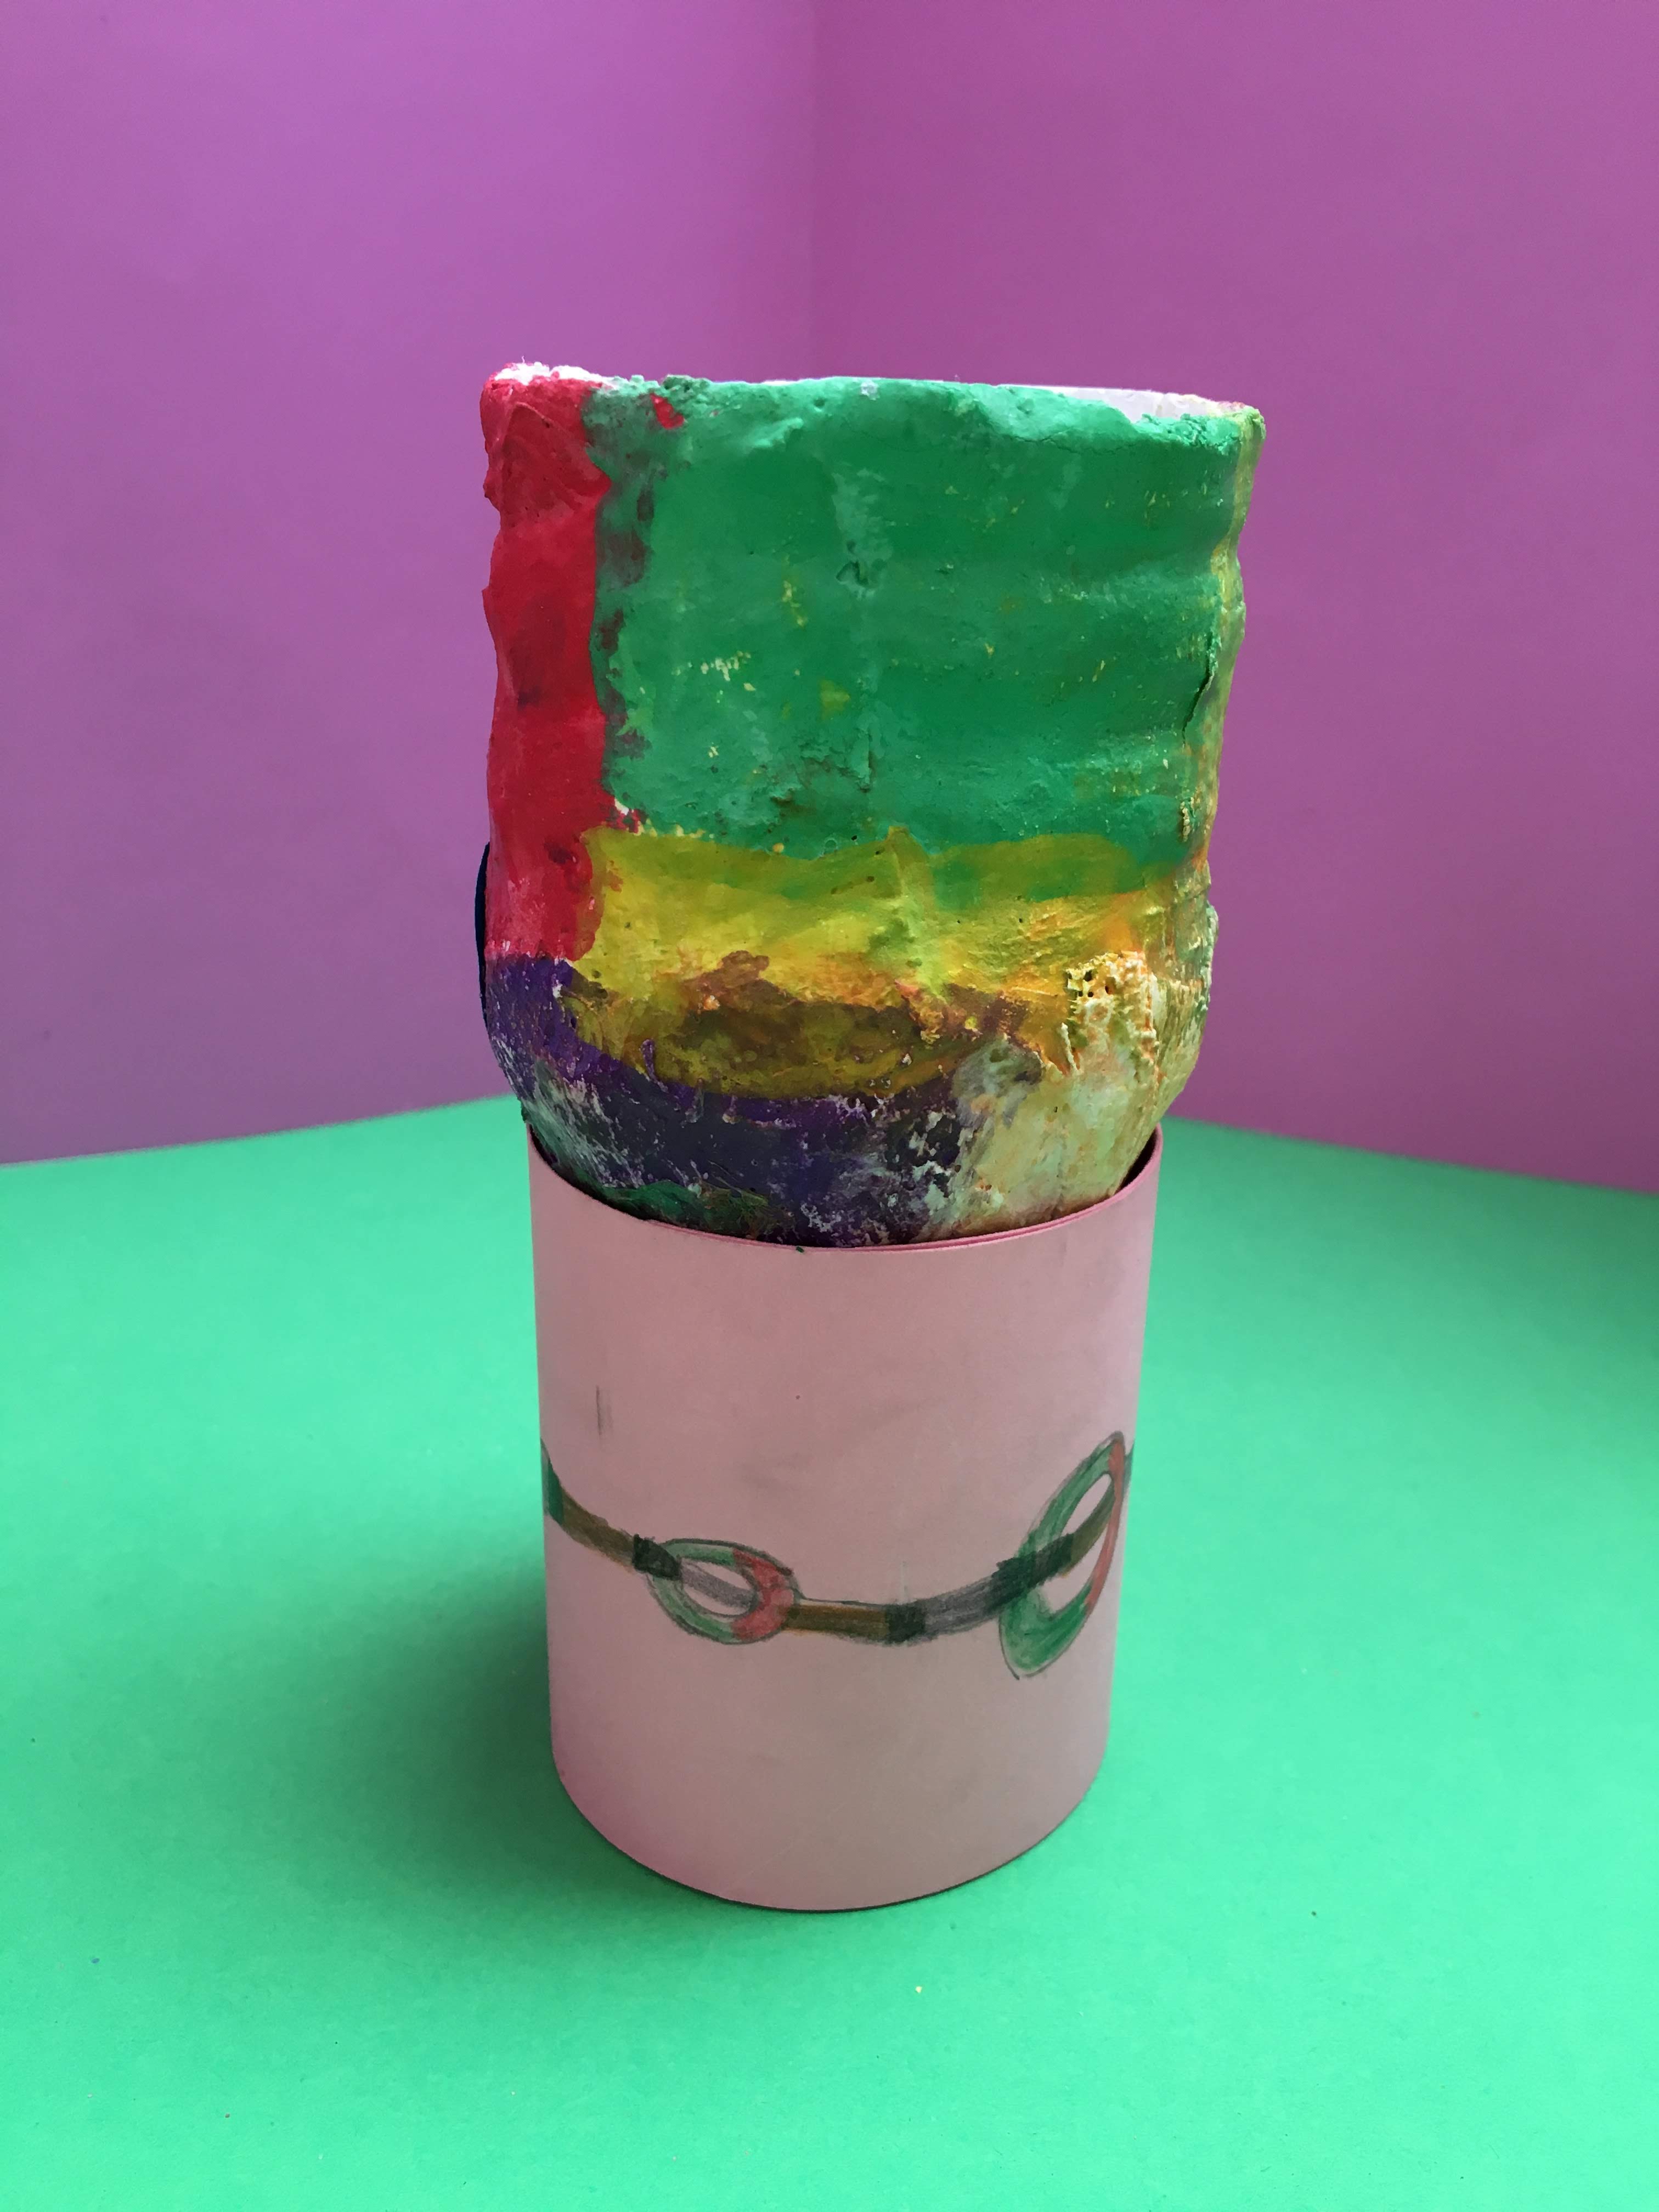
To embellish the painted pots, we learnt a technique called decoupage. This art can be very complicated, with beautiful paper collages adorned on wooden furniture, but we just looked at a very simple version, as our pots already have a lot of decor.
 Firstly, we cut tissue paper shapes and painted them with PVA glue, before laying them carefully onto paper. This was then repeated on the vases, over the paint.
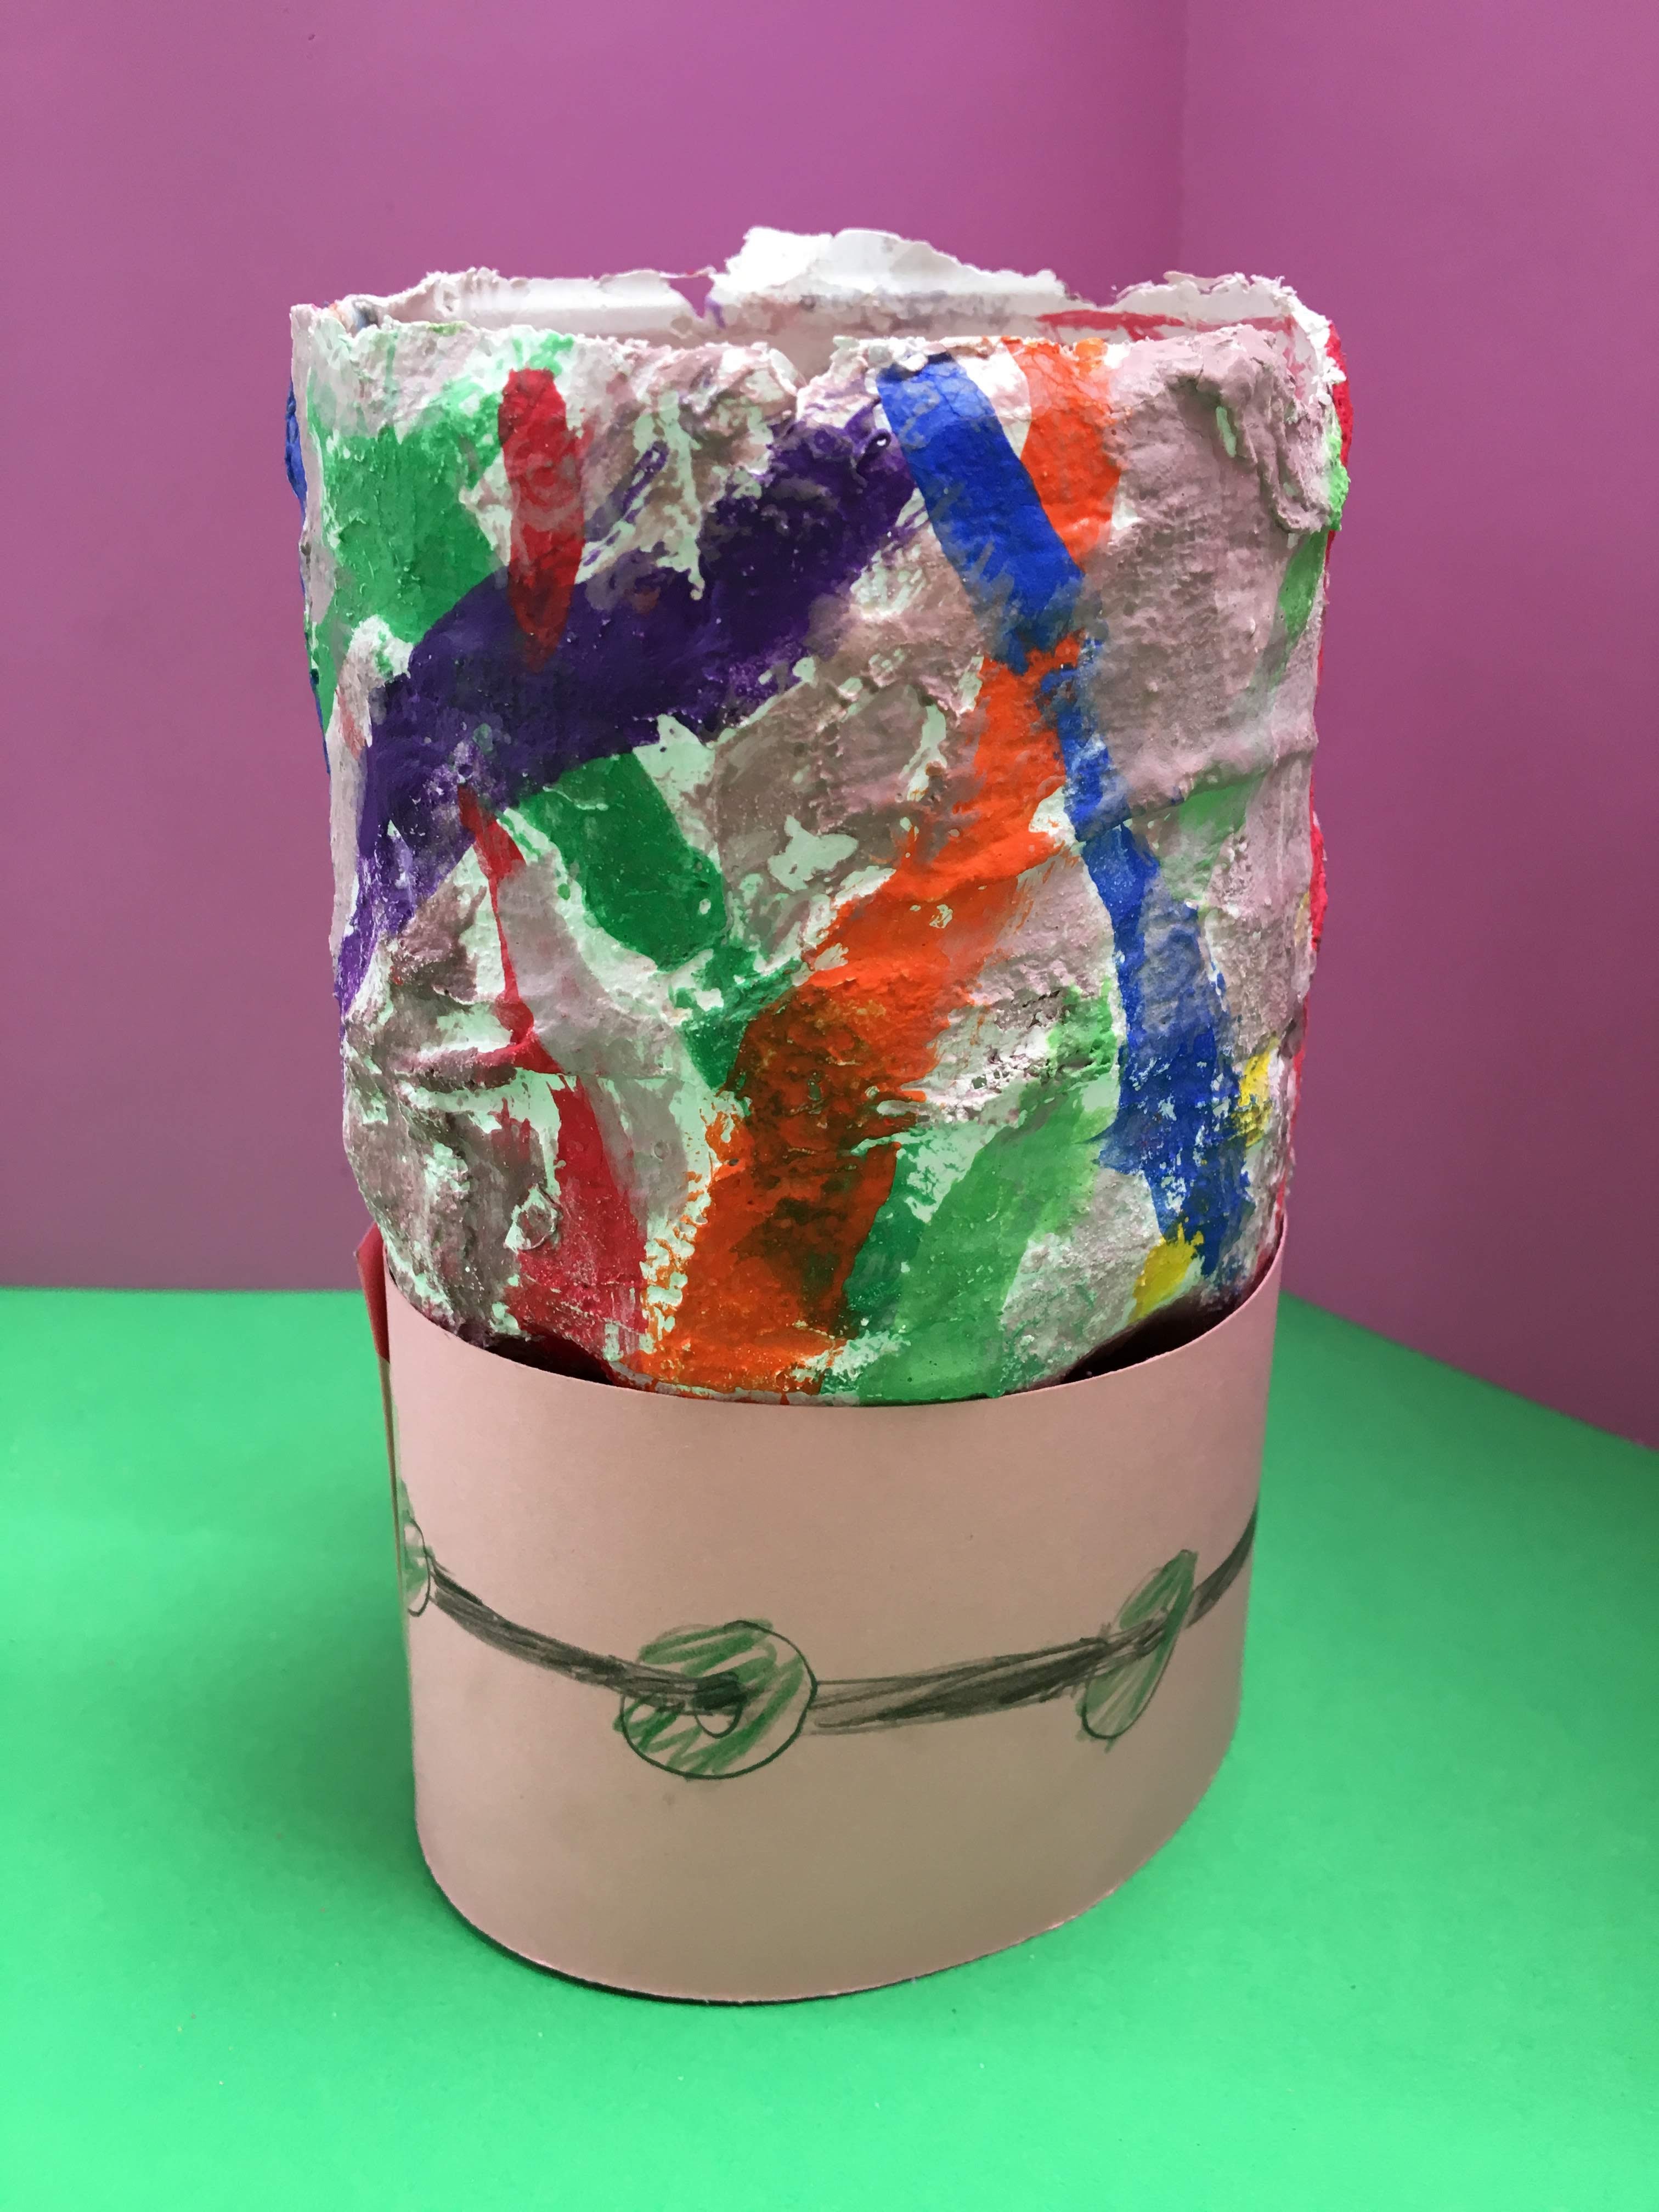
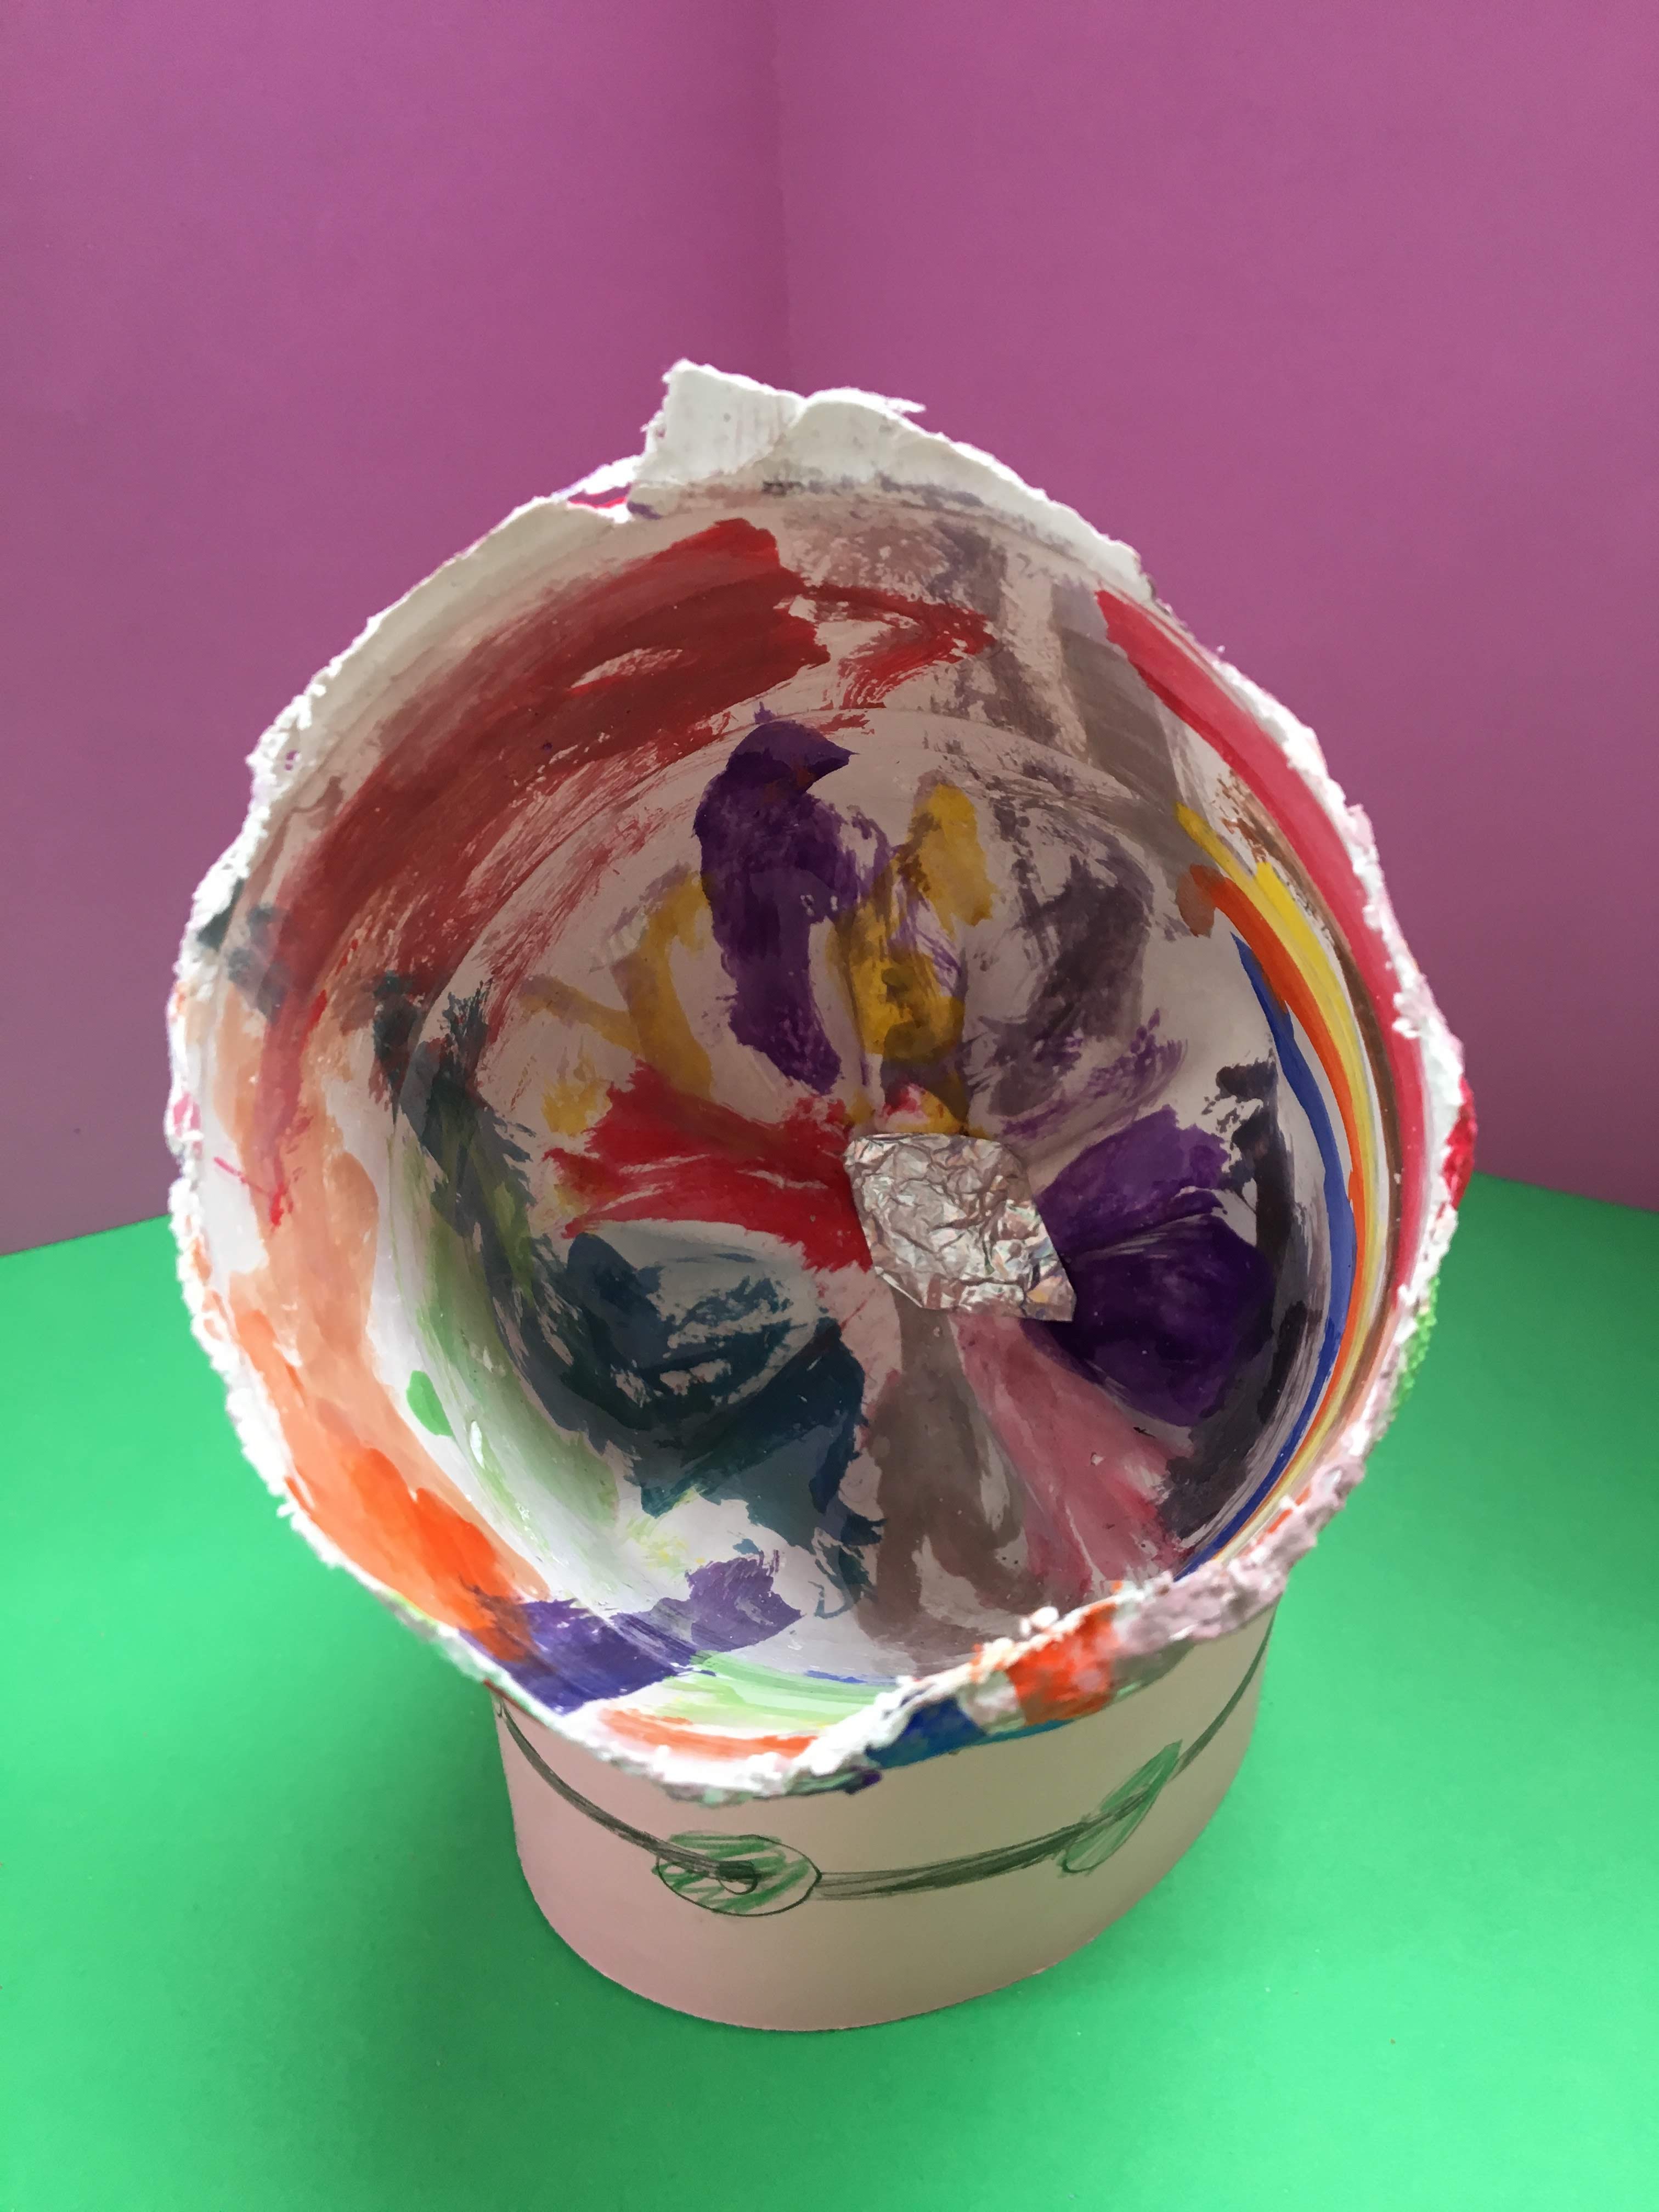
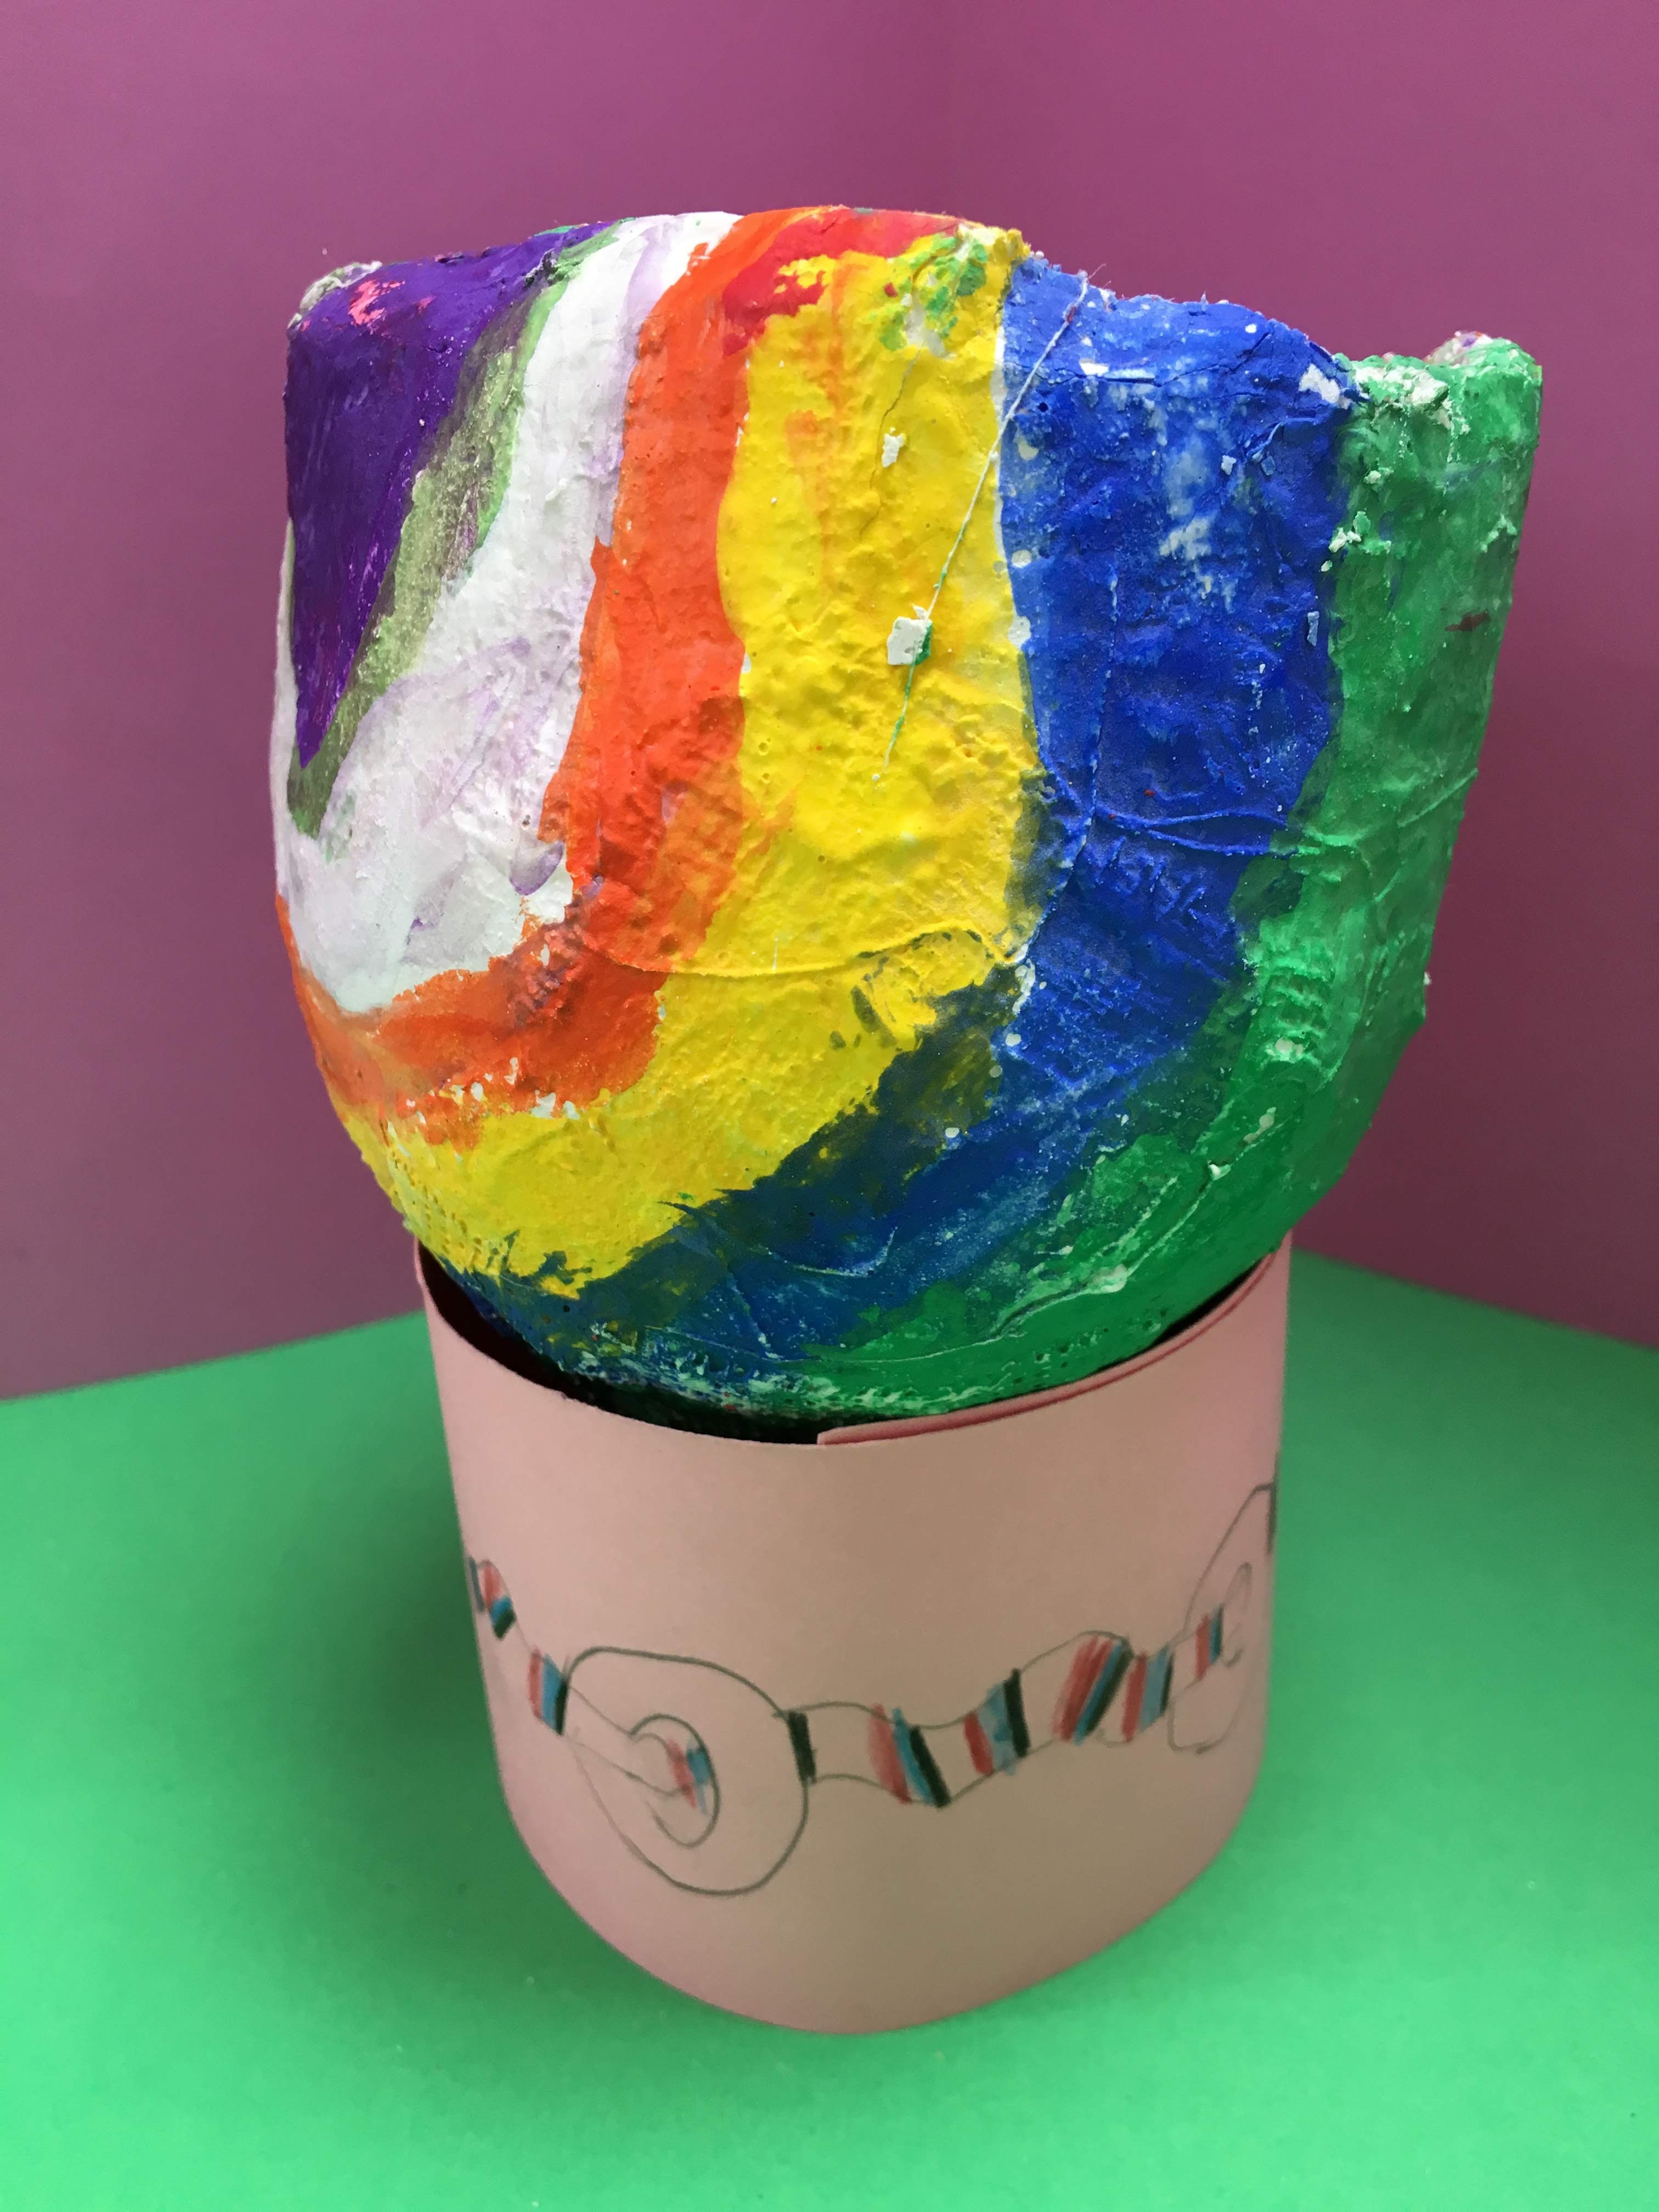
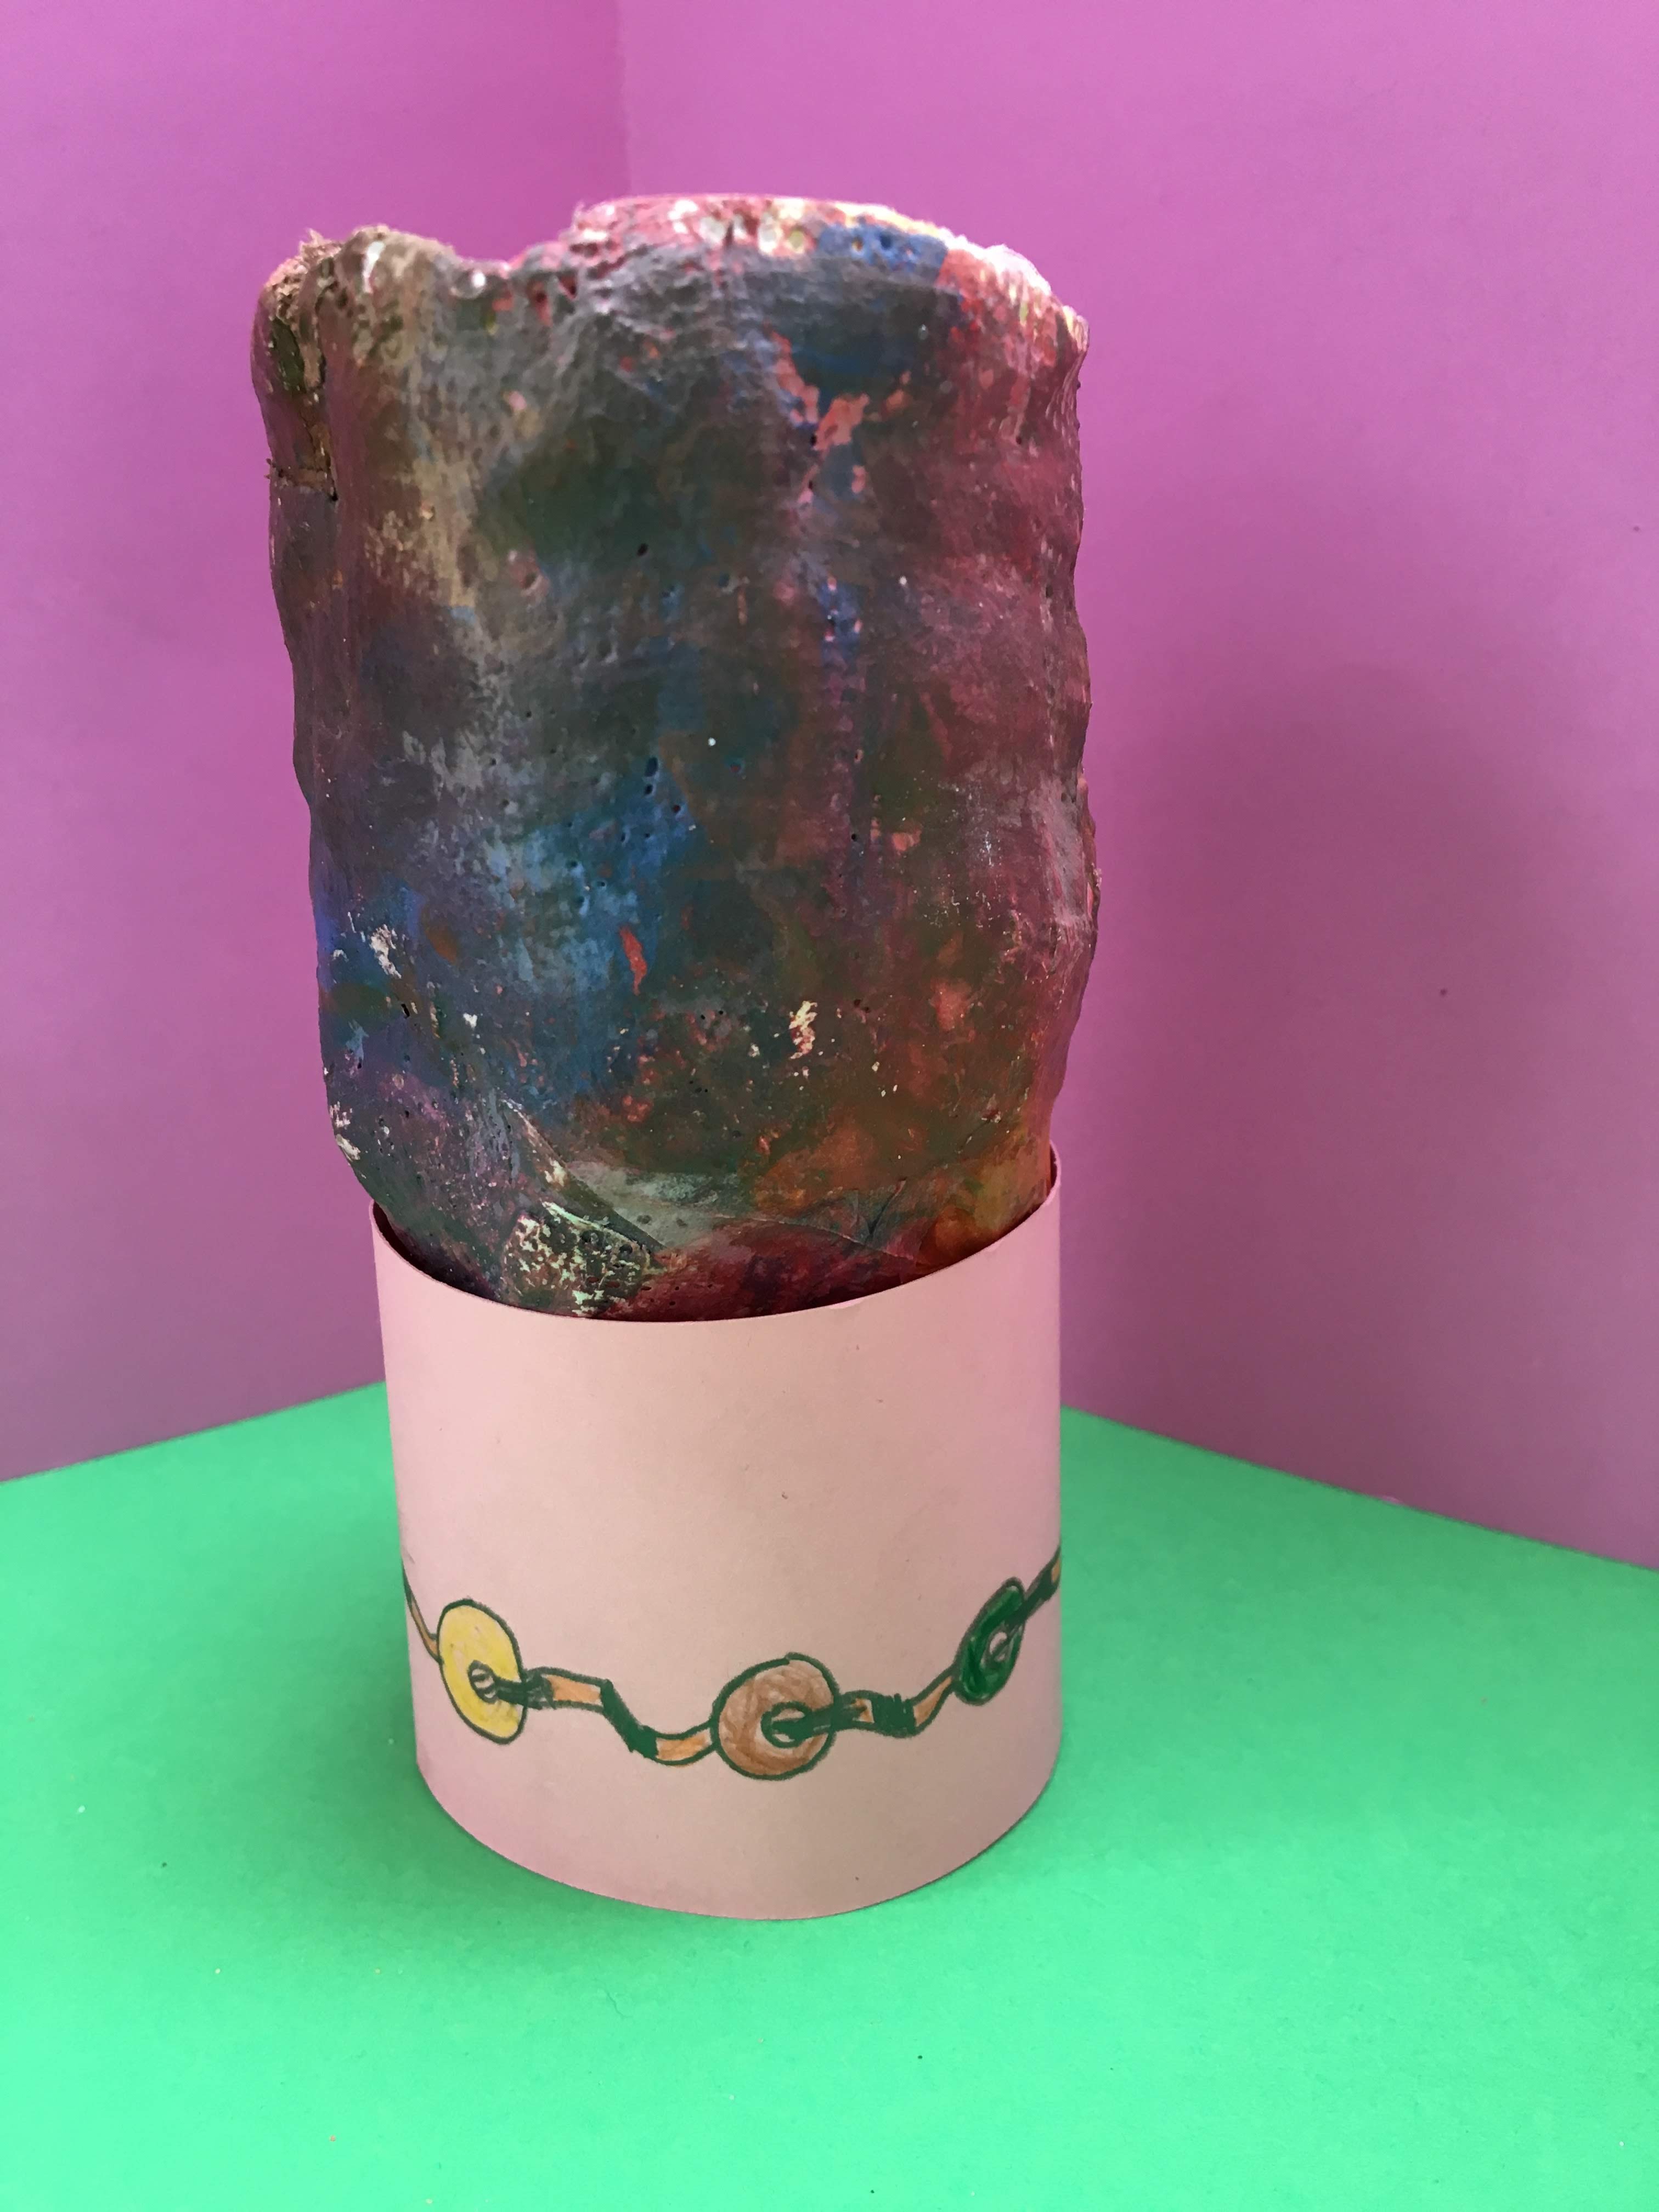
The vases than had rounded bases, had stands created for them. To embellish the card rings, assistant Susie Aylett led a group through a session in how to draw a Celtic Band, linking and threading patterns around the stand. See the considered and detailed results above!
- Posted by
 admin
admin - Posted in Children's Work, Courses, Creativity, Modelling, Painting, Pelham After School Art Club, Uncategorized
 Jul, 20, 2019
 No Comments.
 Join Us On Facebook
 Join Us On Twitter
 Join Us On In.com
 Subscribe to Our Blog